
Quilting Basics: Tips for Pressing and Trimming Quilt Blocks
There are many vague things in quilt patterns and pressing and trimming are two primary “offenders” in the world of generally vague and useless instructions. Keep reading for my favorite tips to keep these simple steps stress free.
(This post contains affiliate links)
“Press.”
”Press to the dark side.”
”Press seams to one side.”
”Trim.”
”Trim to X inches square.”
”Trim dog ears.”
All of these are common, yet potentially frustrating, instructions in quilt patterns, including mine (face palm. Actually, now that I think about it, I’m not even sure that I remind you to press at all in my patterns. Double face palm.)
WHY??
If I (and other quilt pattern designers) know that these instructions are vague, why the heck do we use them?
1) They save space. The vast majority of pattern buying customers are familiar with these basic quilting steps, so it’s not worth the paper to print detailed instructions or the time to write them every single time
2) By a flip of the coin: we’re lazy. These terms are community accepted shorthand for common tasks
3) THIS ONE IS IMPORTANT: Because, while these steps are important, they are not worth getting all up in a knot about. These are in between steps. Do them, do them well— but don’t make a mountain out of a mole hill, you know?
Tips for Pressing Units
Note: when I refer to “units,” I mean pieced sections that will come together to make a larger block. in some quilts, a half square triangle might BE the block, but here, it is a unit

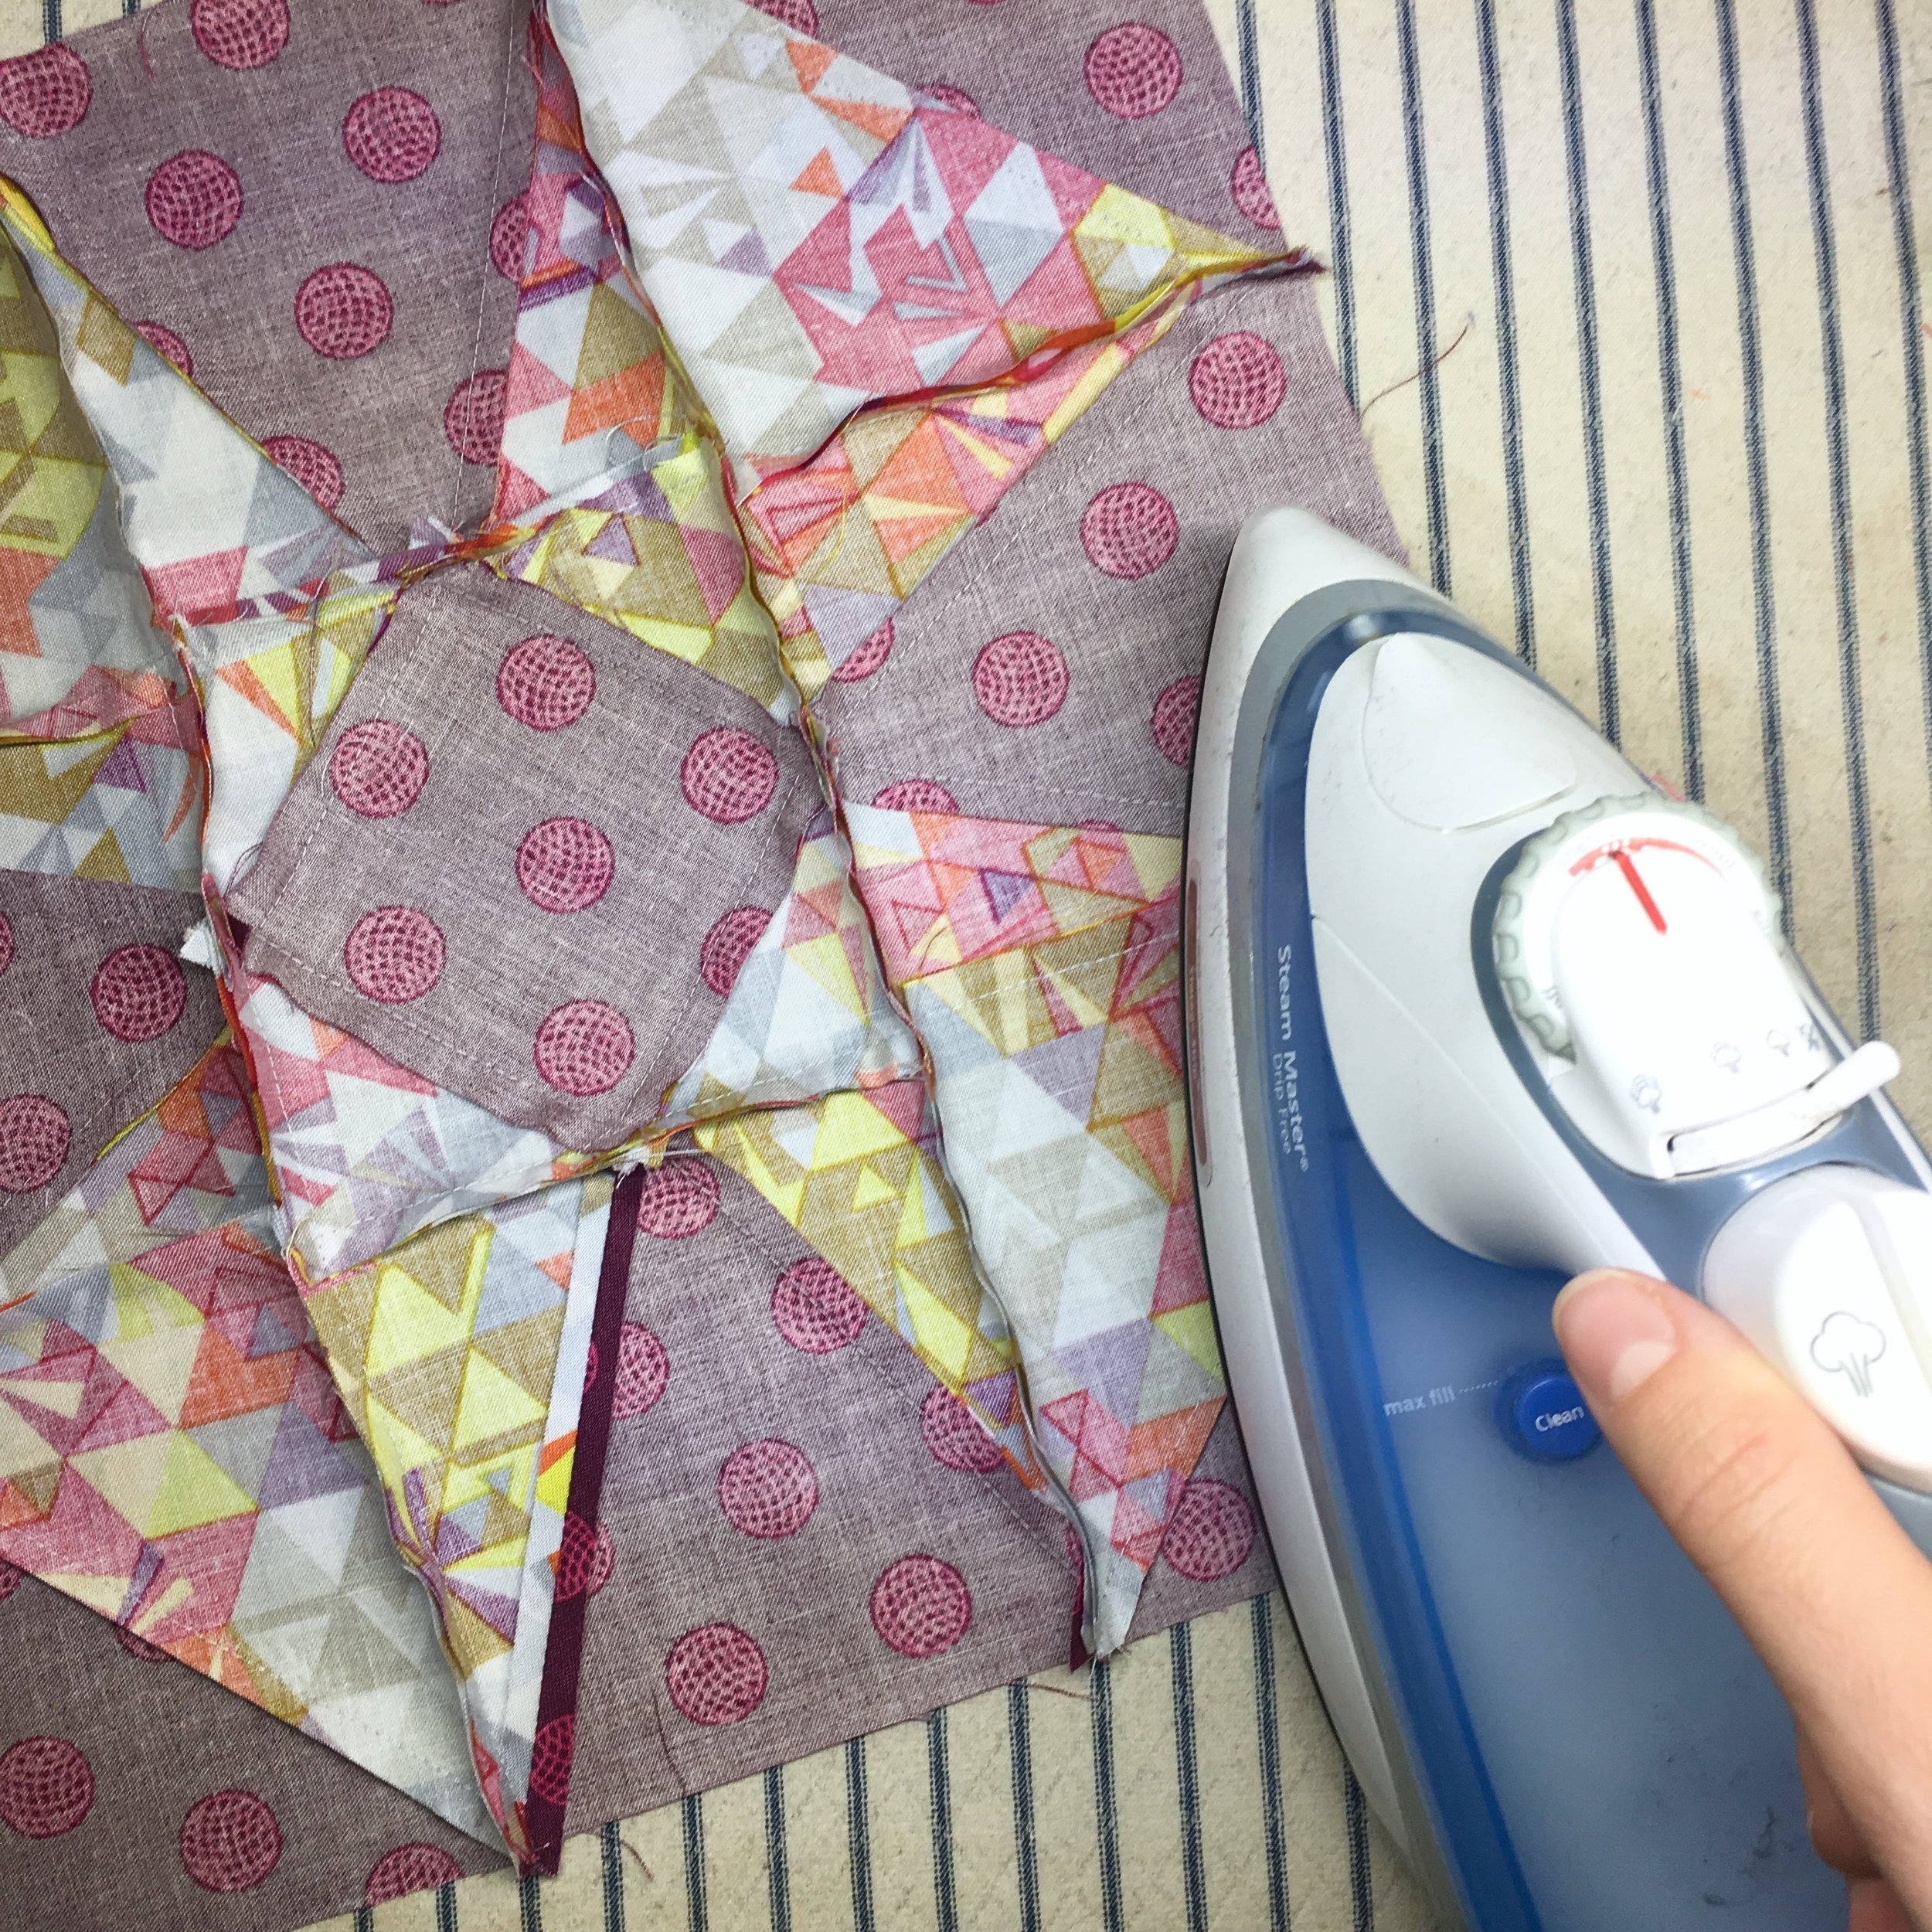
If you’ve ironed pants but never pressed a quilt block, let me go ahead and tell you that they’re pretty different. There’s a lot of wrestling material and raking the iron back and forth with pants. Pressing quilt blocks is much more of an up and down motion, letting the weight of the iron— wait for it— PRESS the block flat.
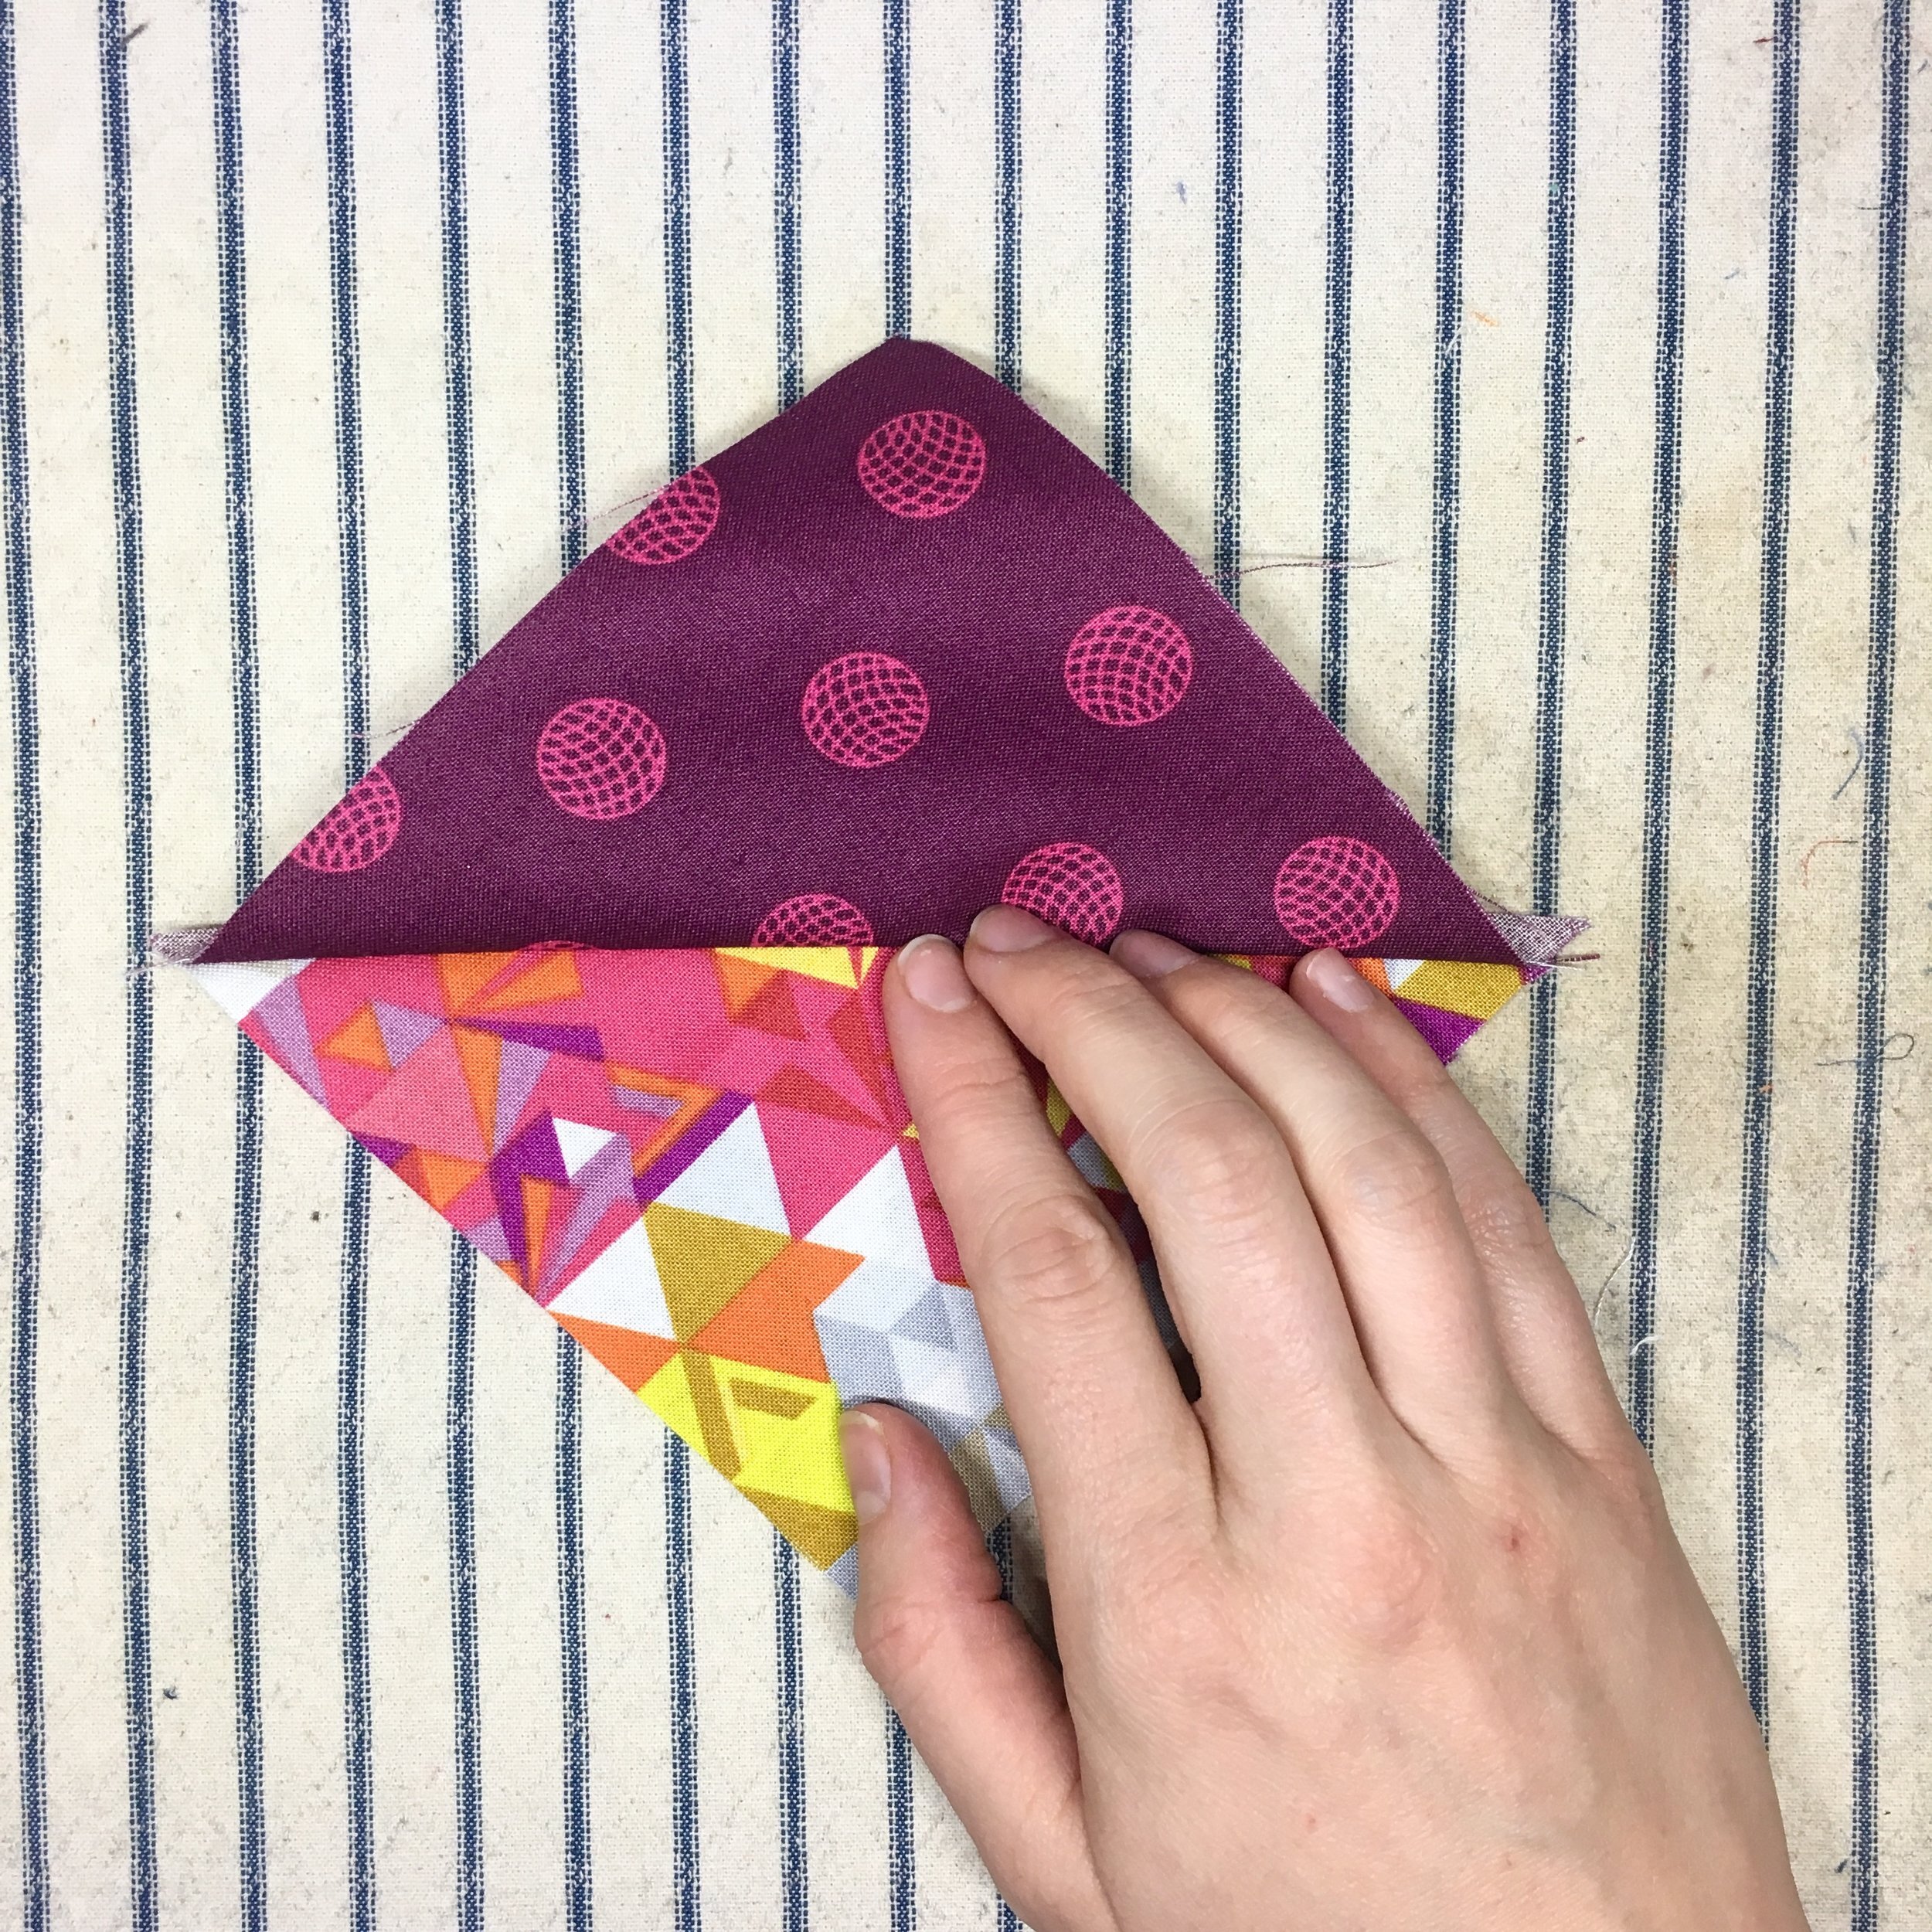
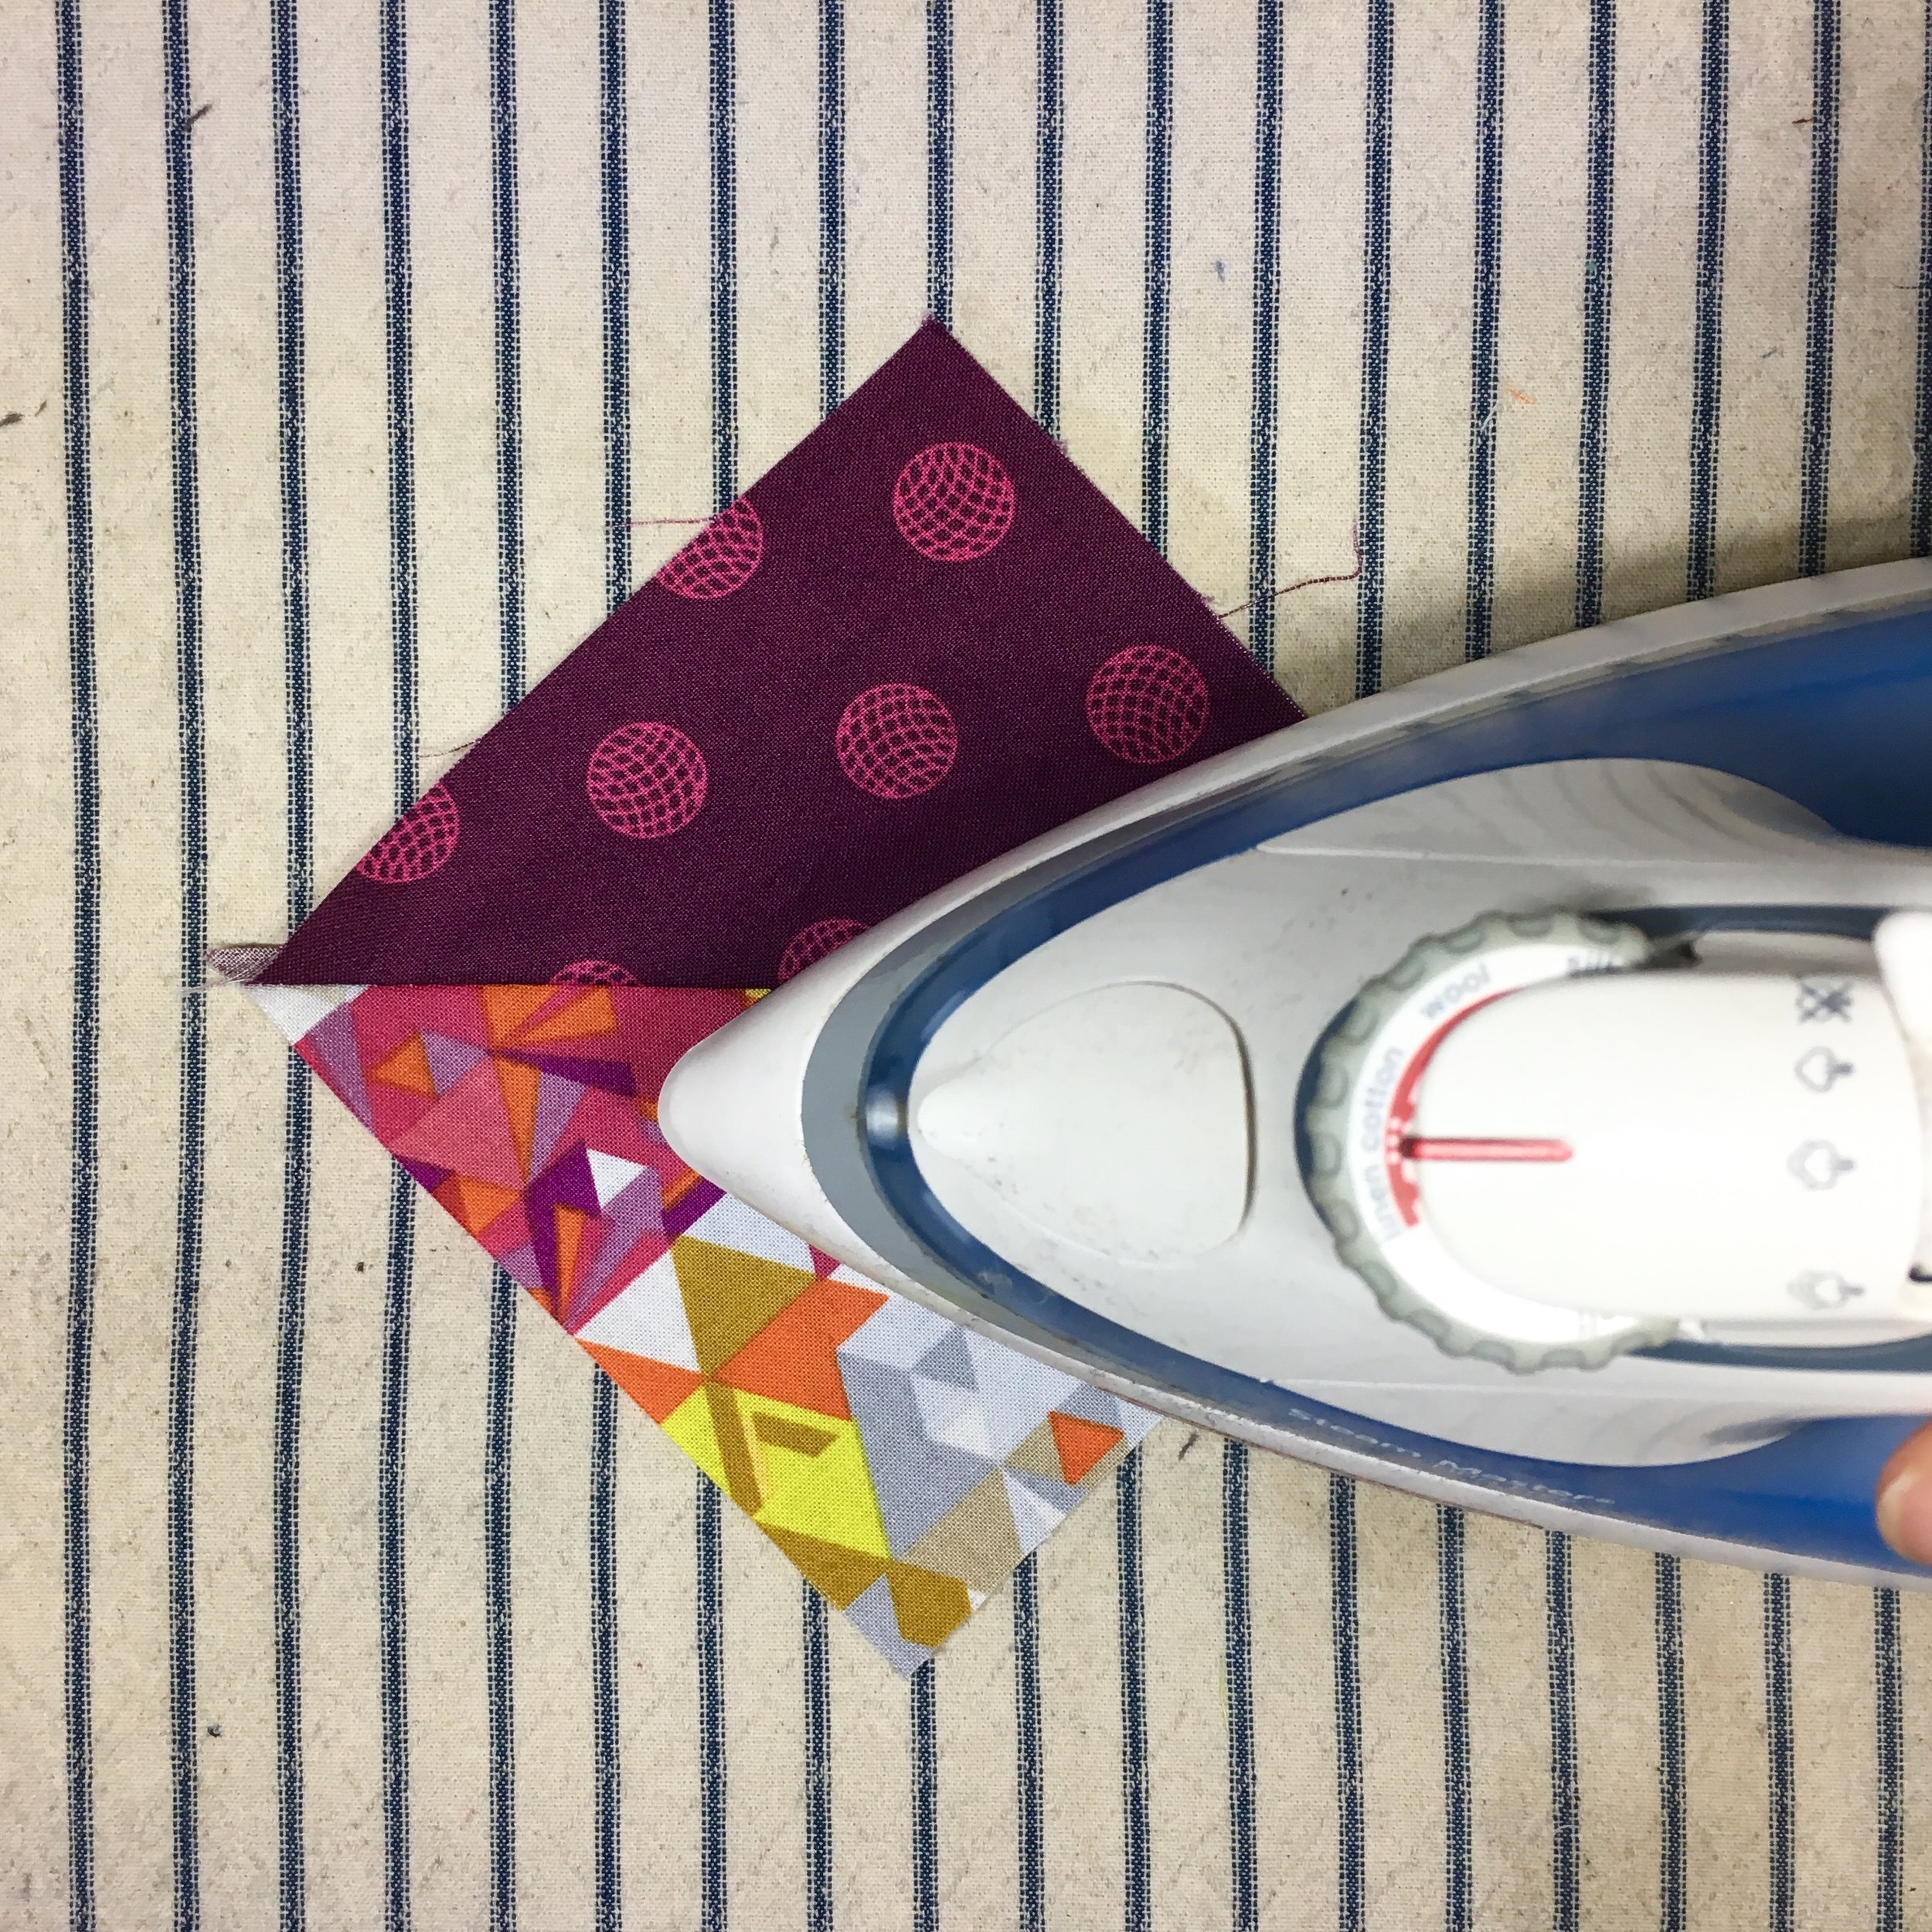
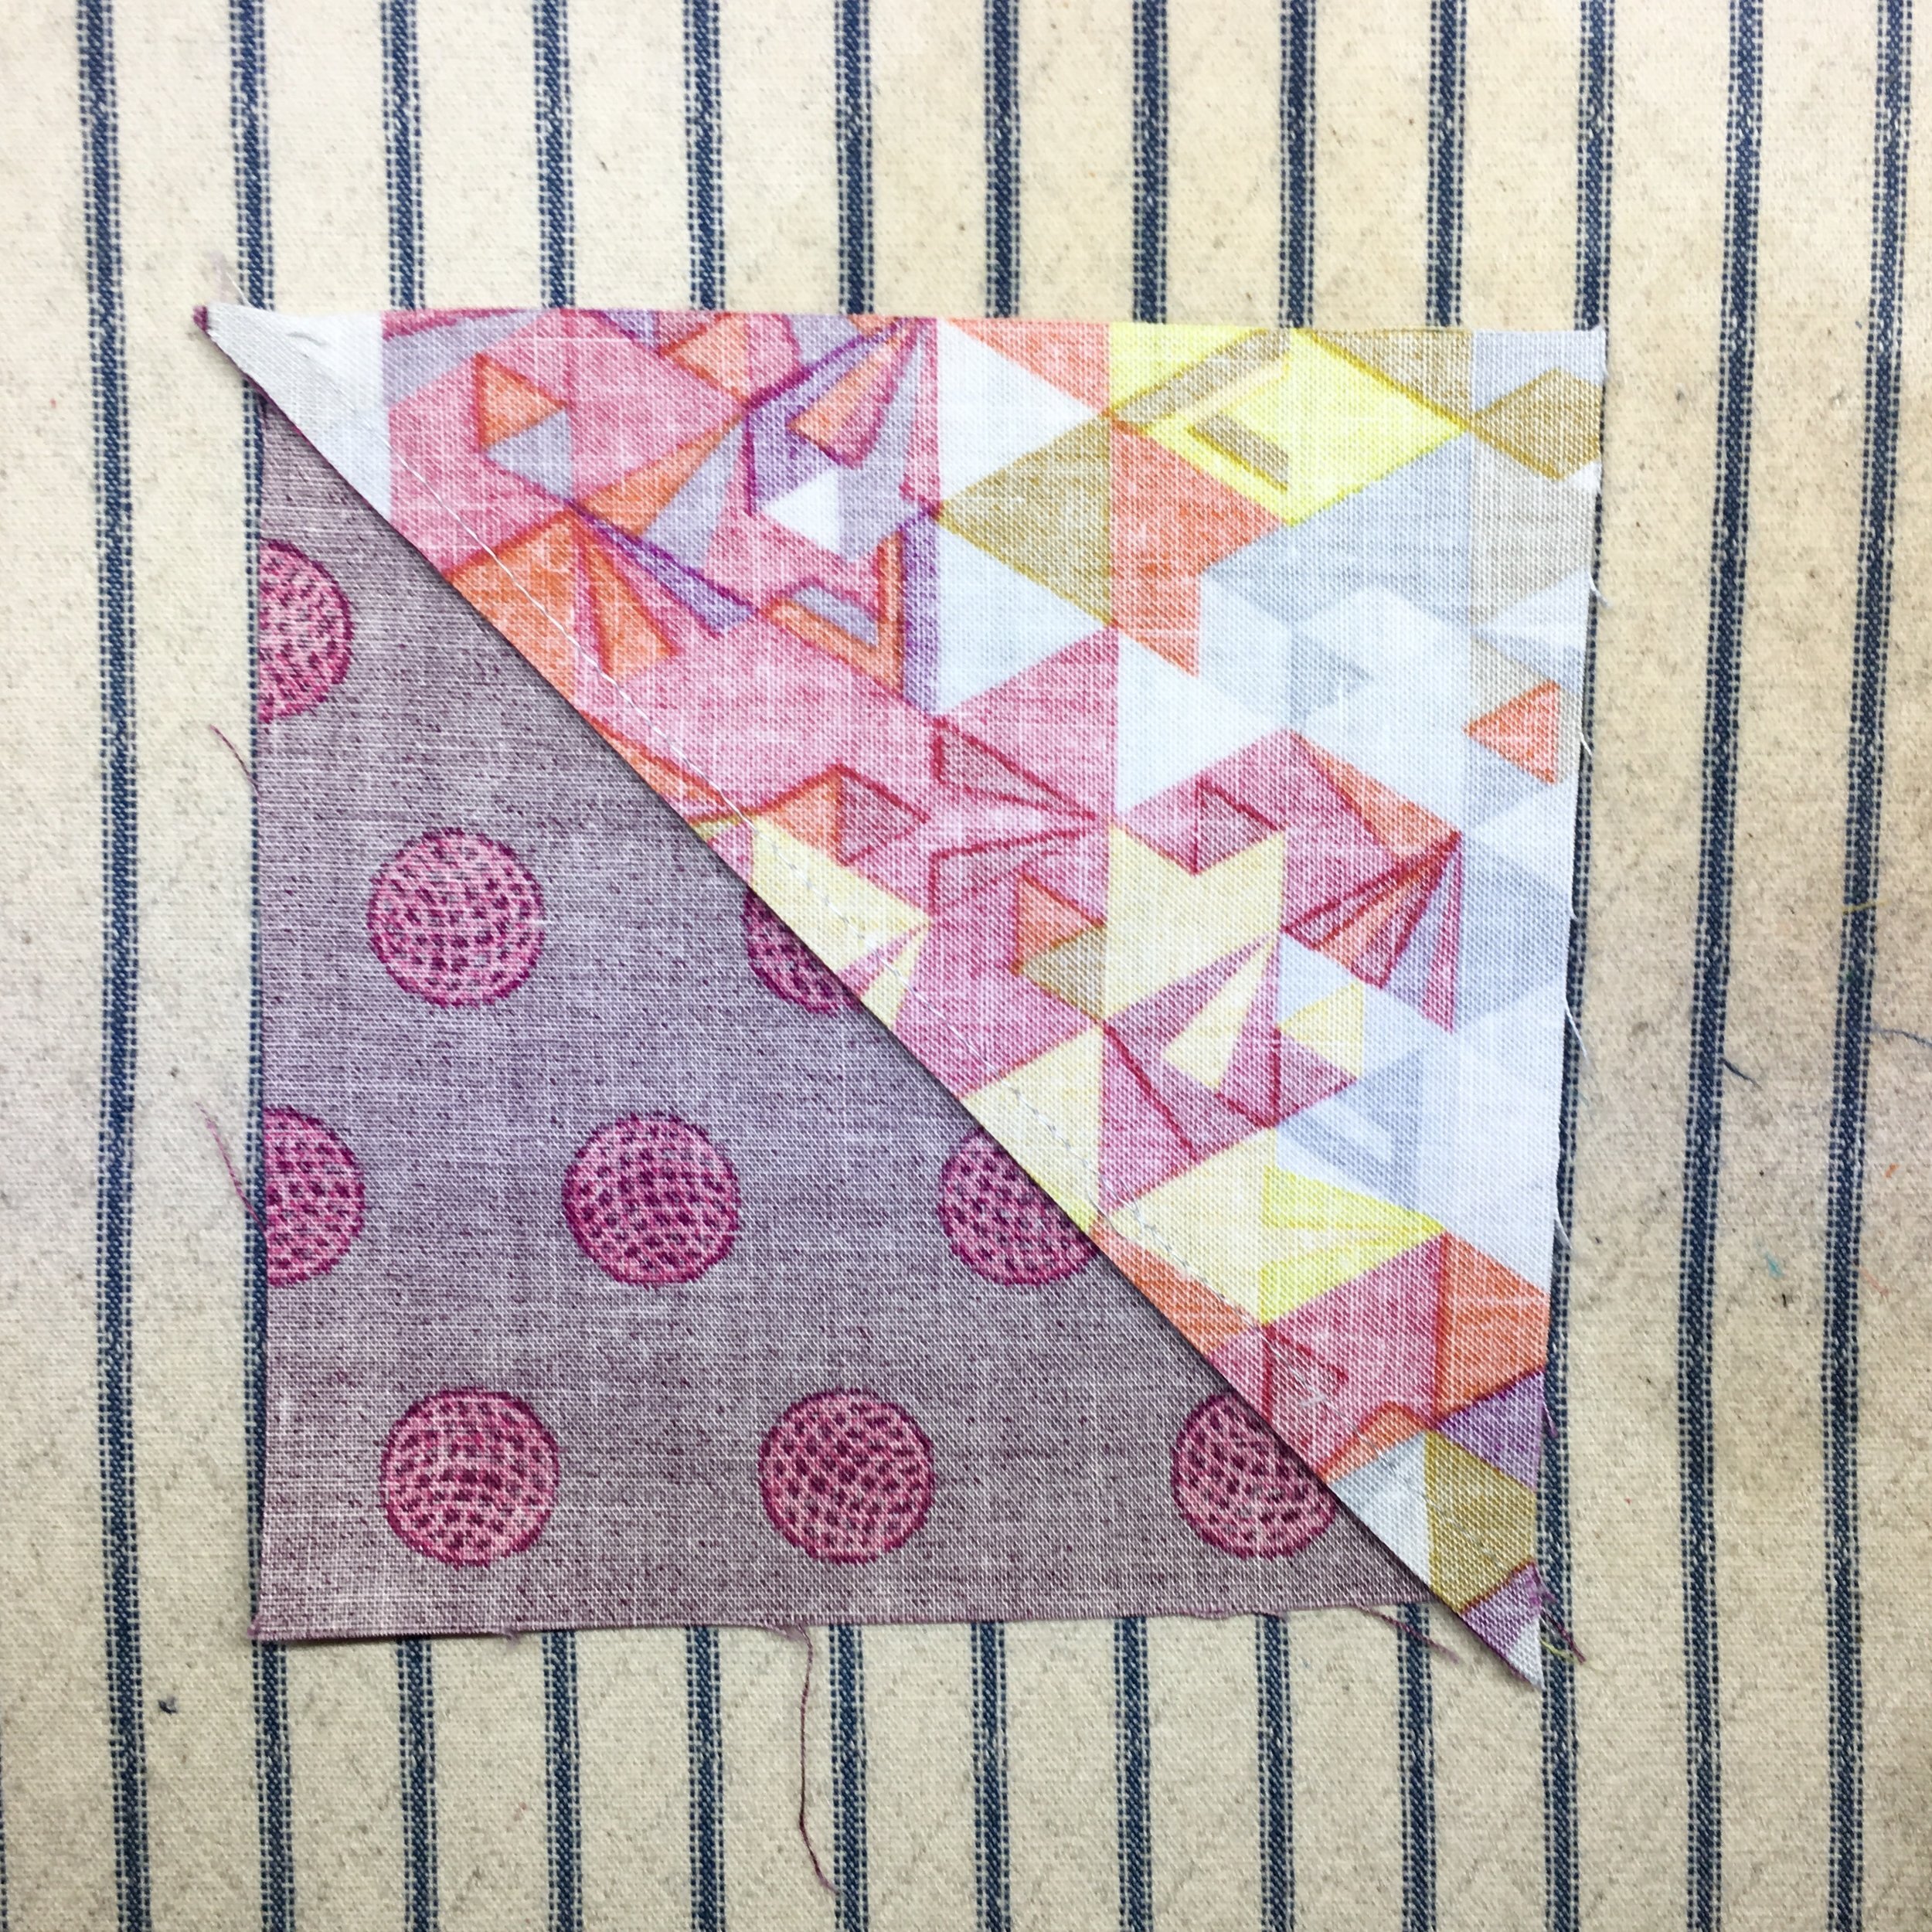
Above you’ll see how I press a half square triangle:
Set the seam by pressing the closed seam
Use fingers to tease the unit open and finger-press the fold
Set the fold with the iron
Here you see how I press to one side (usually) and to the darker side (usually). If a unit just really “wants” to be pressed a certain way, I go with that. I can always pin my seams to match things up if necessary
Note: You can also press seams open. Pressing seams open makes the block even flatter and can be useful when dealing with particularly bulky areas of a block. However, I think it makes matching up seams challenging when putting units and blocks together, and I think it weakens the physical structure of the block. Thus, I usually press to one side unless I have a specific need for a seam to be open.
Tips for Trimming Units
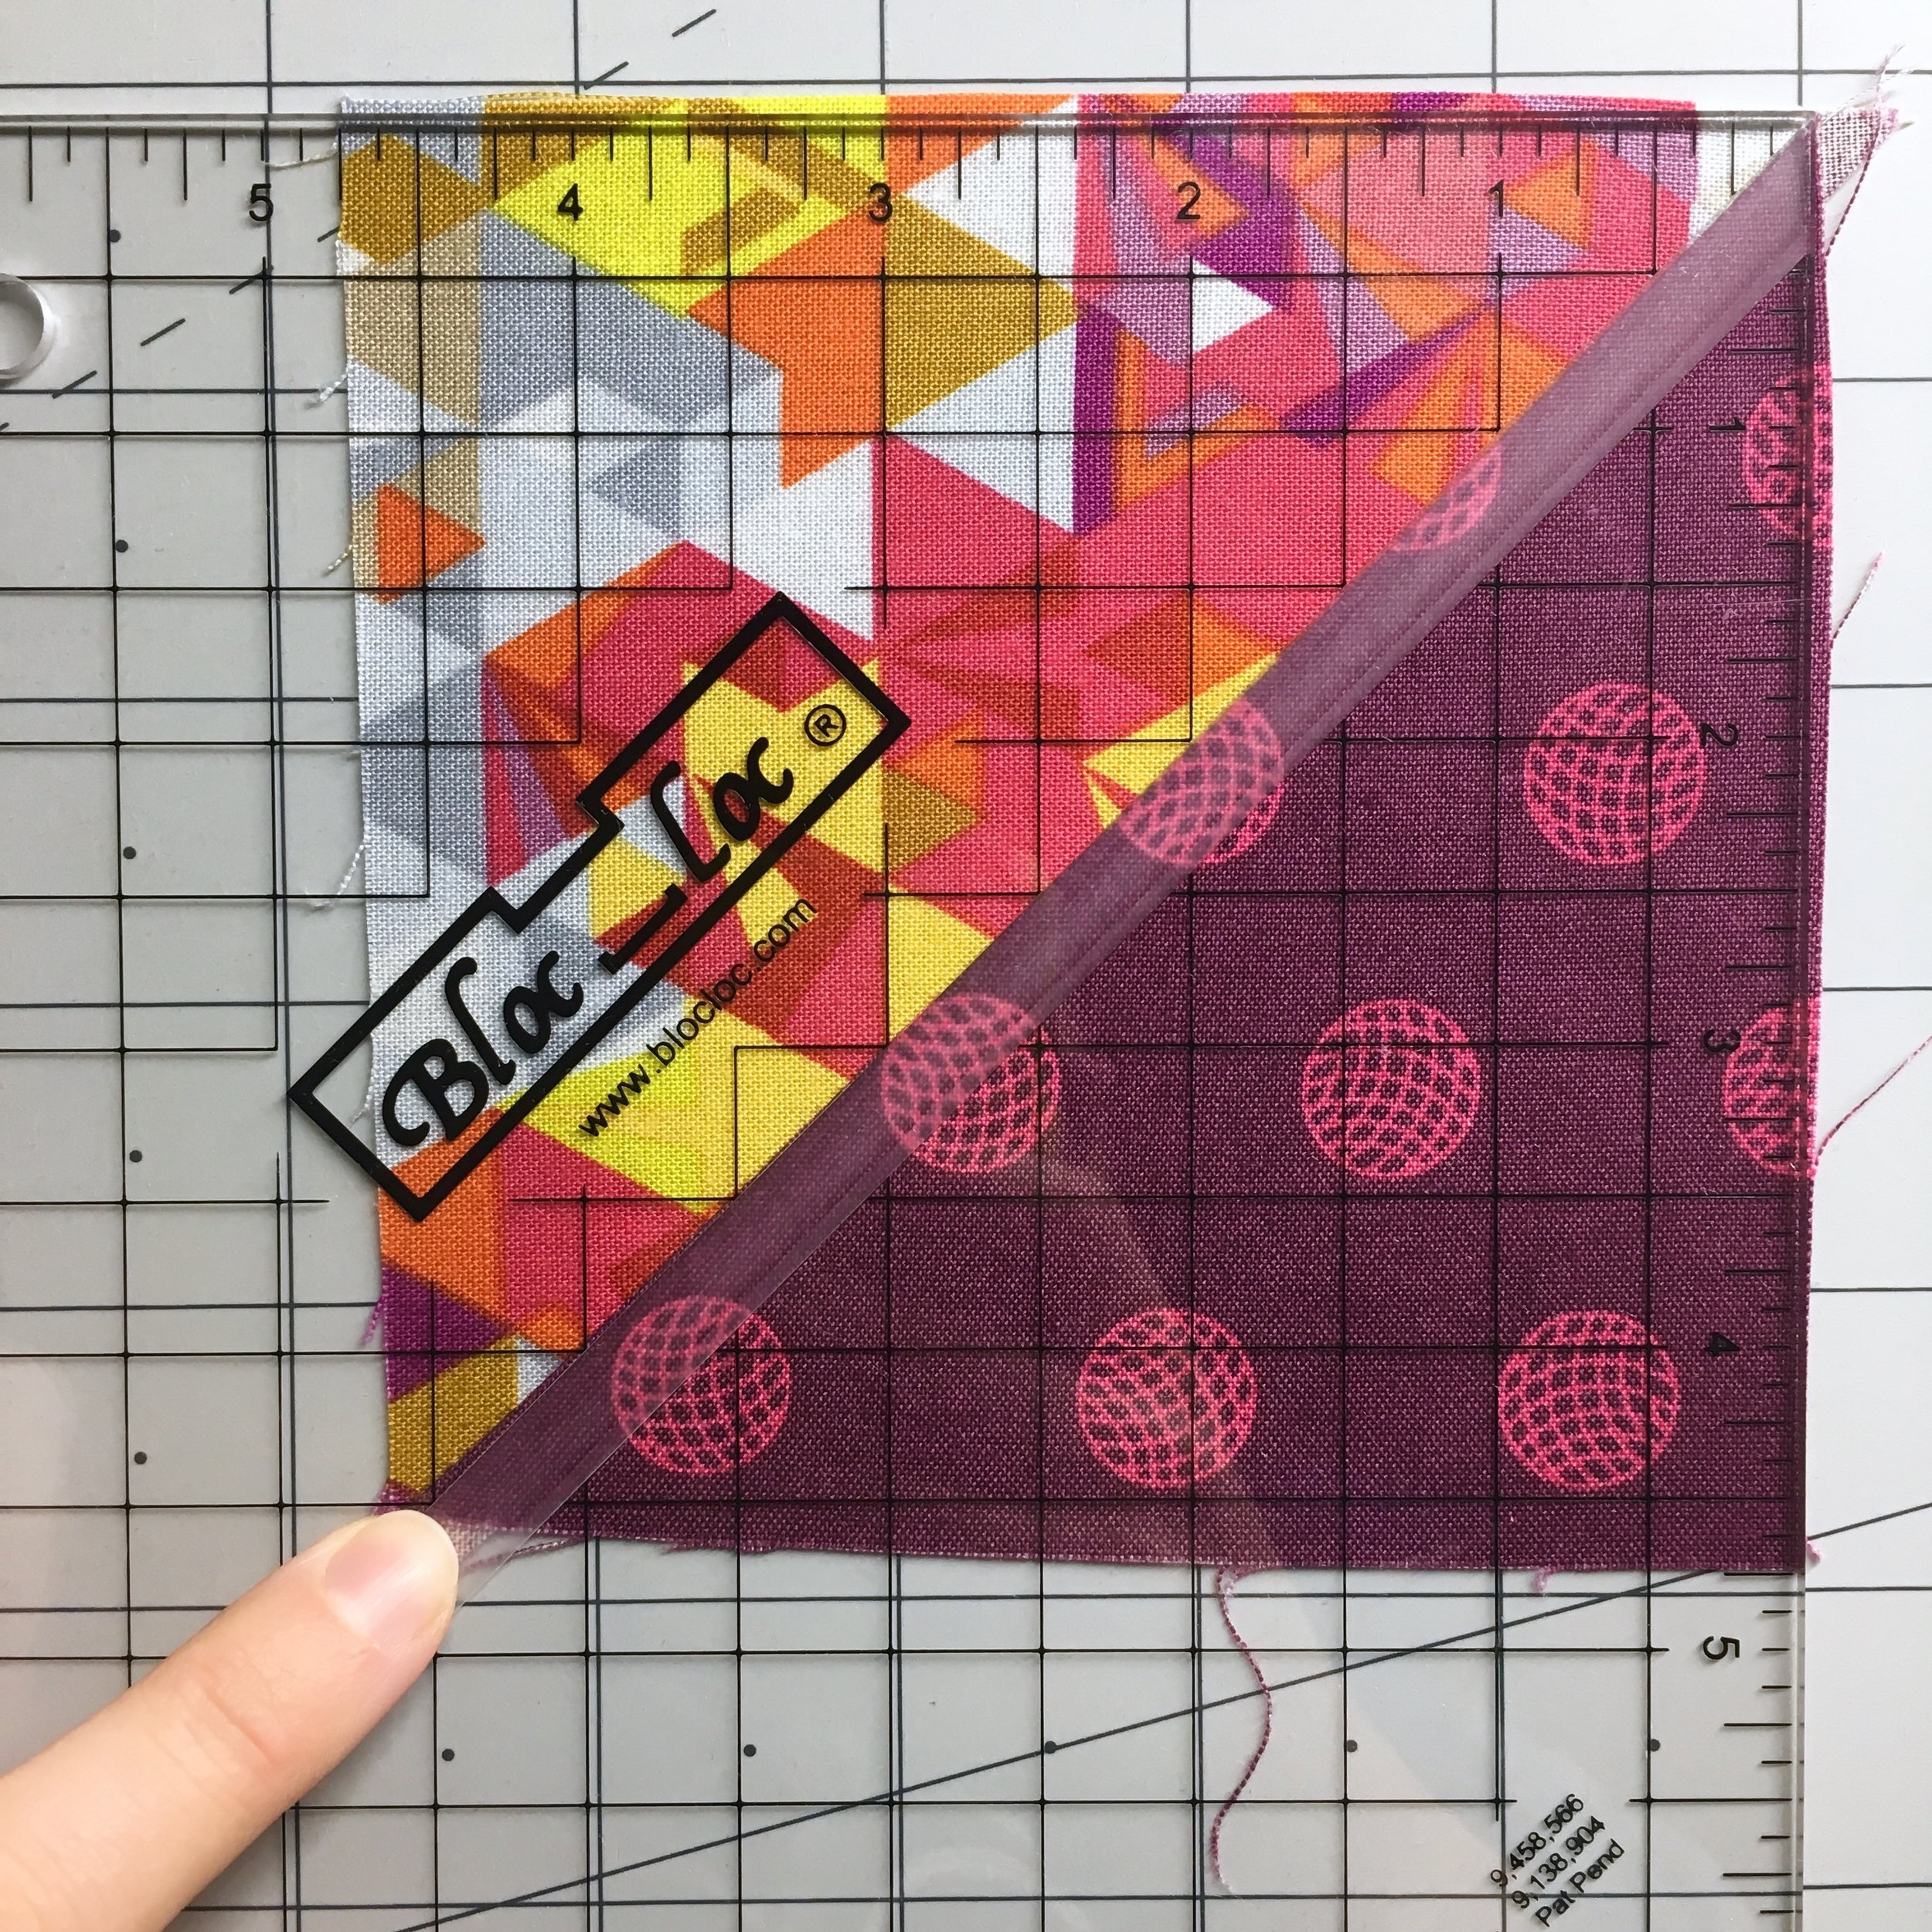
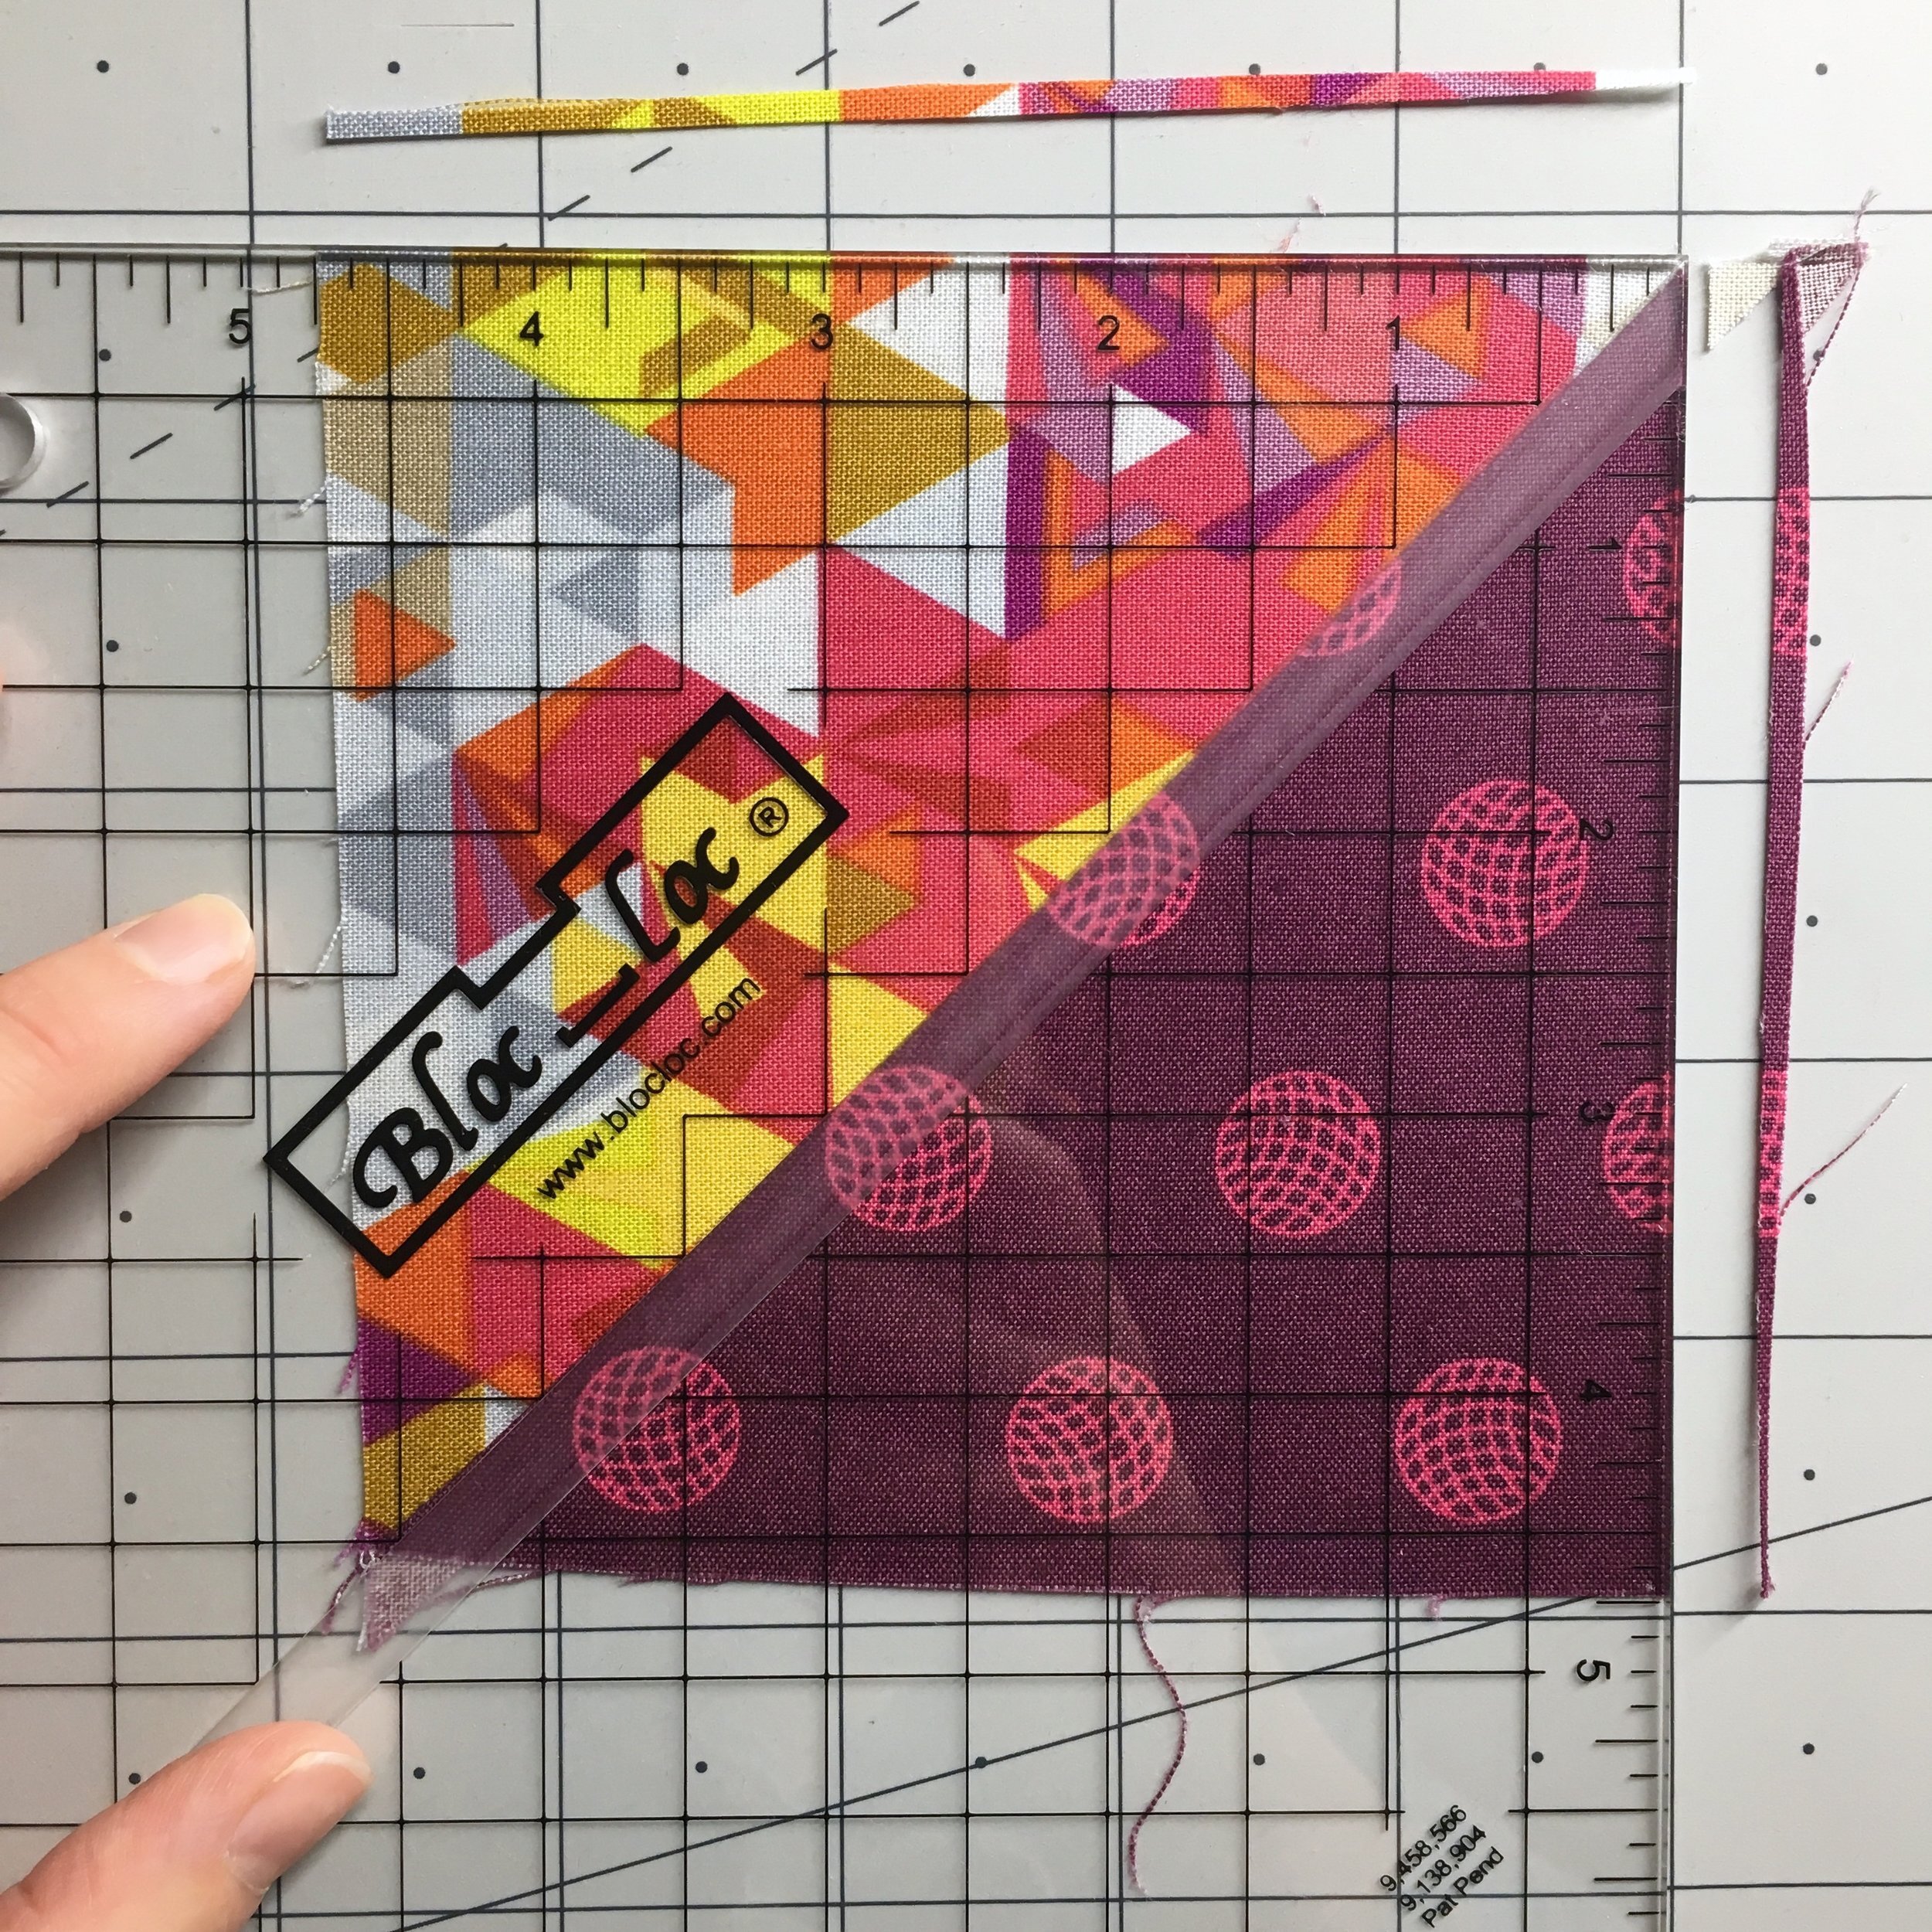
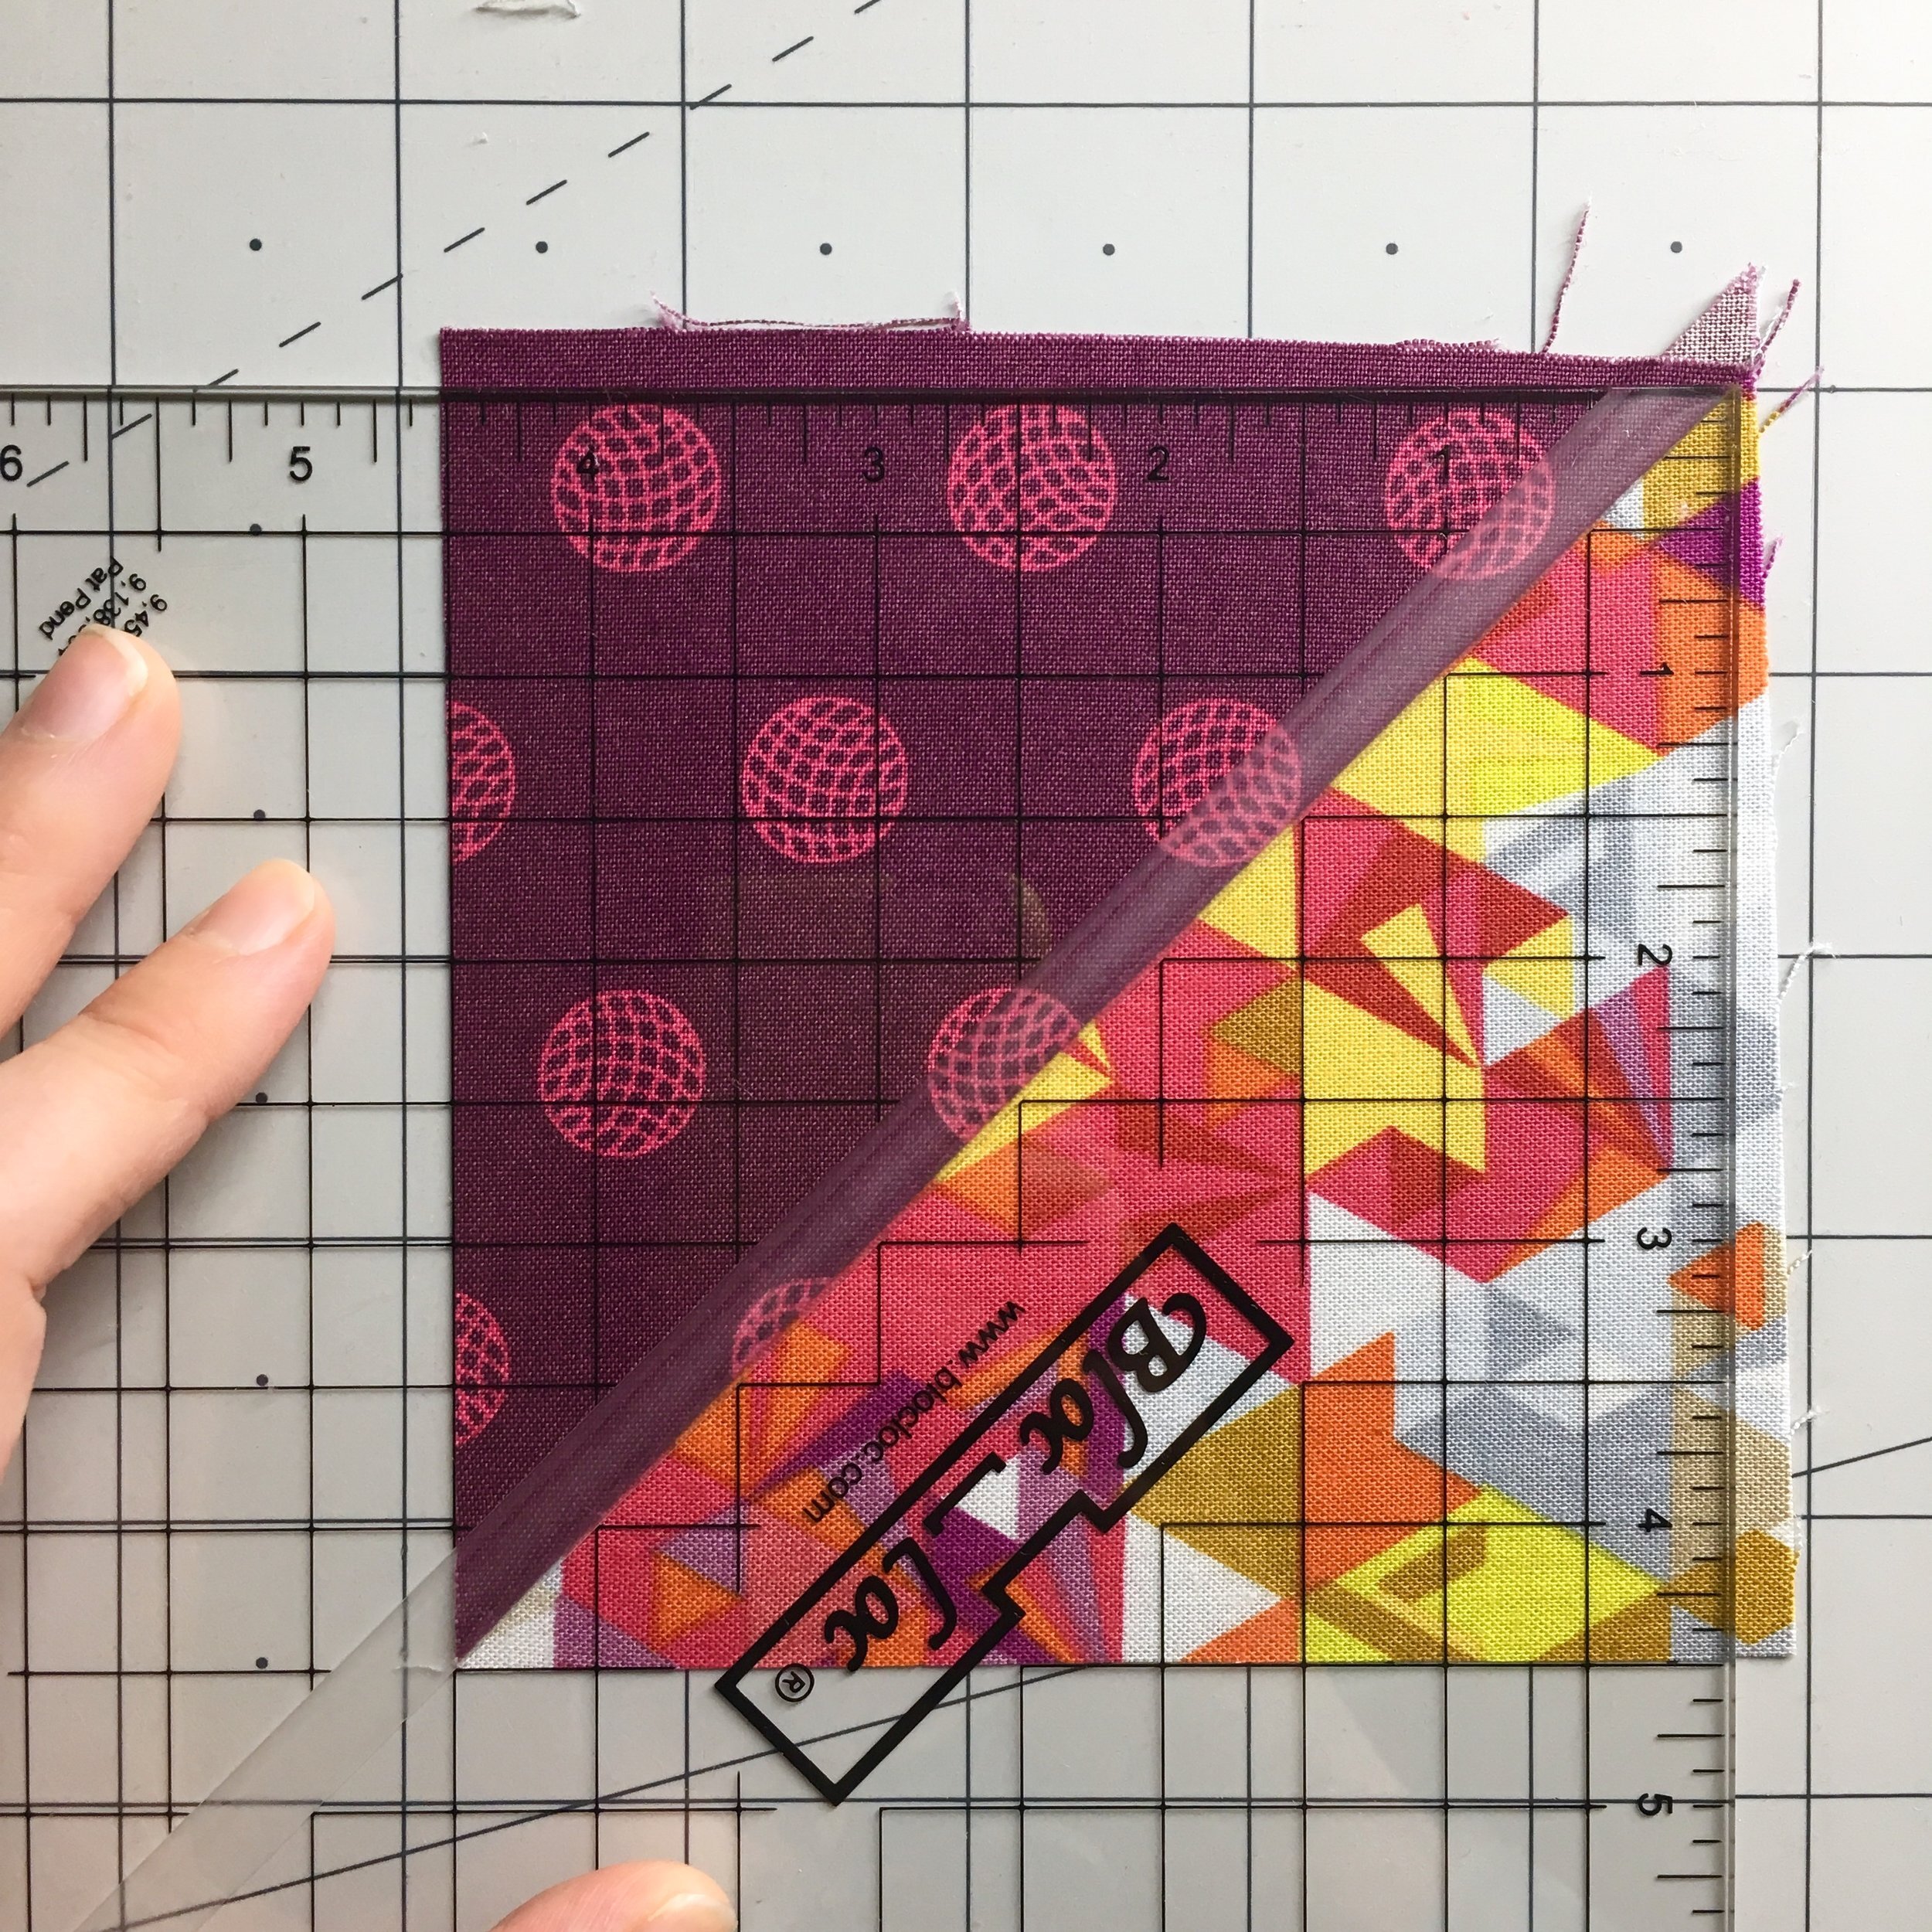
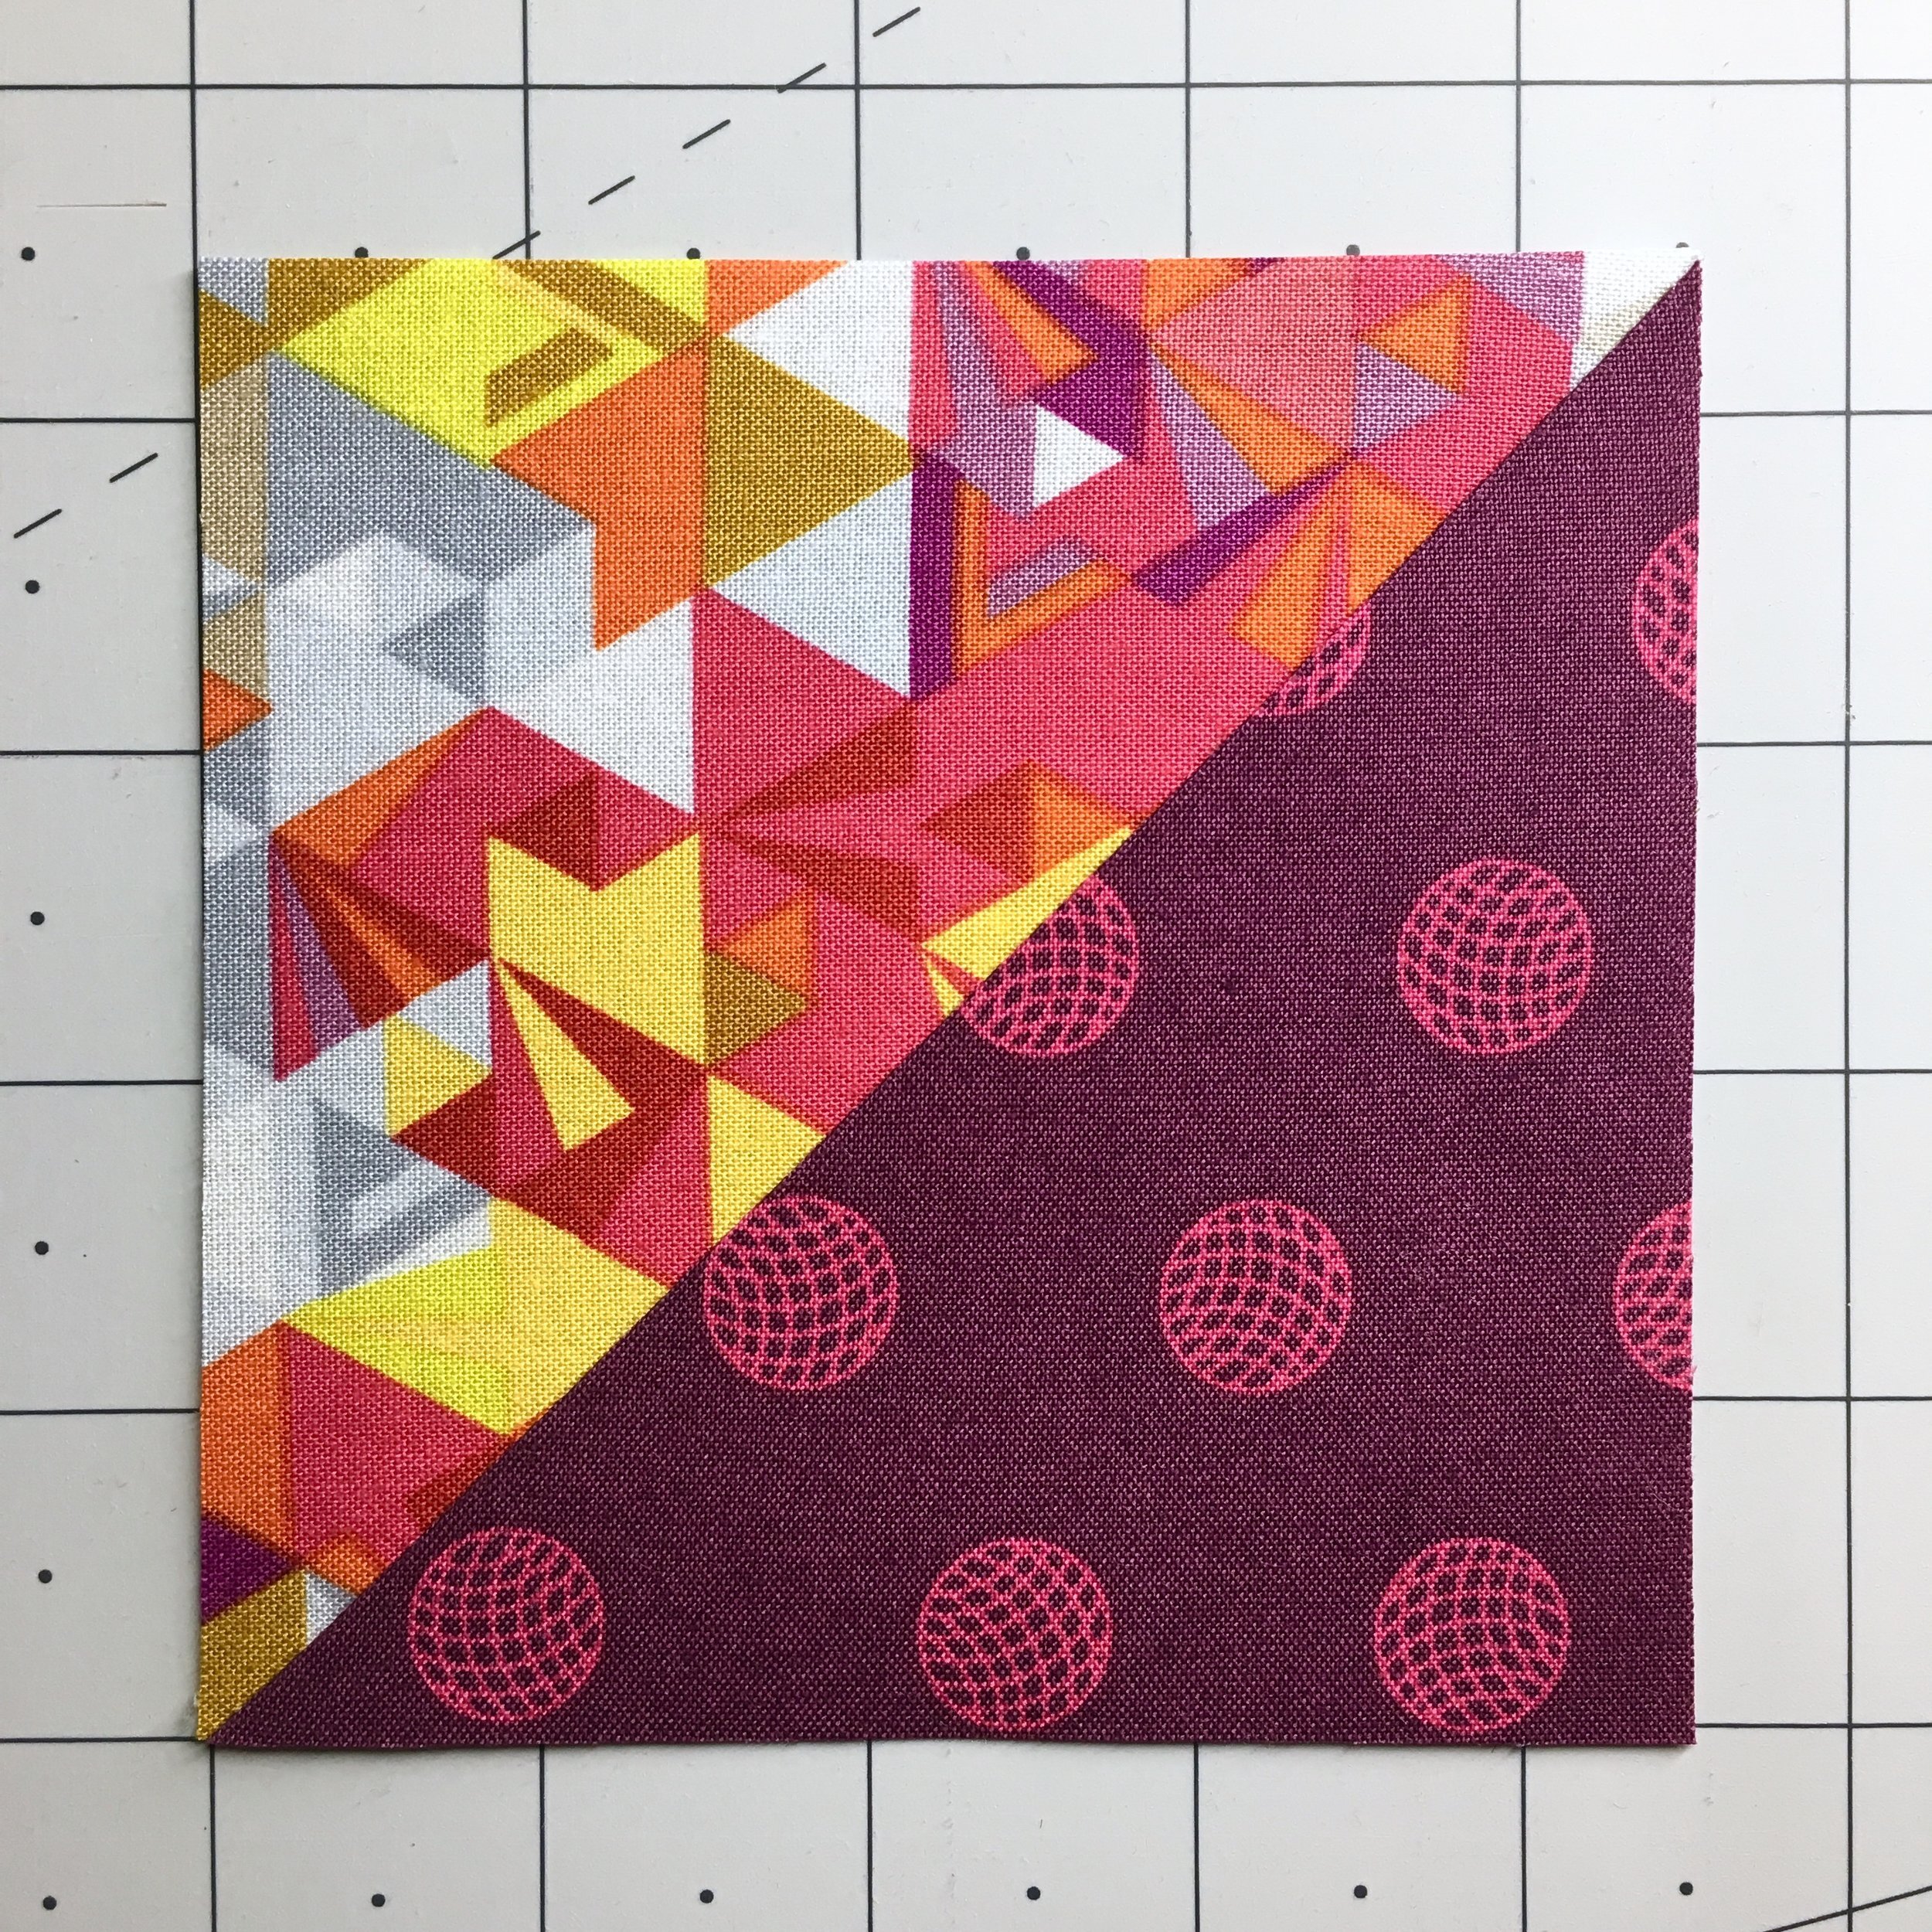
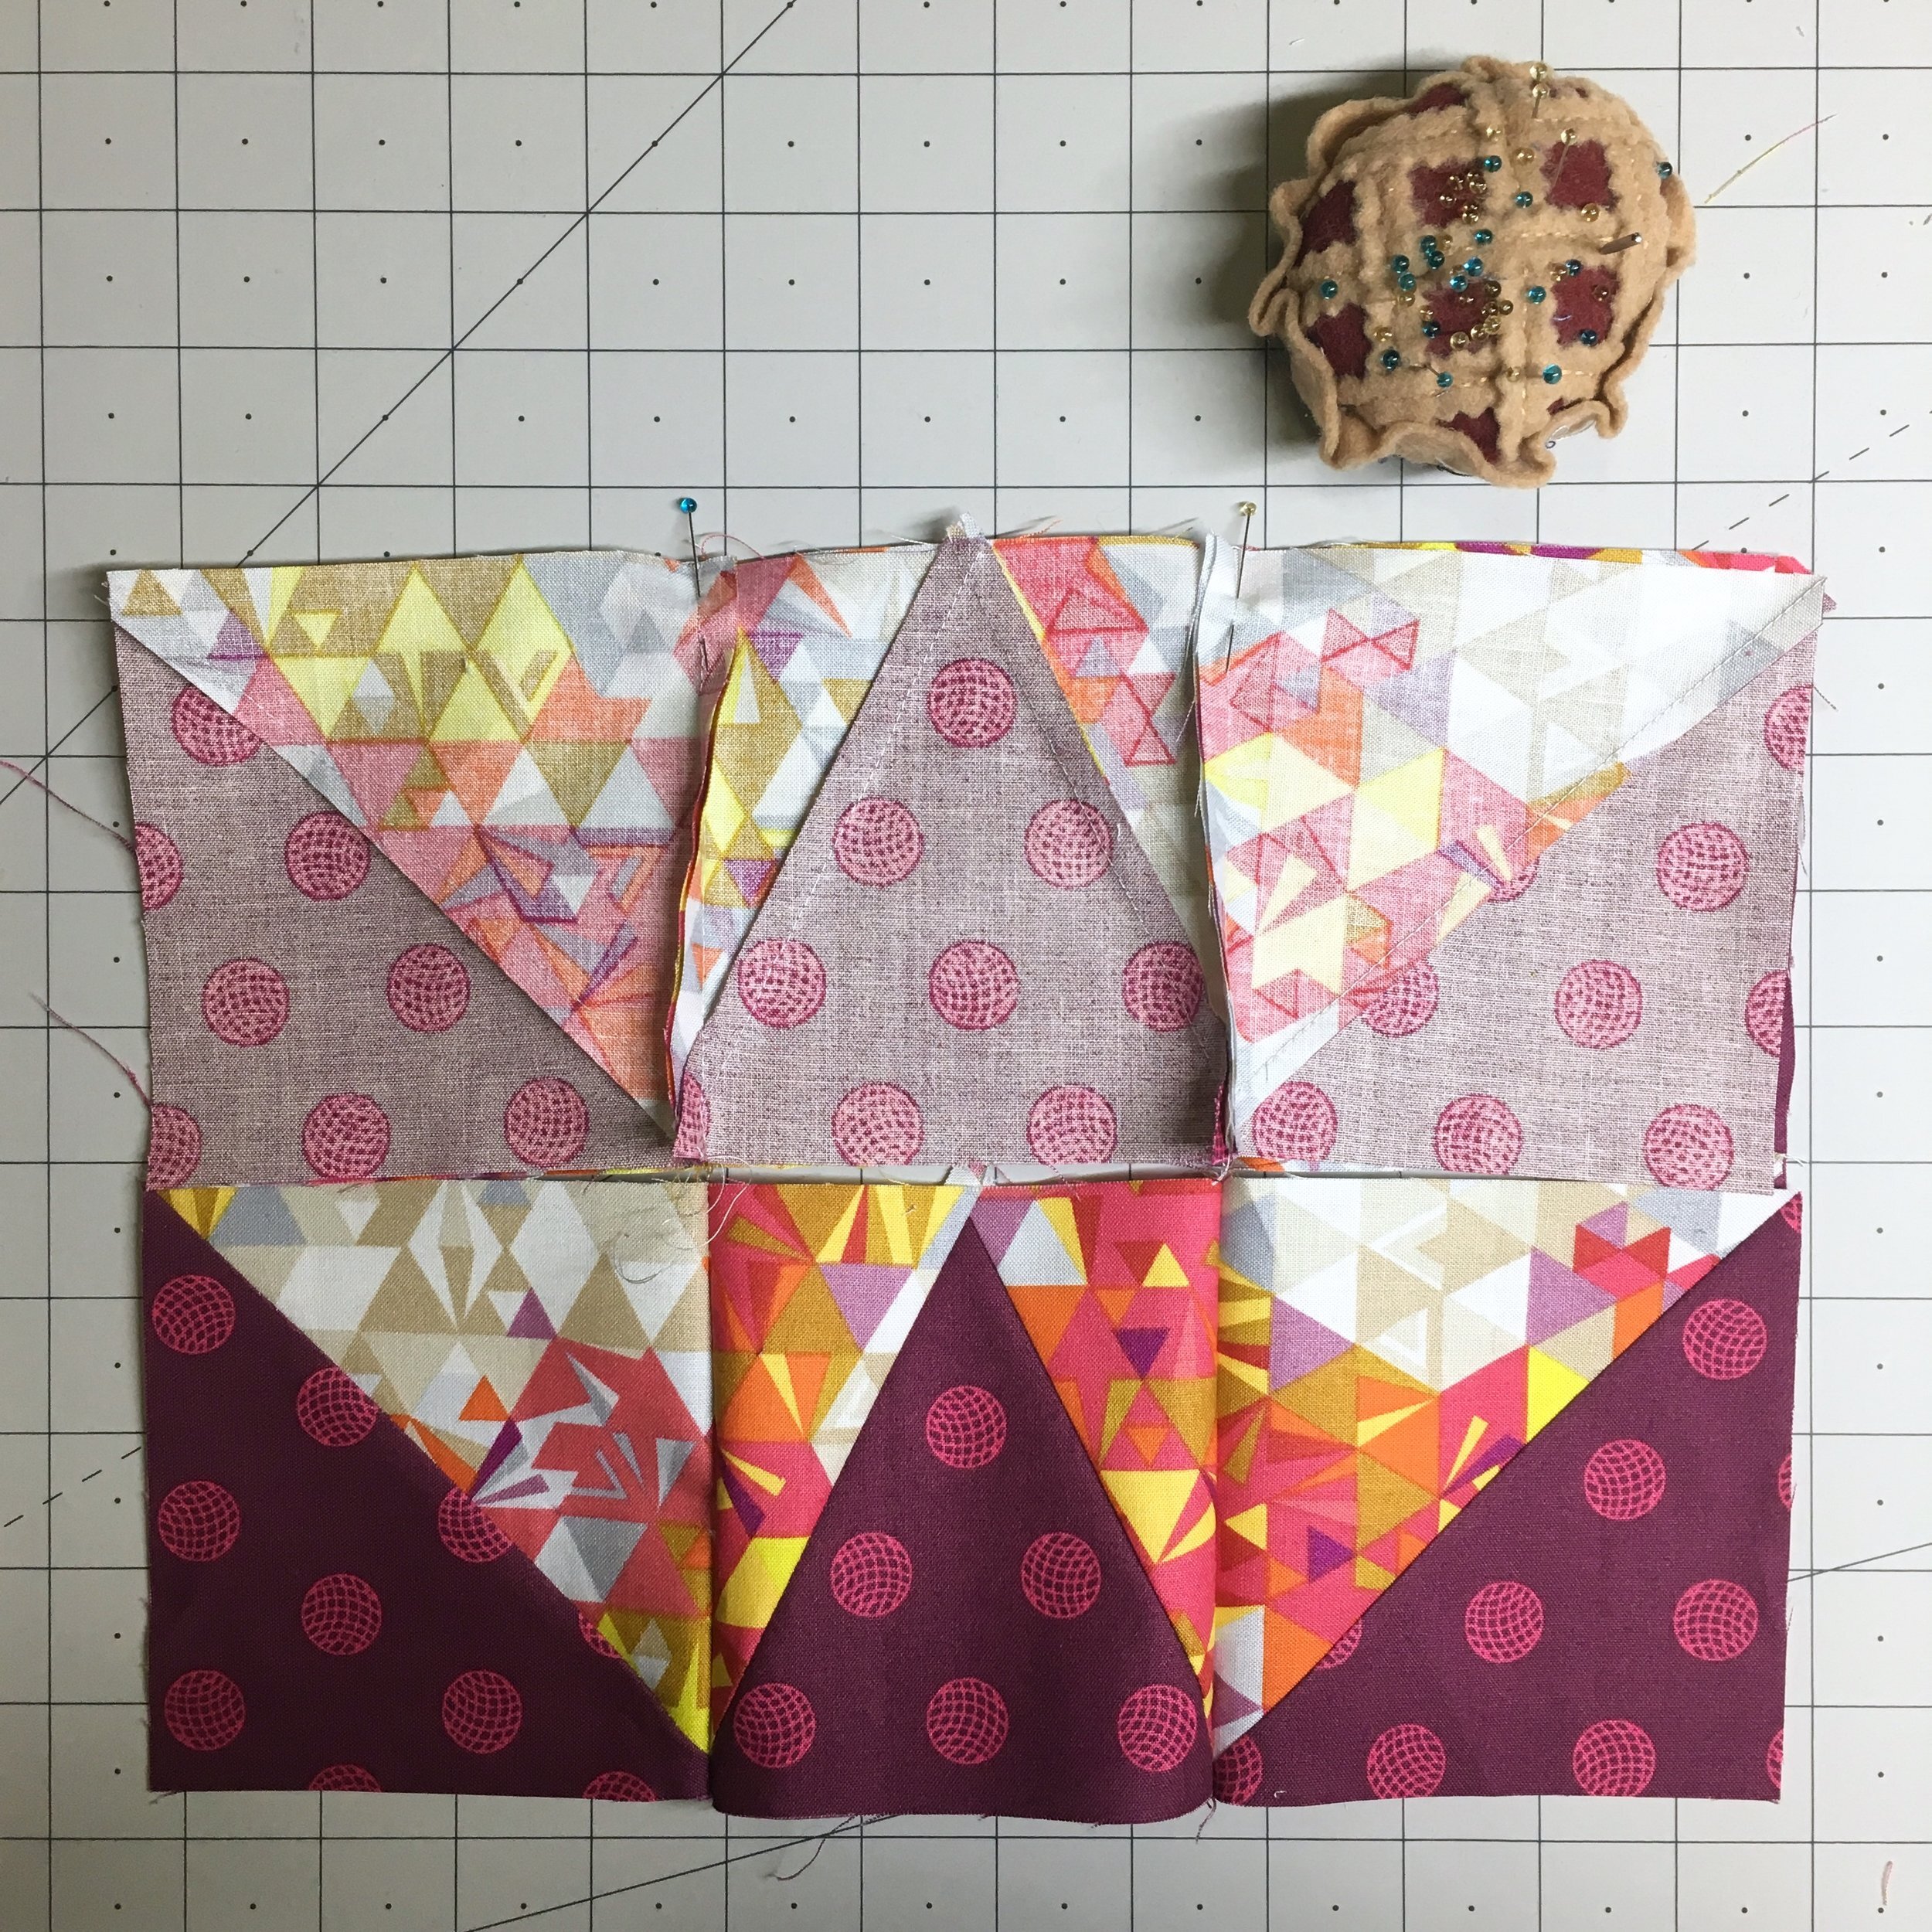
You may have noticed in the pressing pictures that our half square triangle is mighty wonky. That’s because half square triangles are usually trimmed before they are pieced into the quilt. Here I am using a nifty Bloc-Loc ruler, but any square rotary ruler can be used— just line up the diagonal line of the ruler over the seam.
First, get an idea of how much extra fabric you have. This unit needs to be trimmed to 4 1/2 inches, so you can see I had over a quarter of an inch of “wiggle room” to square up the block.
Next, line up your ruler to trim two sides, leaving some excess fabric to trim off the other two sides
Trim, rotate, repeat (To learn how to use a rotary cutter safely, visit this post)
Voila! A gorgeous squared up half square triangle!

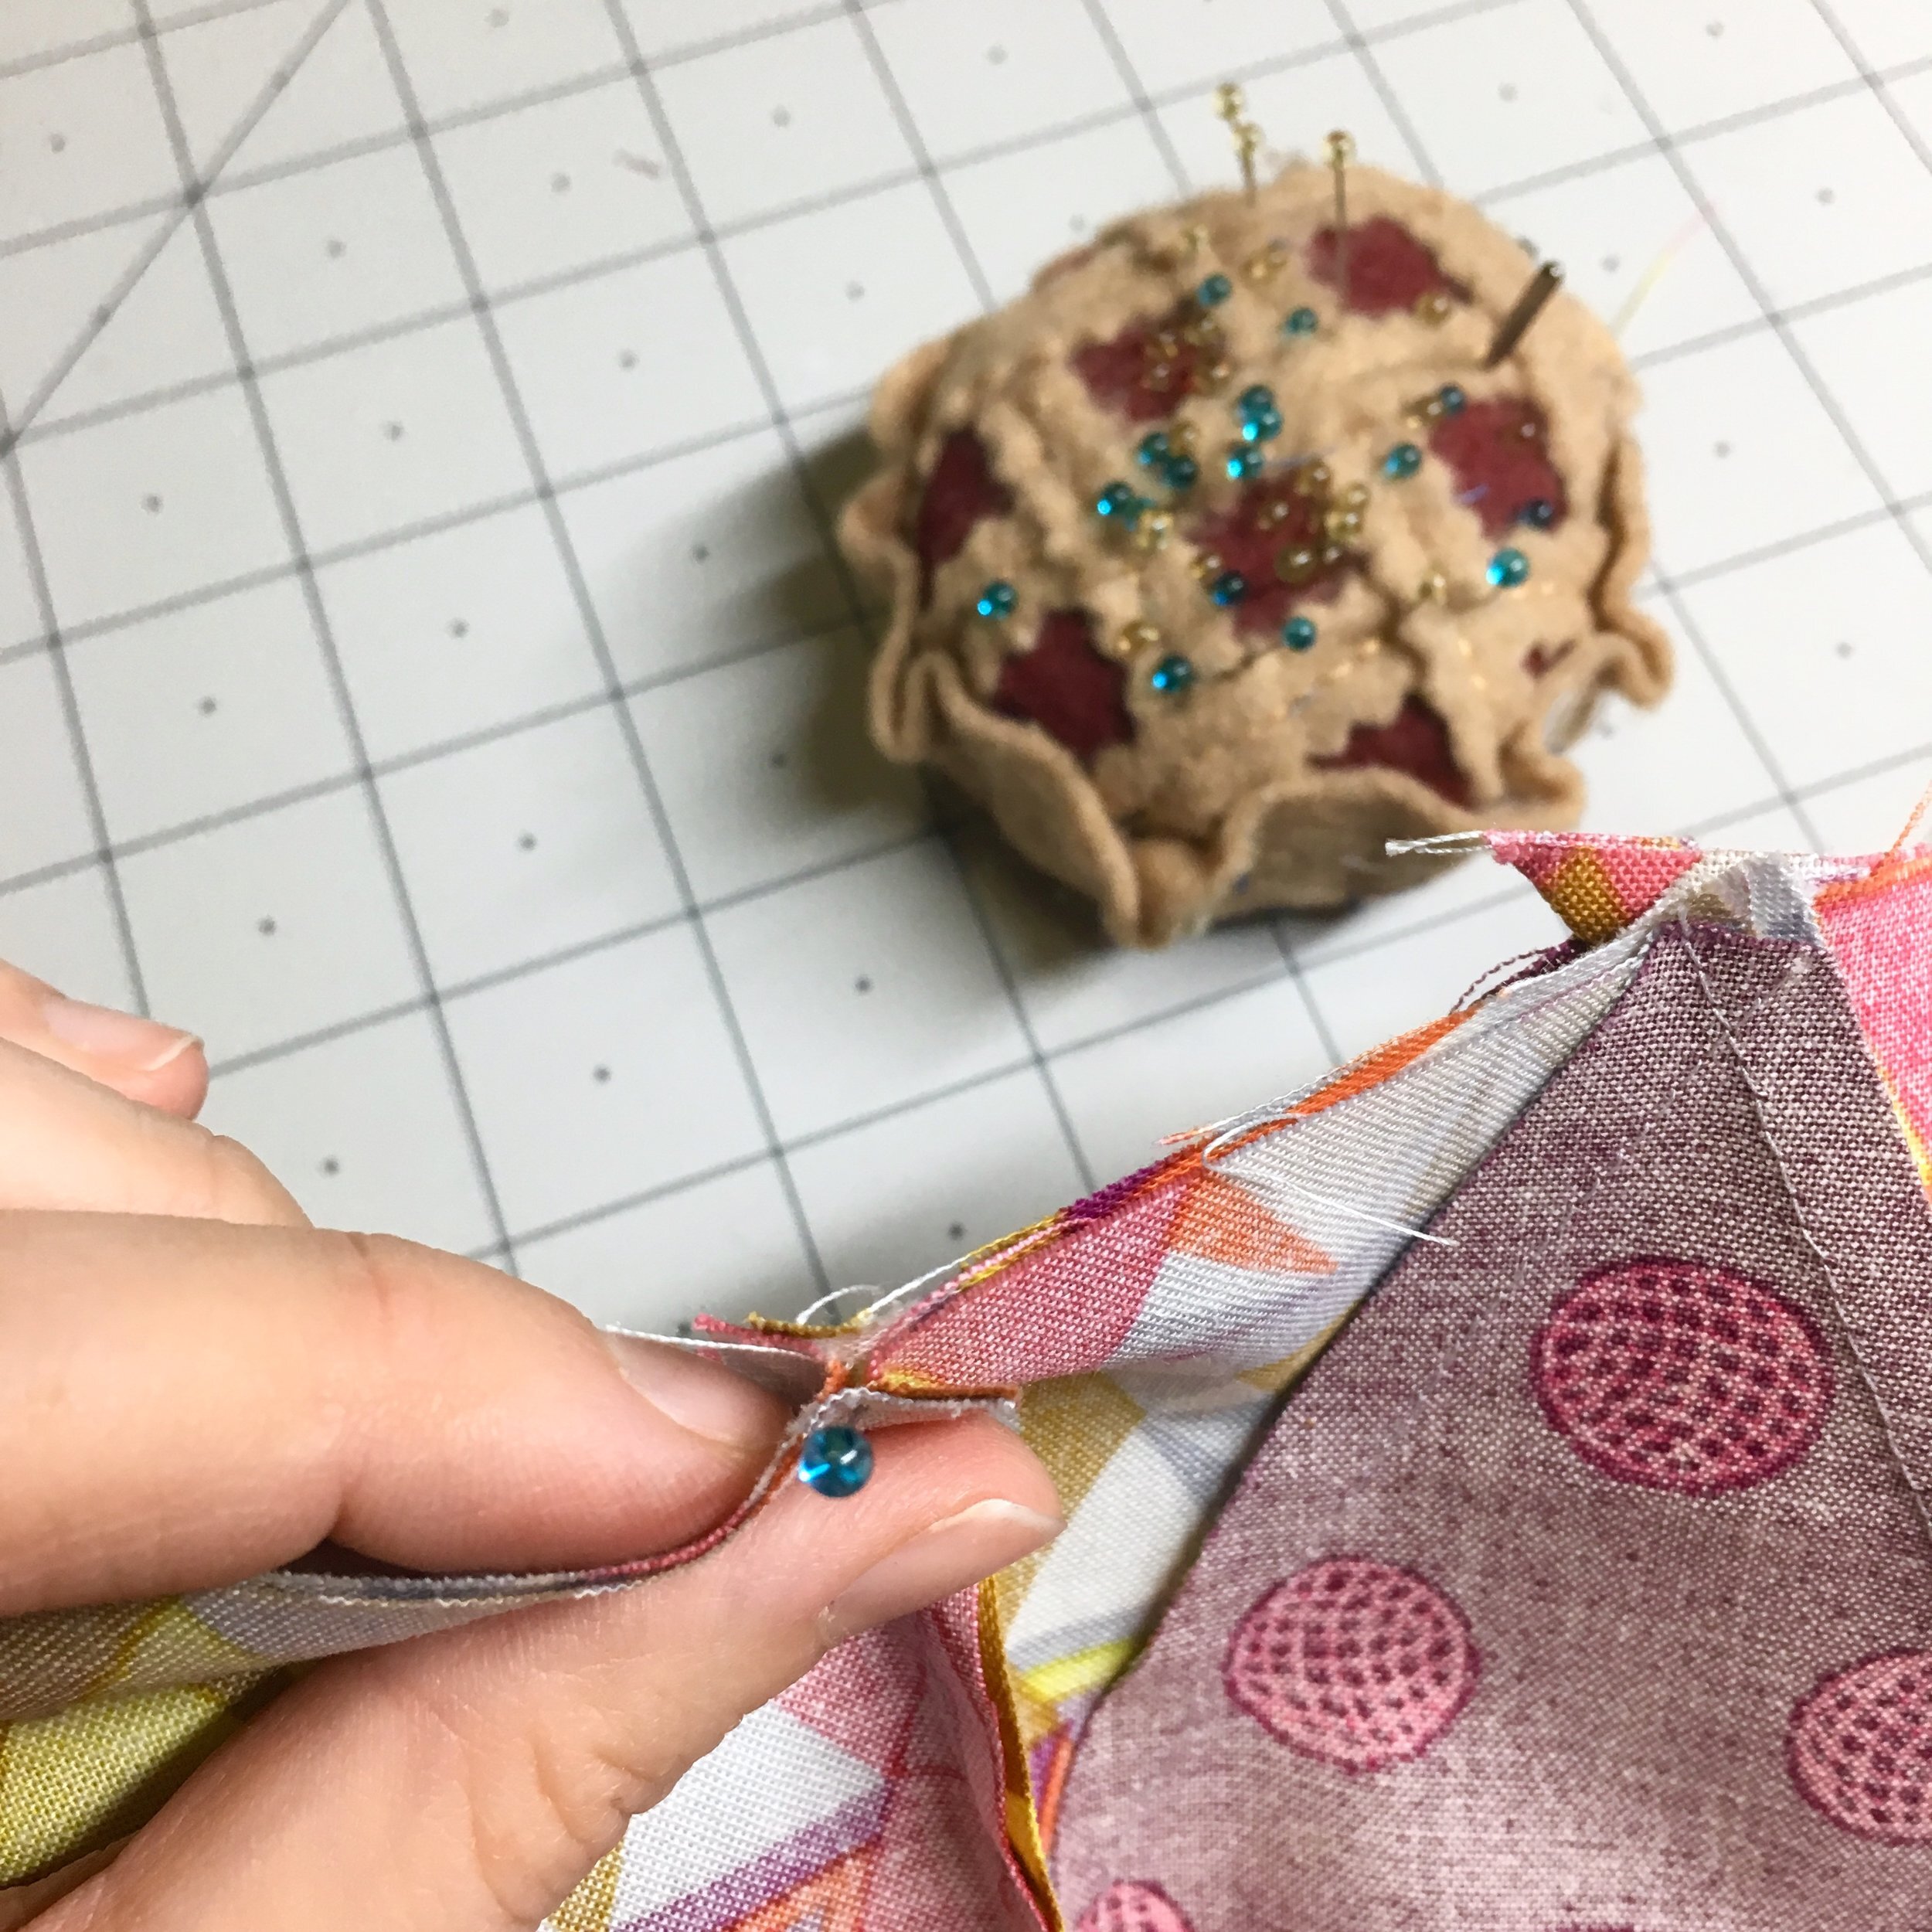
For quarter square triangles and for entire blocks, make a mark or put a piece of washi tape on your ruler where the center of the block needs to line up. Trim two sides, rotate, trim the other two. Be very careful as I find that the ruler tends to slip a bit when trimming these, and you don’t want to either slice up your block or your finger.
Tips for Pressing Blocks
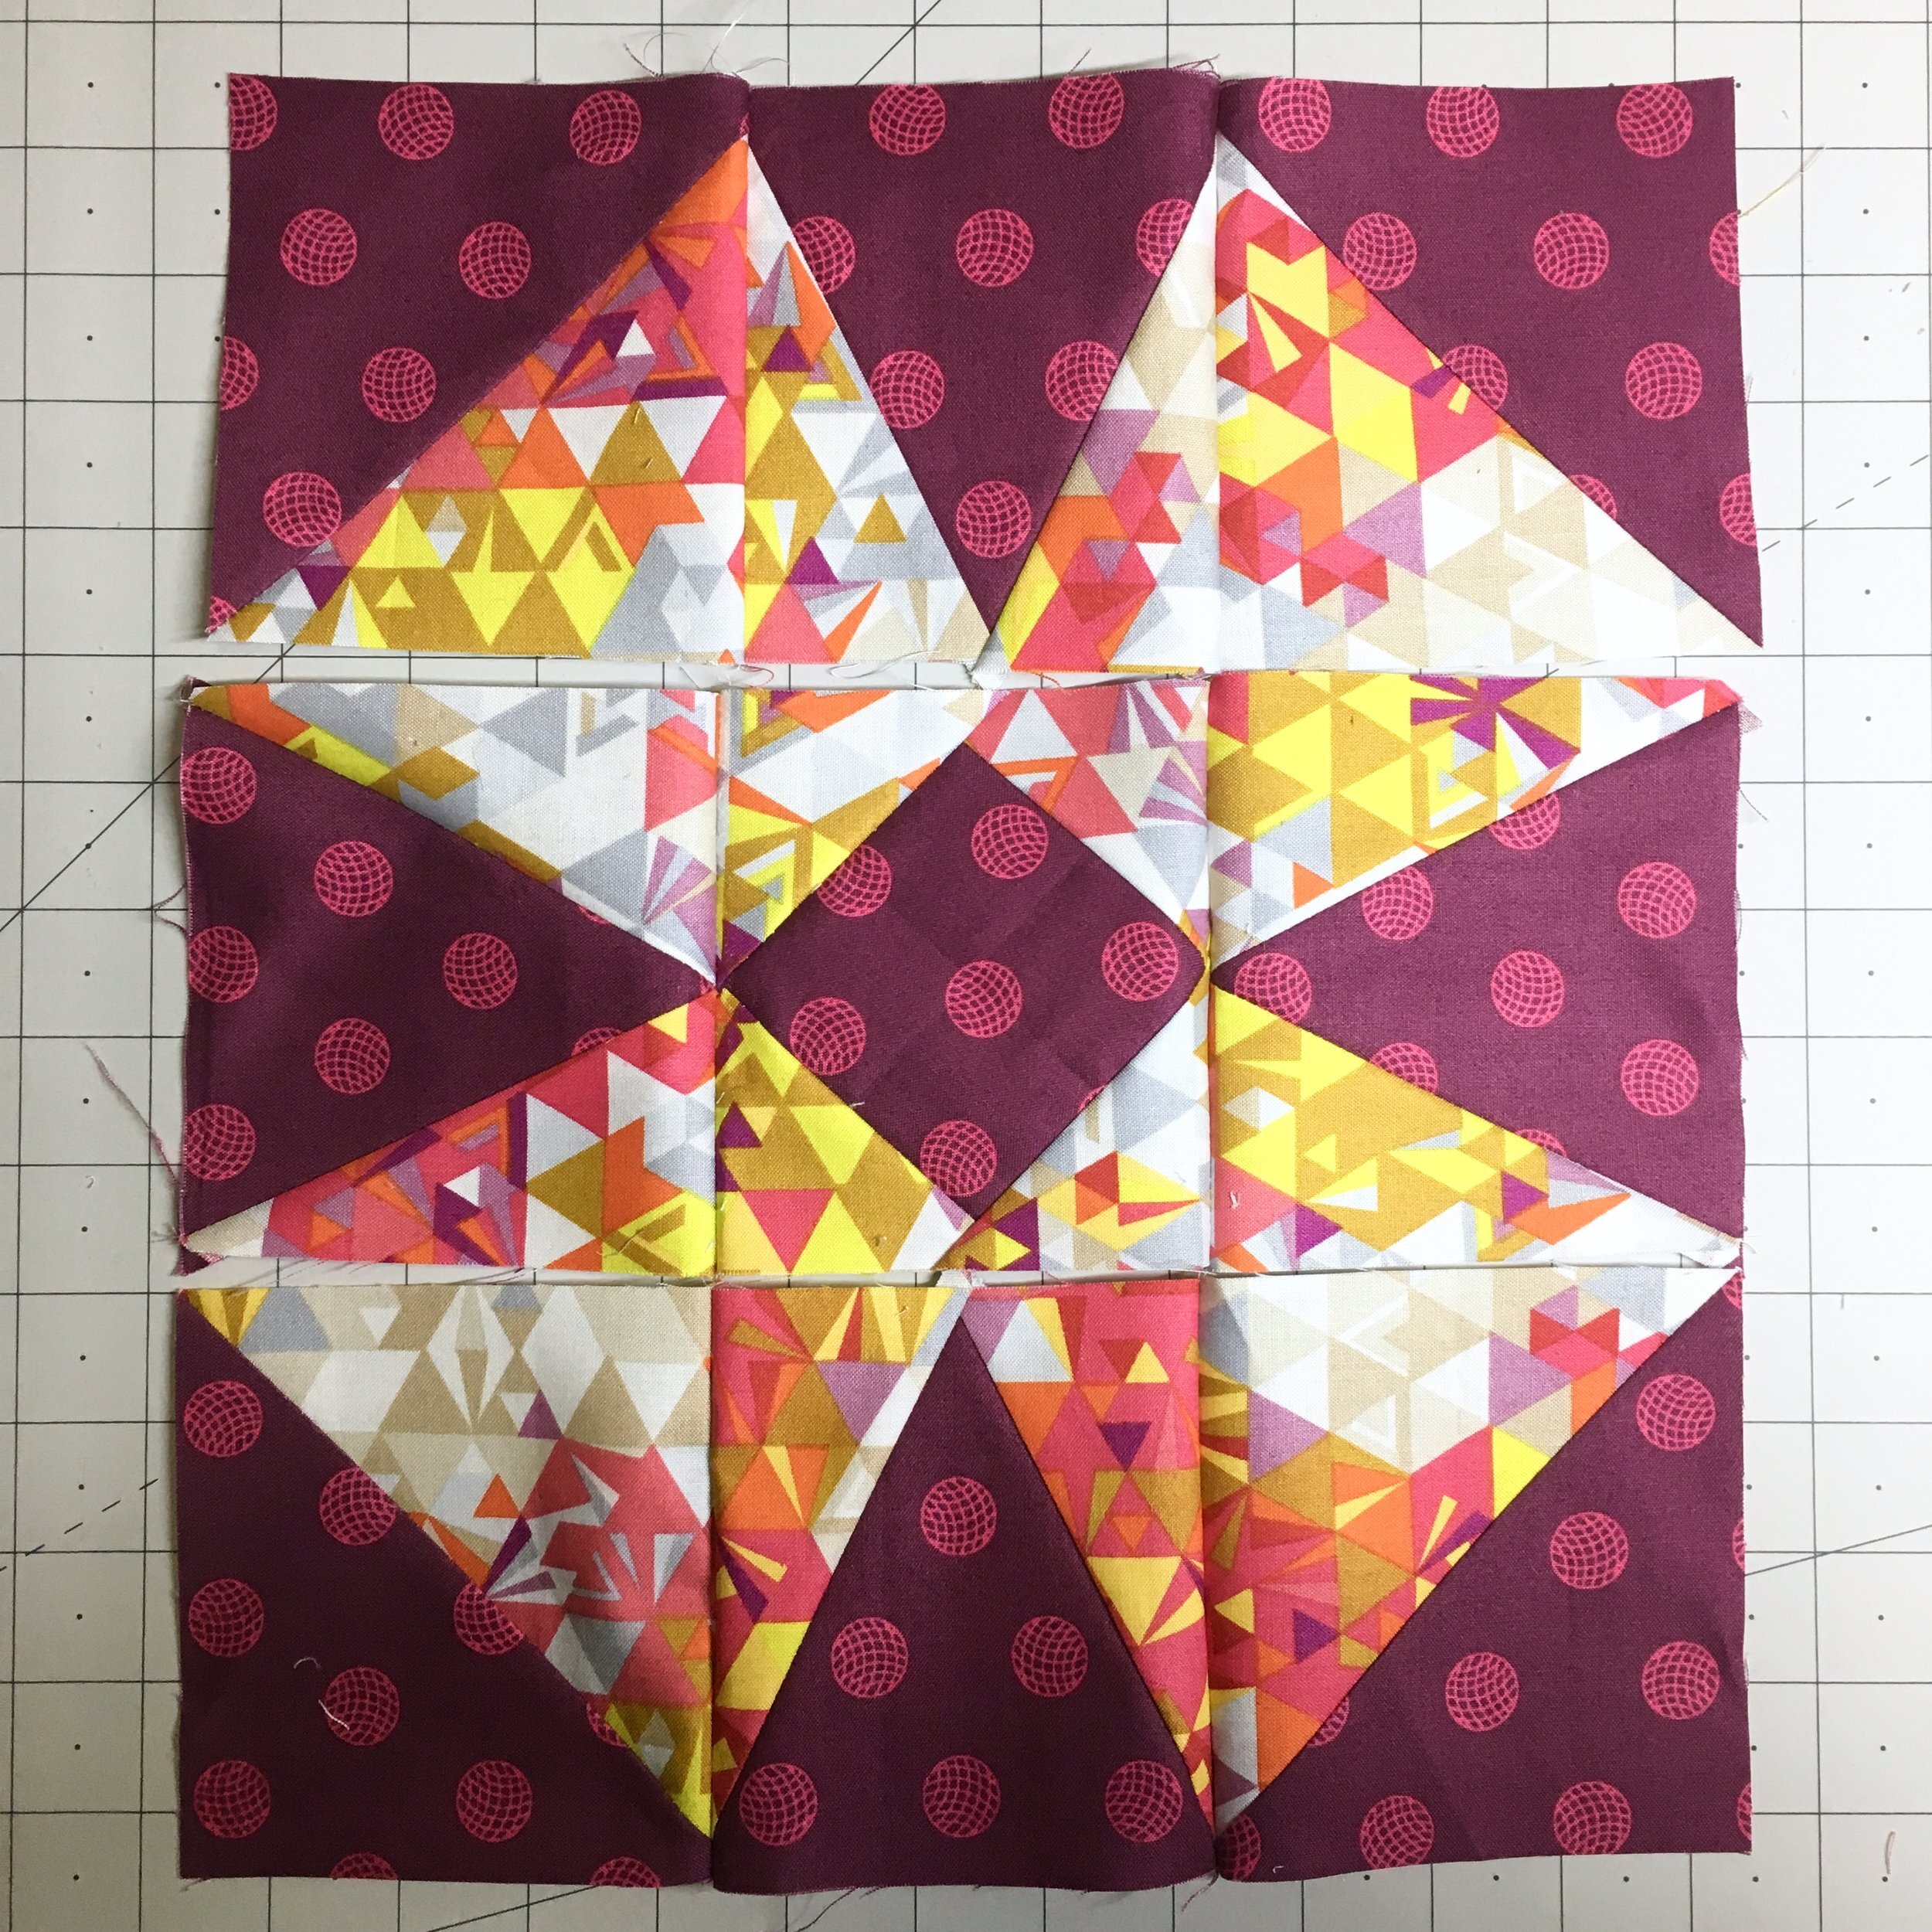
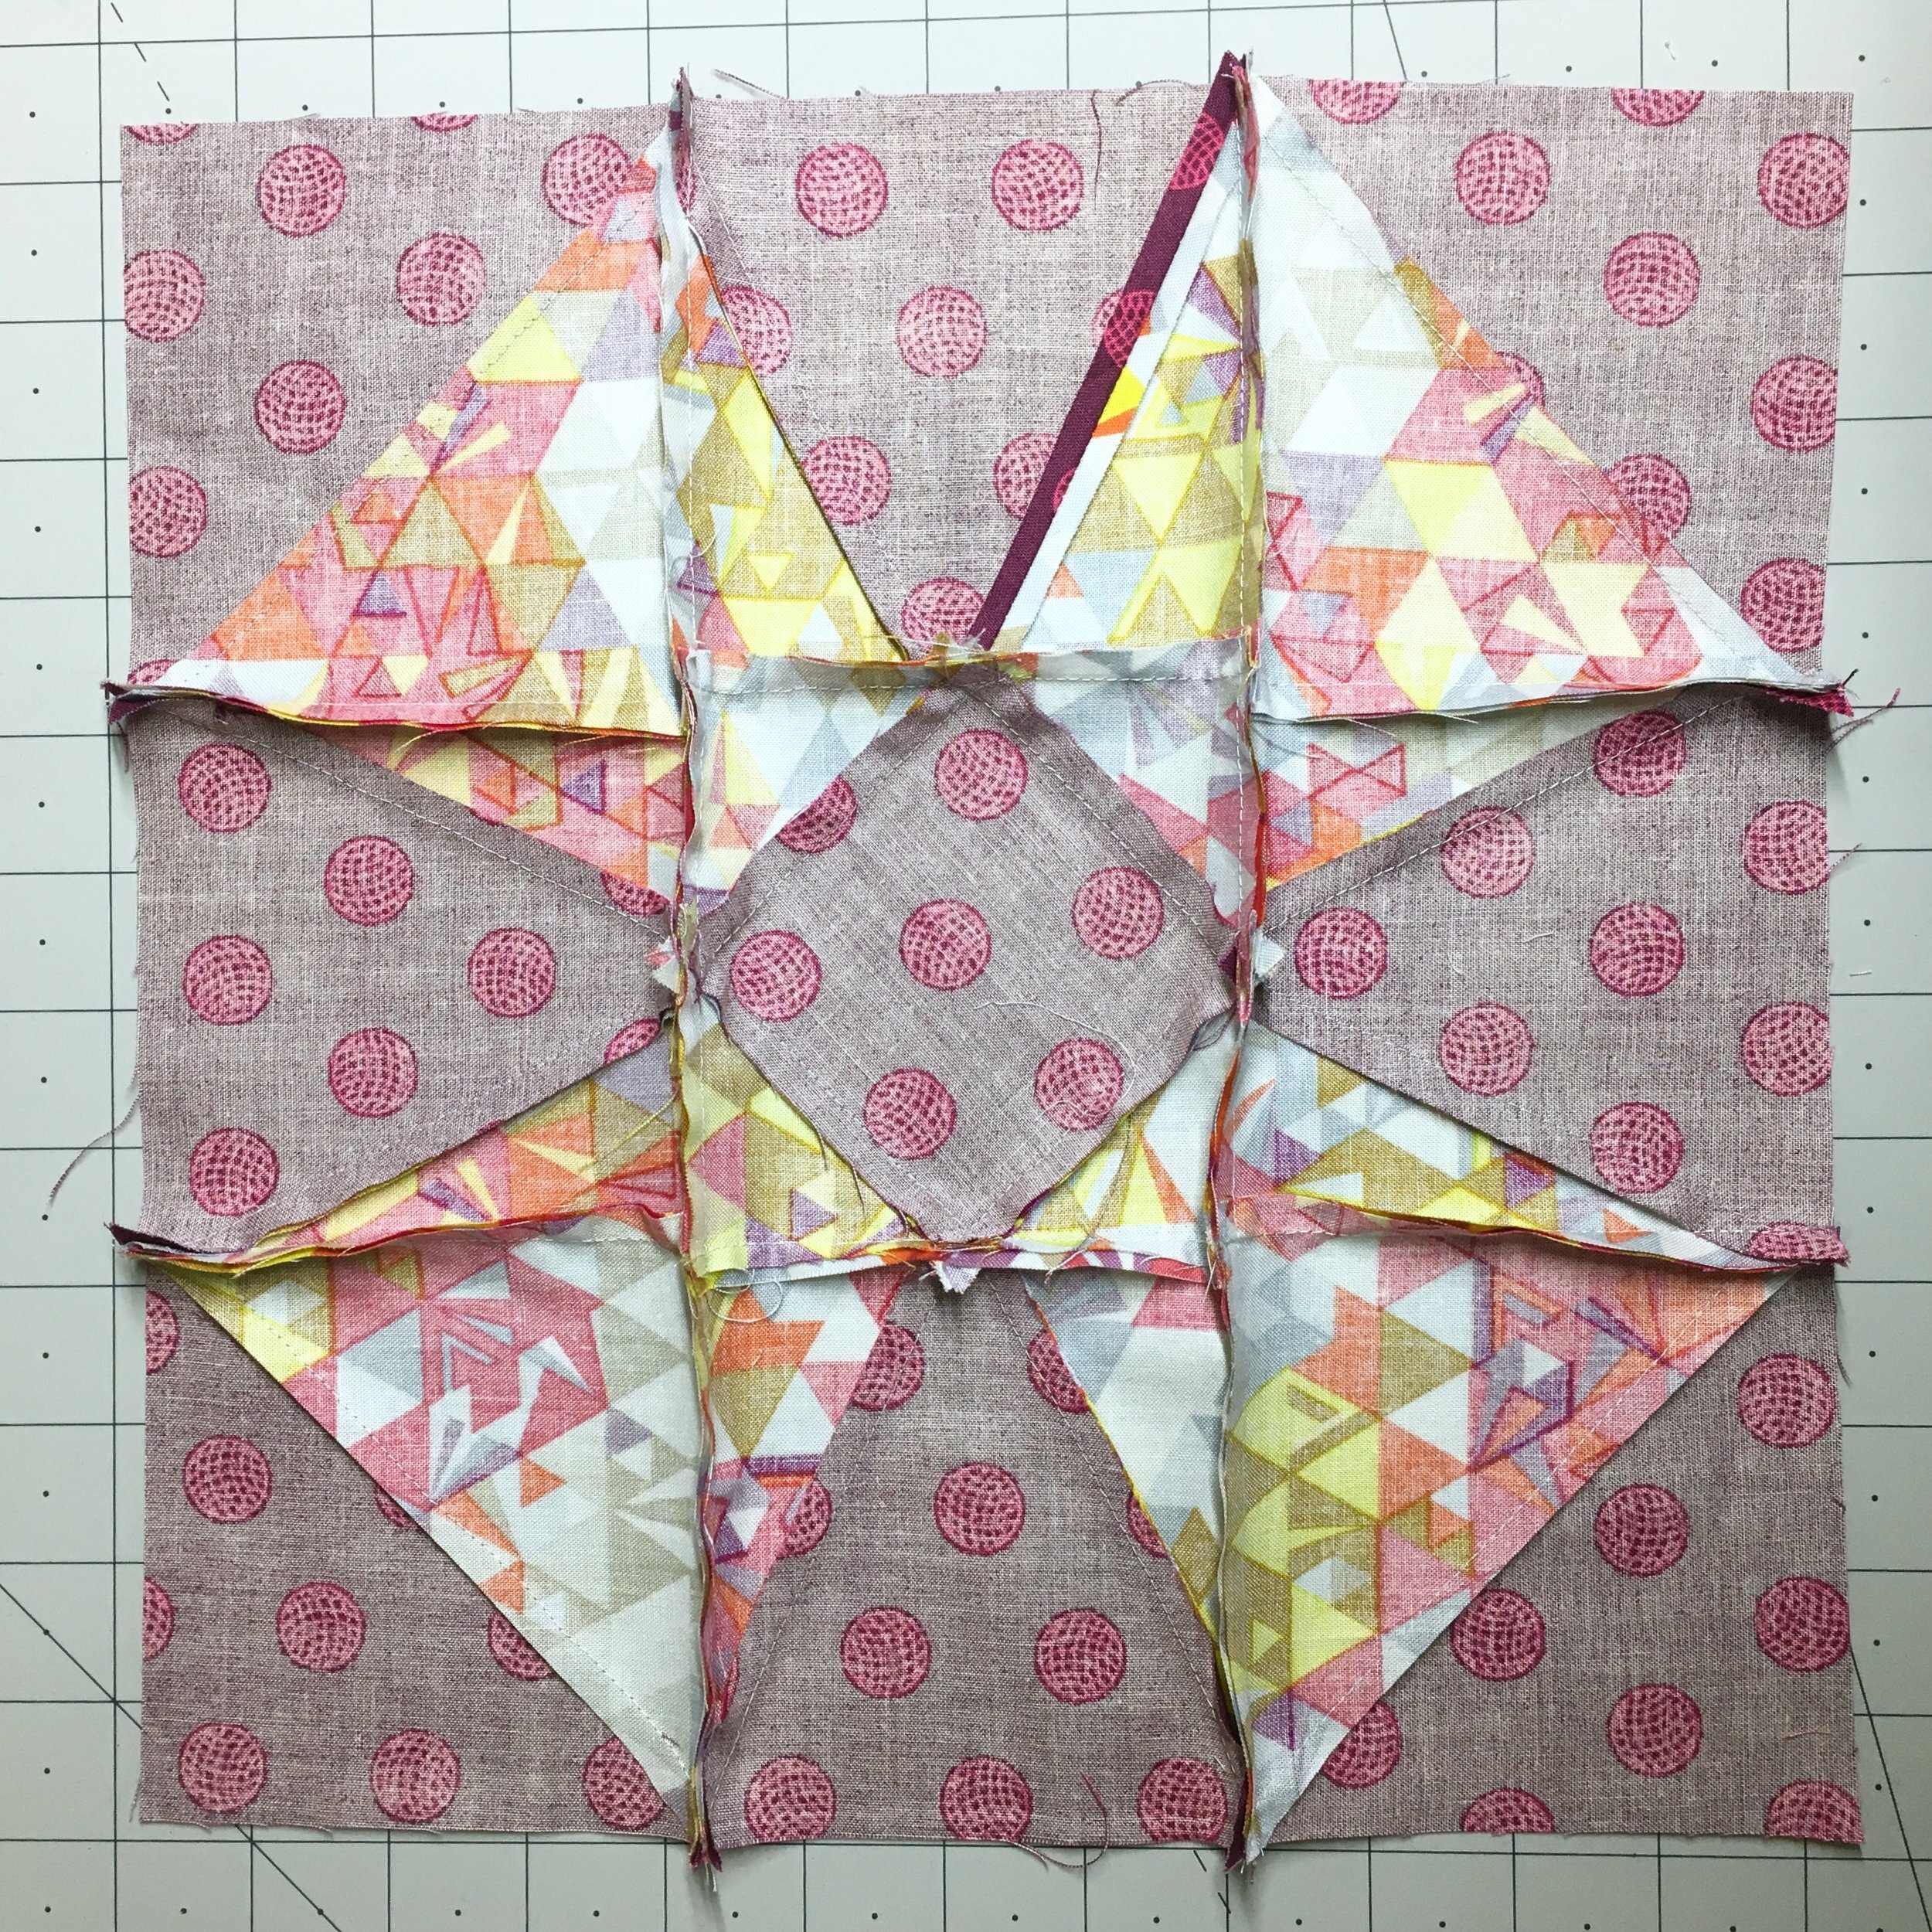
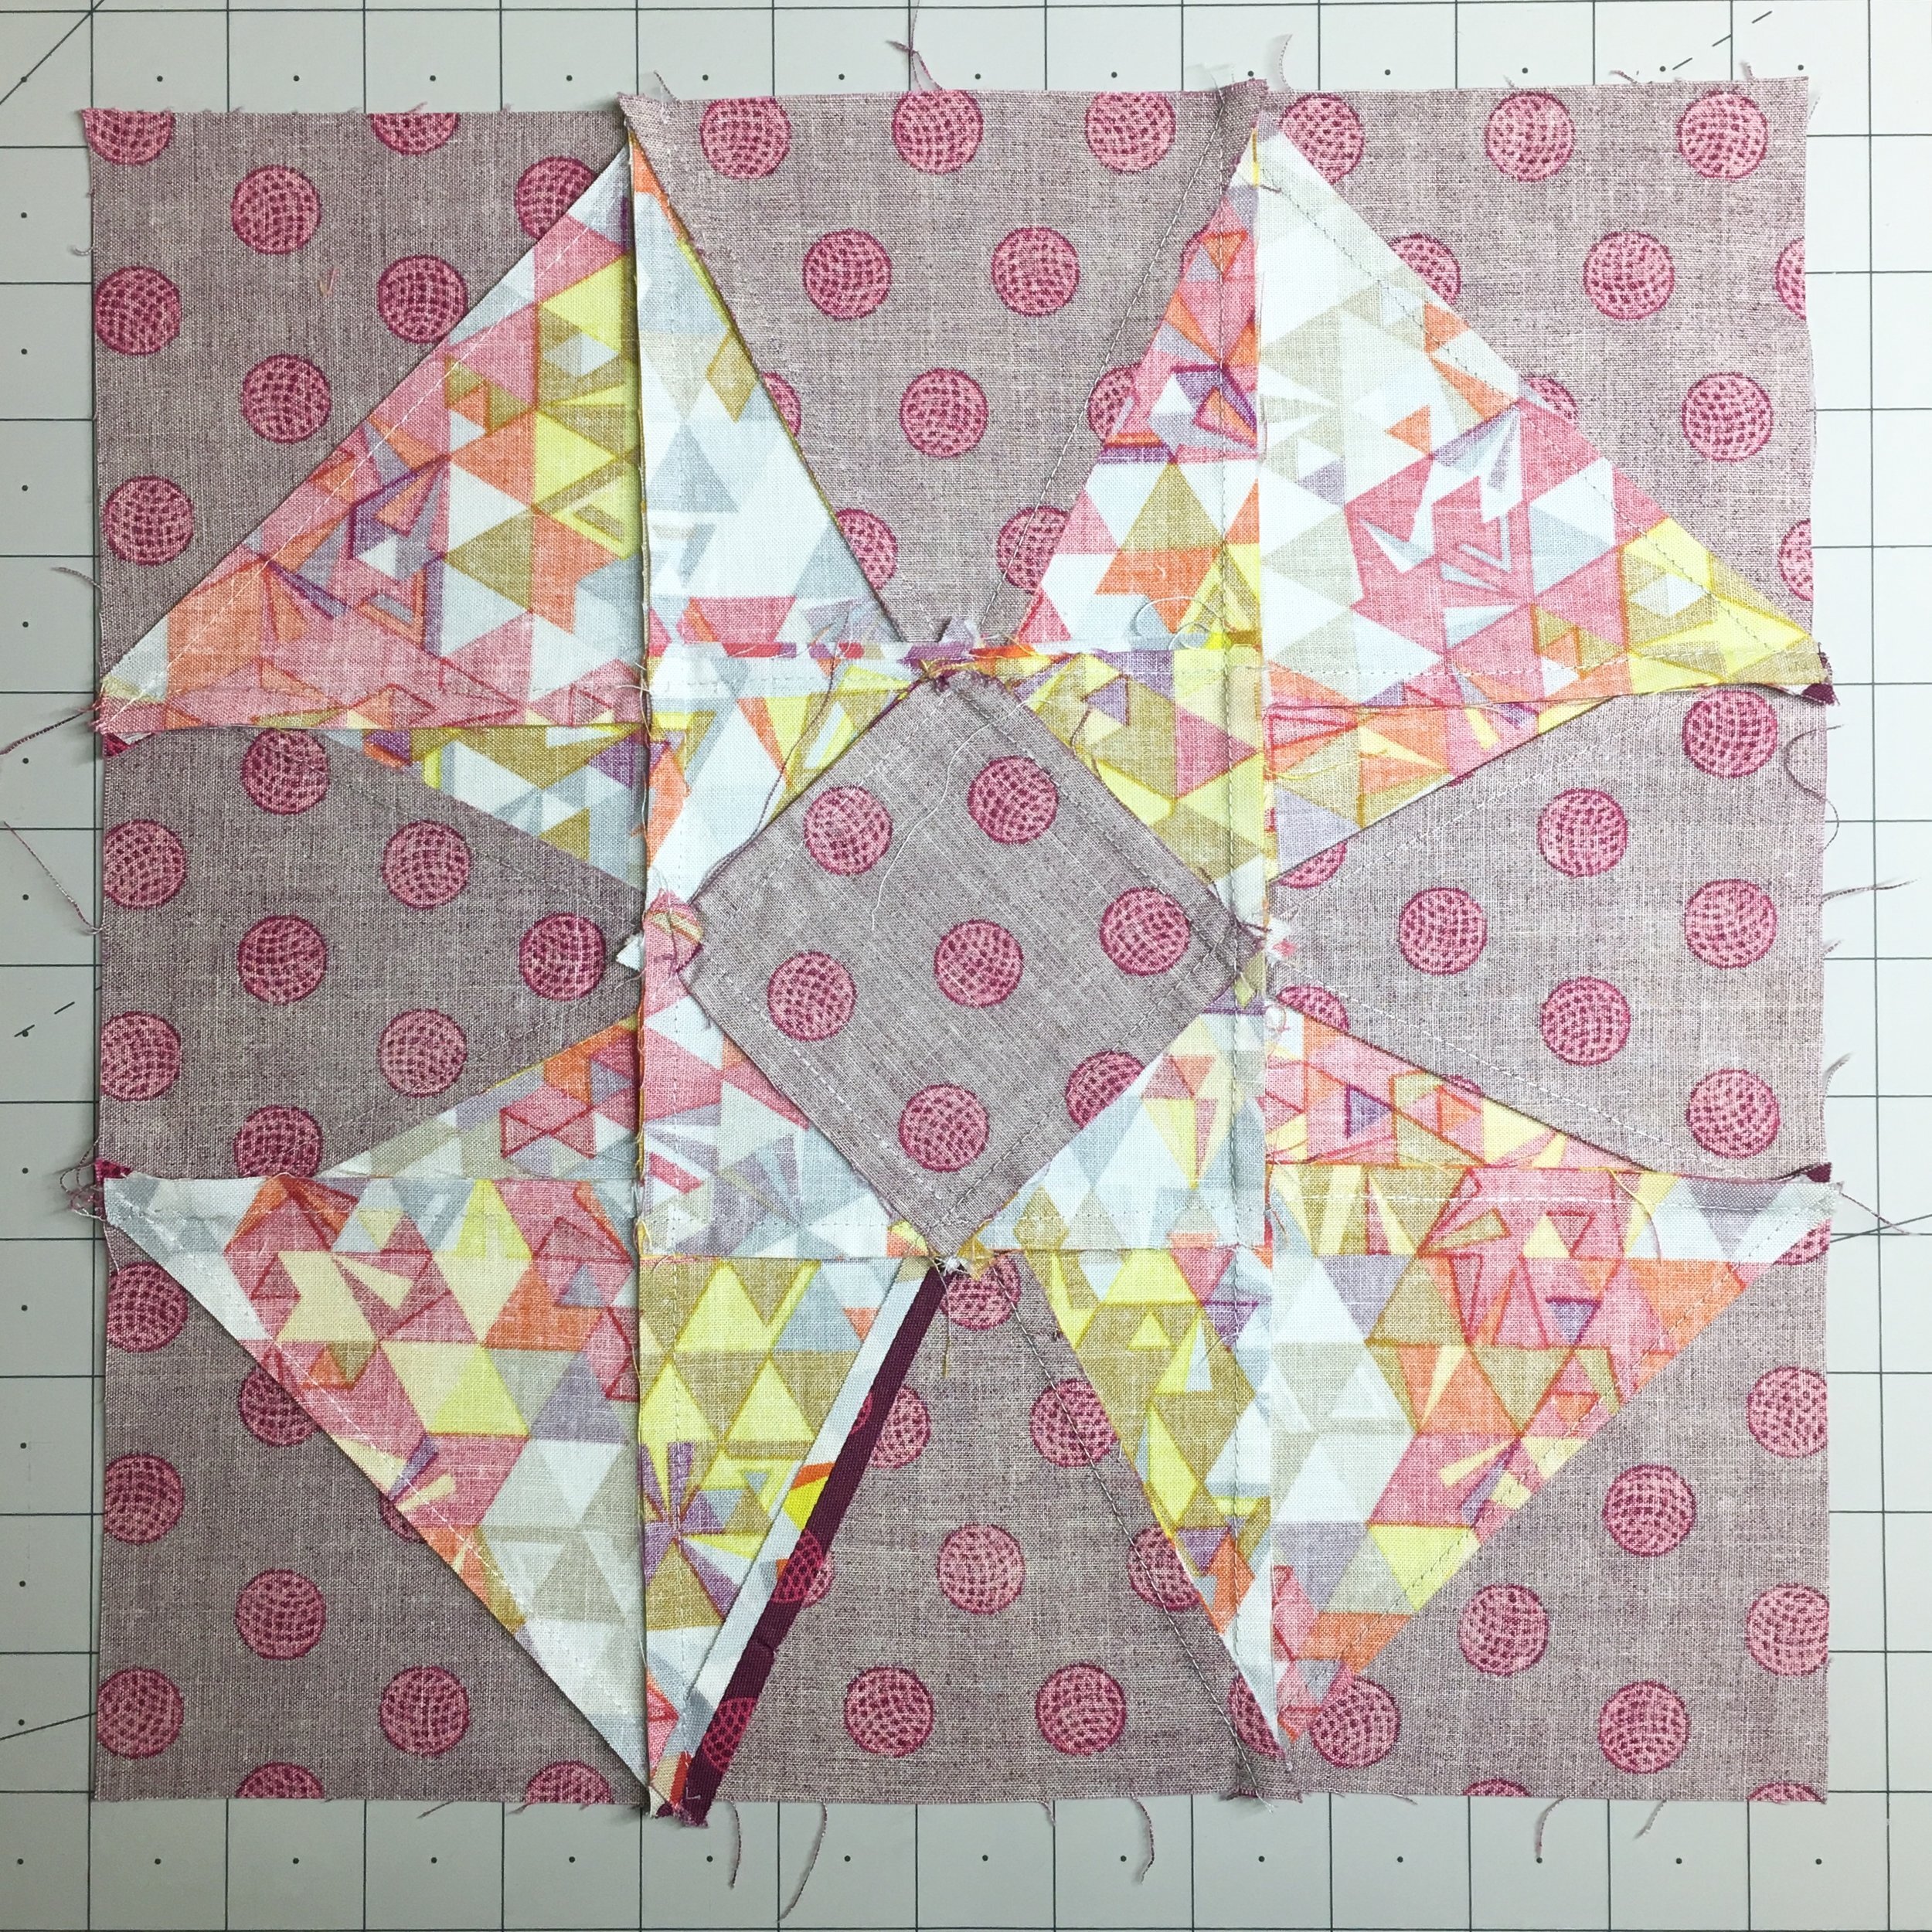
As you can see, I usually wait to press blocks until all the seams are sewn. It saves me a dozen trips to the ironing board. First, I web my block together so that all the rows are stitched and each row is connected to the next by the chain stitching (See a demo of this here). Then, pin one row to the next, finger pressing the seams in opposite directions. Stitch and repeat for the other rows. (For tips on sewing an accurate quarter inch seam, visit this post) Finally, press and starch following the way I nested the seams.
What I love most about this method is that I can chain-piece all of my blocks together and then make one big “trip” to the ironing board!
Additional Resources
BLOG: Oliso Smart Iron Review
PATTERN: Dogwood Blossoms Quilt Pattern (shown in this tutorial)