
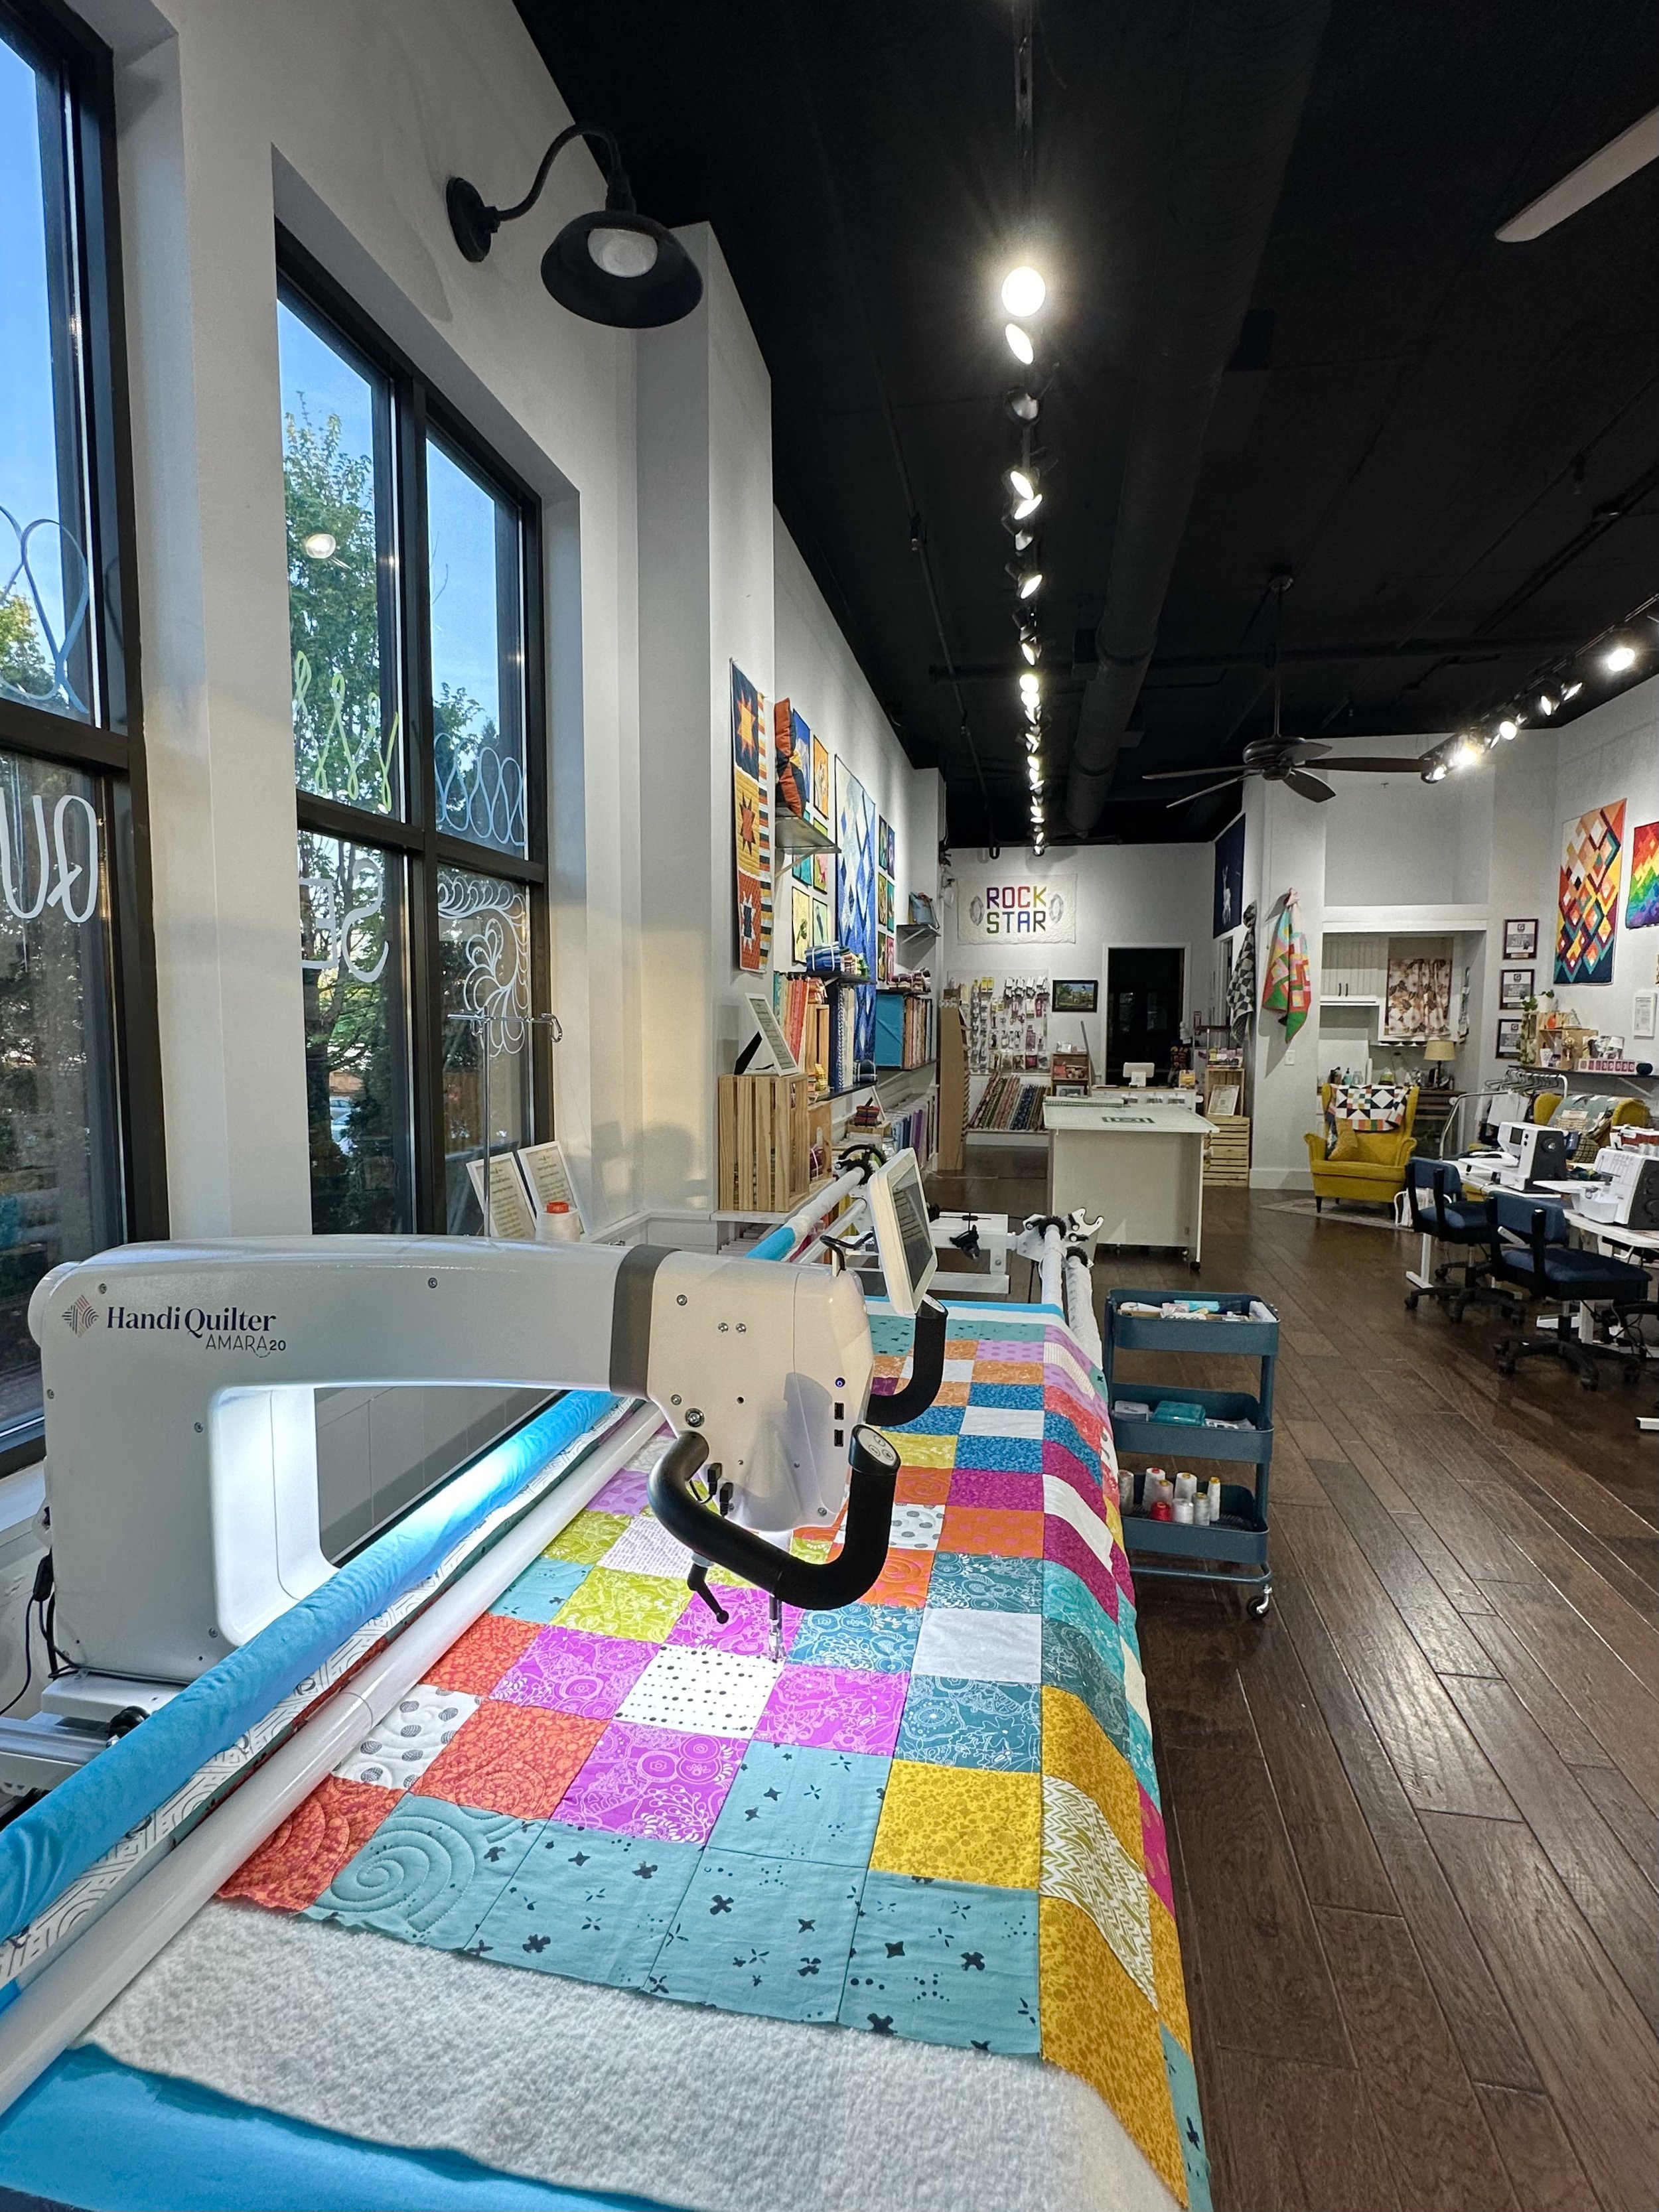
HandiQuilter Amara Longarm Review
The HandiQuilter Amara Longarm Quilting machine is a classic machine. It can be placed in a table or on one of three frames, has both 20” and 24” throat options, and can be hand guided or computerized. It’s intuitive set up and sturdy design make it an excellent longarm quilting machine for serious beginner longarmers, intermediate to advanced longarmers, and folks running a longarm quilting business.
(This post may contain affiliate links)

I am a firm believer that the best machine for finishing your quilts is the machine you already have, but as your skills and commitment to your craft progress, the time will come when you want to upgrade your most important “partner” in the quilting process. In my mind, the HandiQuilter Amara is a quintessential longarm and a perfect partner for most longarm quilters.
Disclaimer: I purchased (and still own) a HandiQuilter Moxie in 2020. My Amara is presently on loan from HandiQuilter as part of a content creation agreement. Even so, all of my opinions are my own, and I promise to be transparent and honest in this review.
Video Review
The Specs
The HandiQuilter Amara is a versatile longarm quilting machine. Let’s review some key details:
Throat Space: 20 inches or 24 inches
Mounting options: Table (20” only), Little Foot Frame (5 foot hoop frame; 20” only), 10 foot Studio3 Frame, or 12 foot Studio3 frame
ProStitcher (computerized quilting) optional
2,500 Stitches Per Minute
4-24 stitches per inch
7” display screen
Class M bobbin
Price: $12,295 USD - $25,490 USD
What’s Included
When you order a HandiQuilter Amara, you’ll of course receive your machine and table/ frame. Also include are some accessories:
Bobbins (5)
2.5 mm hex wrench
Bobbin case
3 mm hex wrench
Needle (134) size 100/16 (pack of 10)
Needle (134) size 110/18 (pack of 10)
5 mm hex wrench
Open-toe Handi Foot (ruler foot installed)
Thread tray and thread mast
Handlebar button stickers (2)
EZ Pen Oiler
Quick Reference Card
Power cord
HQ Bobbin Winder
Screwdriver
2 mm hex wrench

What You Should Know About Assembling the Frame
With my HandiQuilter Moxie, assembling the Loft frame was pretty easy breezy. The Studio3 frame is more serious business.
Before that scares you off: it’s a really good thing that this frame is serious business. The Amara is a hefty machine, and you want a good, strong frame. But make sure you have a plan for assembly.
If you purchase your HandiQuilter Amara from a dealer that offers deliver and assembly services, I HIGHLY recommend you utilize them. It will save you fatigue and frustration because there are a lot of little screws on this thing.
If, however, you, like me, are assembling the Studio3 frame on your own, here are my tips:
Gather 2-3 strong, patient, and problem solving friends. Being able to lift things and get up and down from the floor is helpful, too. Make sure everyone is fed and hydrated before you begin. If adult beverages are your thing, promise everyone dinner and a round when you finish to celebrate.
Unbox and lay out all the parts and pieces. I highly recommend some trays for tools and screws to keep things handy and visible
Have both the paper assembly instructions and the BILT app instructions handy. Take each step one by one
Make sure you have a level for adjusting the frame
Have snacks and hydrate often. Assembling a frame is a lot of work, but I promise it’s worth it!!

What do I think about the Amara?
I love it! Prior to my Amara, I stitched on the HandiQuilter Moxie for several years. I love my Moxie, but it is designed for a beginner longarmer, and I was ready to take my skills and stitches to the next level.
I had been thinking about the Amara, and as soon as I had the opportunity to test drive one at a show, I was delighted with the precise control and crisp stitch quality. I have the 20” Amara on a 12 foot Studio3 frame
Here’s a few of my favorite features:
The large (7”) touch screen makes it easy to review my machine settings and toggle between Precision and Cruise modes
Digital-ish tension: Needle thread tension (top tension) is adjusted with a manual knob on the side of the machine. I love this because manually adjusted tension tends to be more precise and more reliable. But HandiQuilter also has a display that shows a number for the tension (eg: 23 is more tension than 7). While the number on the screen can vary from machine to machine, it gives me a visual for gauging how much I’ve adjusted the tension and if I’m in the starting ball park for the thread I’m using.
The magnetic tool holder: the grey bar around the head of the longarm is magnetic on the left side– perfect for keeping snips, a needle, etc handy. Not having to walk to the other end of my 12 foot frame each time I need snips is a small but wonderful luxury.
An uptake wheel on the top leader bar: turning the flywheel takes much less energy than grasping the bar, so this wheel makes it much easier to advance the quilt
A solid shelf at the back of the frame: While this back shelf is an add on for the Moxie, it comes with the Studio3 Frame and I love being able to keep my ruler table and bobbin winder nearby and off the floor
A roomy throat space: Not only does the Amara have a lot of quilting area (20” or 24”), the design of the Studio3 frame makes it easy to maximize its use. I can quilt much more quickly and efficiently now! Note: I think then 20” throat is perfect for hand guided quilting. Much deeper than that, and I think it is difficult to maintain good posture while working at the back of the frame.
To be honest, I don’t have any features of the Amara that I dislike. My only note of caution would be for folks with grip or arm strength challenges: the Amara is a pretty heavy machine (much more than the Moxie). I noticed my tricep was sore the first few quilts I worked on, and I was noticeably more fatigued after a quilting session than when I worked on the Moxie. I suspect this is a combination of the added machine weight and the larger surface area of each pass. I’ve adjusted now and have plenty of endurance, but new quilters should be cautioned to expect this adjustment period. If you you do have grip strength limitations, I strongly encourage you to test drive the machine prior to purchase so you know what it feels like to move it across your quilt.
I’m amazed by how much more precise my quilting is on a heftier, up-leveled machine, and I can’t wait to really and truly custom quilt on it to see how gorgeous the results will be!
The Verdict
I love my HandiQuilter Amara, and I highly recommend it. I think this longarm quilting machine could be a great fit for everyone from committed beginners to professional longarm quilters! The stitch quality, machine engineering, frame stability, and overall quilting experience are a clear step above working with the Moxie, without becoming outrageously expensive. If you mean serious quilting business, this machine is ready to match your energy and help you create incredible quilts.
I always recommend shopping with your local dealer first if you can so that you have ongoing support with your machine, but if you’re interested in the Amara and don’t have a local dealer, you can order one online with my affiliate link:
Resources
FREEBIE: Confident Longarm Quilting Workbook
REVIEW: HandiQuilter Moxie
REVIEW: HandiQuilter Amara Vs HandiQuilter Moxie- COMING SOON!
ONLINE COURSE: Longarm Preparatory
BLOG: Tension on a longarm
BLOG: How to use a Towa gauge