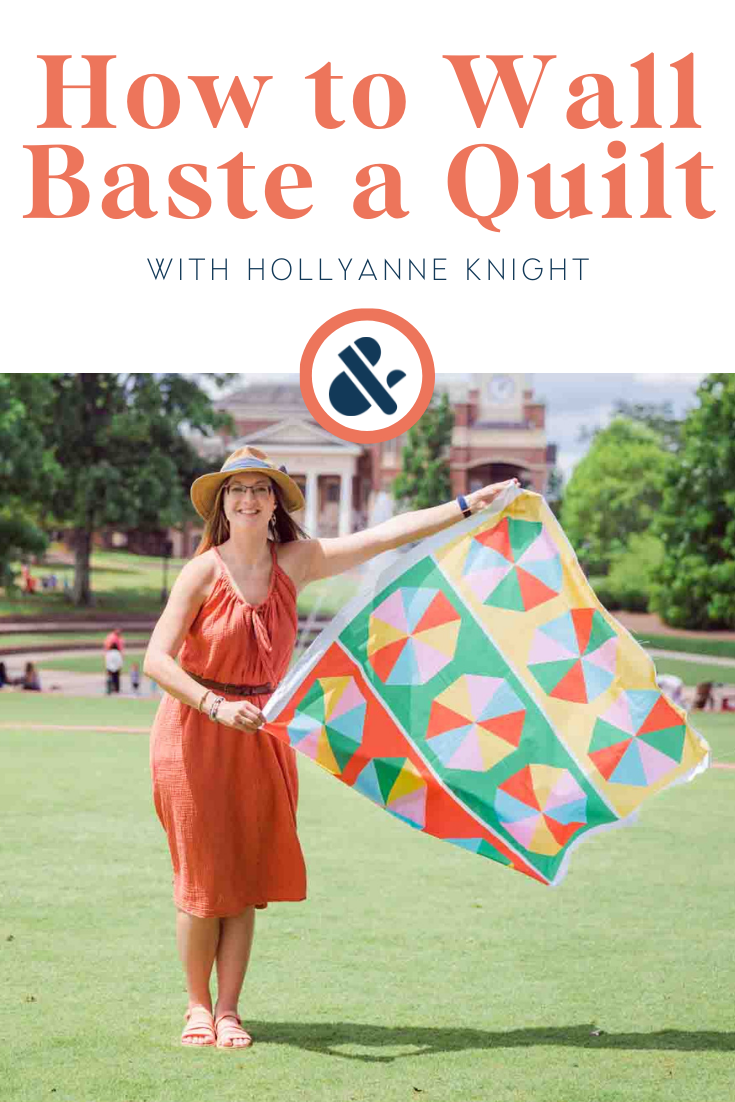
How to Wall Baste a Quilt
Getting down on the ground to baste a quilt can be hard on the knees and back, and it’s not always easy to keep a quilt well positioned on a table top. But if you have a big design wall, let’s take a look at how you can use it to baste your quilt quickly and easily!
(This post contains affiliate links)
Getting down on the floor to baste can be a total pain: first moving furniture to make a big enough space but then actually having to get down there and man handle a quilt on your knees-- ack! Let’s take a look at how, with a large design wall and store bought spray baste, you can actually get that quilt basted while standing comfortably on your feet!
(Don’t have a design wall? This technique works really well on a big table, too!)
Materials
Quilt Top
Quilt Backing (4-6” larger than top)
Batting (cotton or 80/20 works best, 4-6” larger than top)
Spray baste (Y’all know that I love homemade spray baste but it is too heavy to use on the wall. Instead, I recommend Spray-n-Bond for this method)
Video
Instructions
Basting up on the wall uses the same principle of friction that those felt story boards use-- the pieces will gently stick to each other as long as they are not too heavy. As we get all three layers of this quilt up on the wall (especially if it’s a larger quilt), it may take some persistence to keep it up for this process. Sometimes I use straight pins to hold layers up to my wall as the quilt gets heavier.
Step 1: Spread your batting out flat and square on the design wall. I recommend using cotton or cotton blend batting because it will stick to the wall more easily than slippery polyester.
Step 2: Shake your spray baste as directed (also, make sure you have sufficient ventilation), then, holding the baste 6-8 inches from the batting, evenly spray the whole thing. This doesn’t need to be a complete coating-- think about making a “grid” of sprays and making sure the edges are sprayed
Step 3: Take your backing and spread it over the now-tacky batting. This will take a little practice and finagling. You want the backing to go all the way to the edges of the batting and to be spread smoothly, but without distorting the weave of the fibers. If you can, begin at the top edge and smooth the backing downward. Then, start in the center with your hand or a ruler and spread outward in all directions to eliminate any “bubbles”
Step 4: Flip the batting and backing over so the backing is against the design wall (this is where you may want pins to help hold your sandwich in place).
Step 5: Spread the quilt top across the batting, making sure the batting and backing extend beyond the top on all sides.
Step 6: Fold back half of the quilt top and spray with baste. Press and smooth back onto the batting. Repeat with the other half. Smooth the whole thing again out from the middle, but being careful not to distort the top
Step 7: Pull the whole thing down and check the back one more time for puckers or wrinkles. Smooth as needed
Step 8: Quilt that beauty!
Closing Thoughts
Real talk: basting is a pain. This method is fabulous, but it’s not going to make the basting process problem- free. Your quilt will probably fall off the wall onto your head at some point if it’s any larger than a throw. That doesn’t mean you’re doing it wrong, it just means that gravity is still working. Be patient, ask for someone to help you hold it up if you can, and remember that you are a Rockstar, even if basting isn’t your favorite!
Oh! And if you want to try this method but don’t have a design wall, don’t forget you can use a similar technique on a nice big table!
Resources
If you found this blog about wall basting helpful, you may enjoy these other articles as well:
How to Baste a Quilt- an overview of types of basting and instructions for pin basting
Homemade Spray Baste- curious about a more affordable spray baste? Check out this recipe!
How to Baste a Large Quilt in a Small Space- walls are great— and so are tabletops!
An Easy Guide to Quilt Batting- help choosing the best batt for your project!
Love these octagon tablerunner panels? Check out the whole Quilting Rockstar Panel Collection in our shop!
Share this blog if you found it helpful:

