How to Sew a Pie Carrier
‘Tis the season for family and friend gatherings, which means it’s also the season of bring food and treats to share. Let’s make an adorable pie/ casserole carrier together!
Whether you’re headed to a family holiday party, the church potluck, or any other gathering, sometimes the trickiest thing about bringing food to share is knowing how to carry it! This easy and lovely pie/ casserole carrier makes is easier to transport your dish and can even double as a host gift— huzzah!
Supplies
Cutting
Cut 2 pieces: 30 x 18 inches (carrier body)
Cut 2 pieces: 4 1/2 x 18 inches (straps)
Cut 2 pieces: 2 1/2 x 18 (binding)
Make the Carrier
Preparation
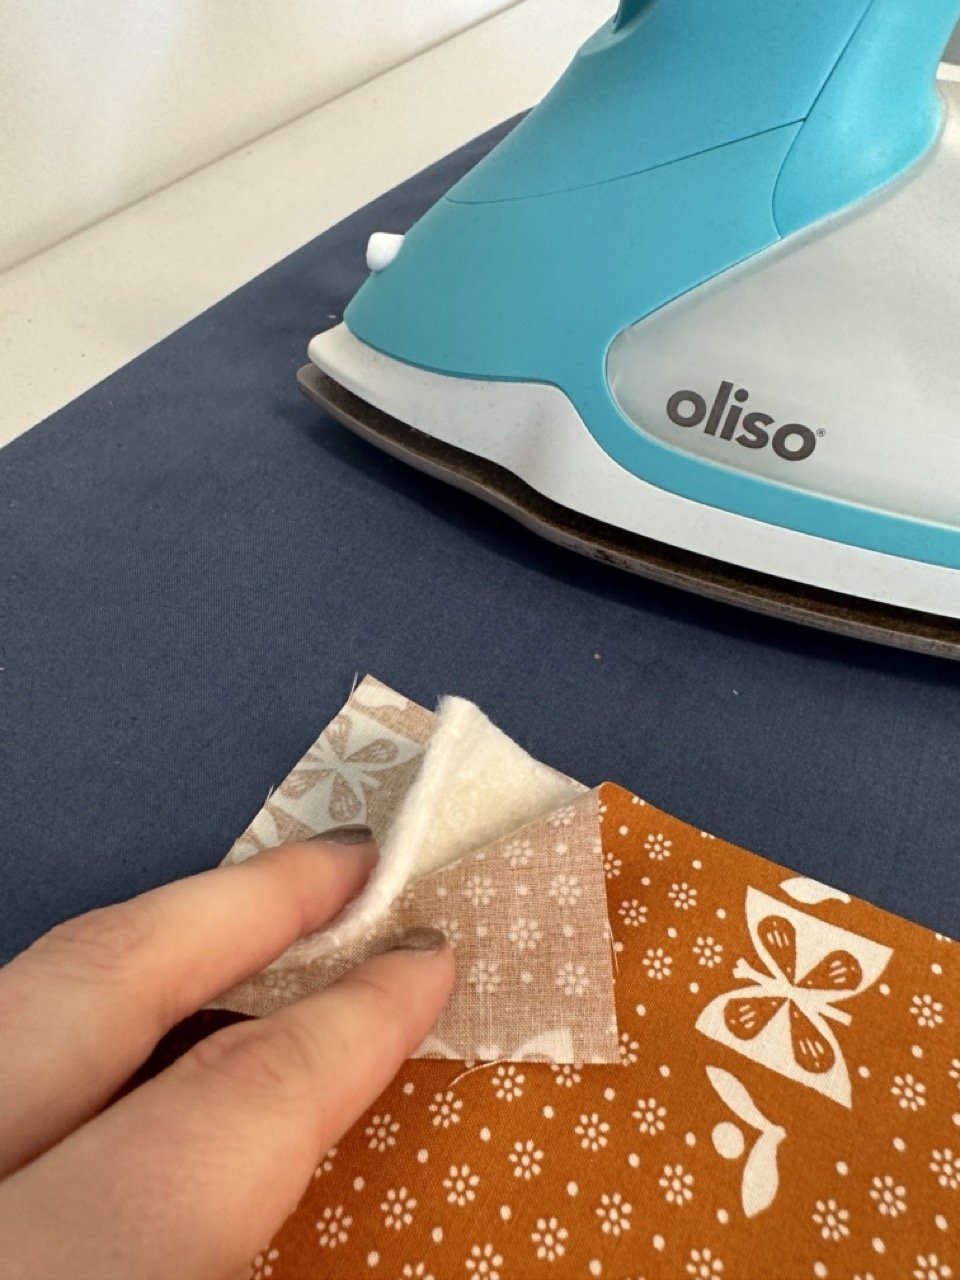
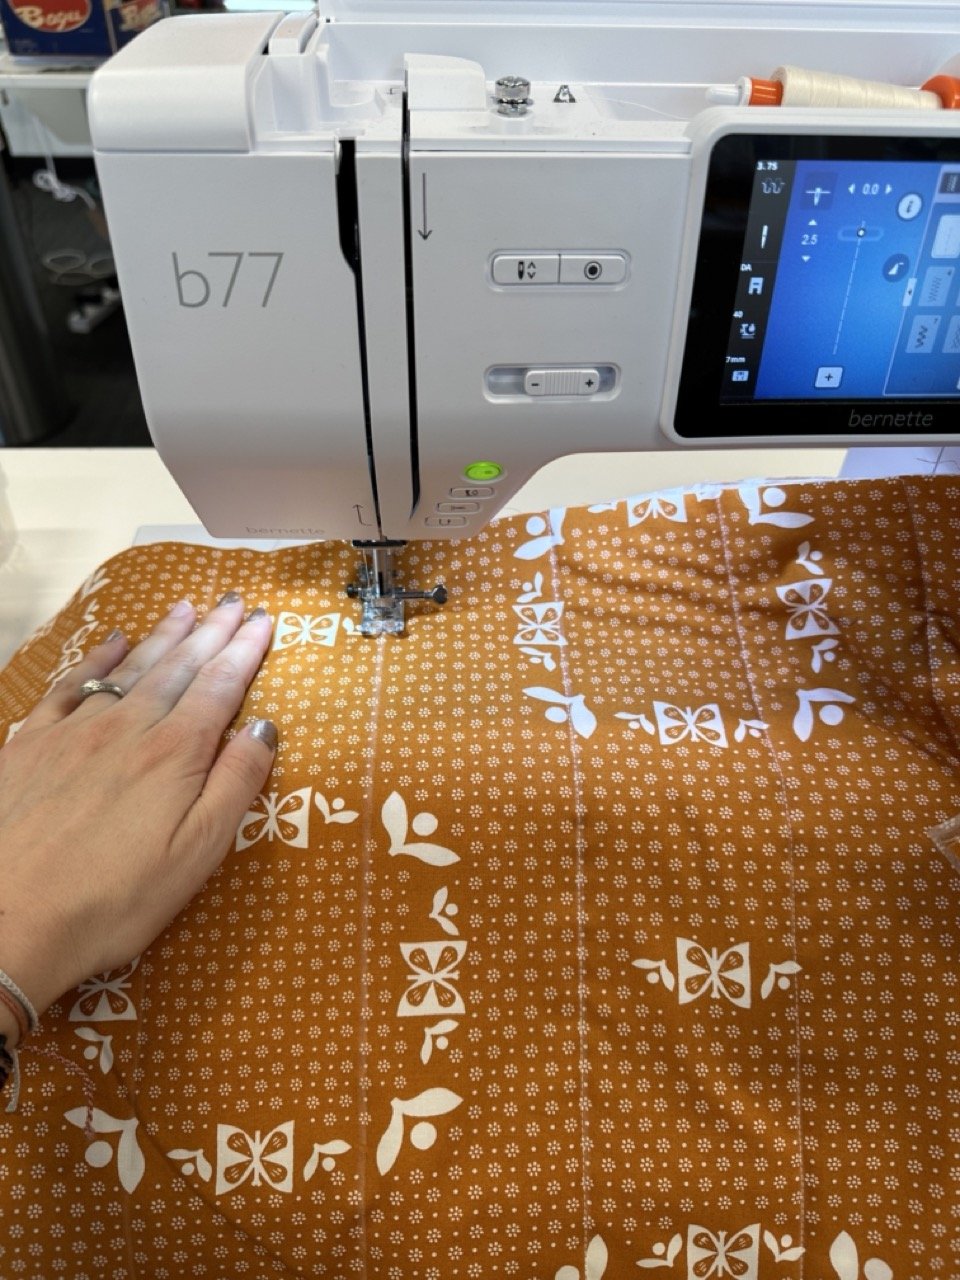
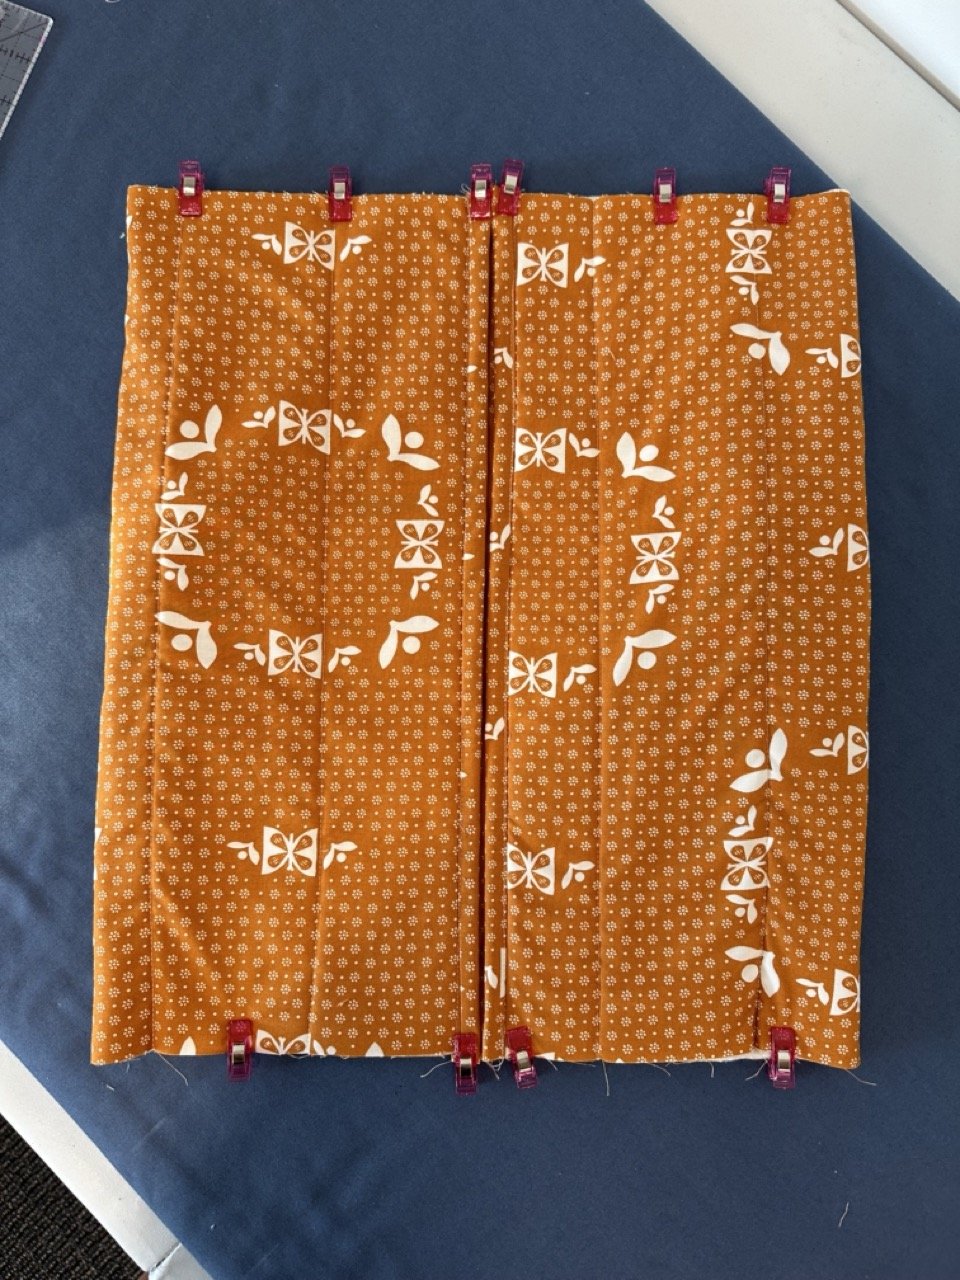
Baste the two 30 x 18 inch pieces with the batting and walking foot quilt with a 3” grid. Trim to edge of fabric
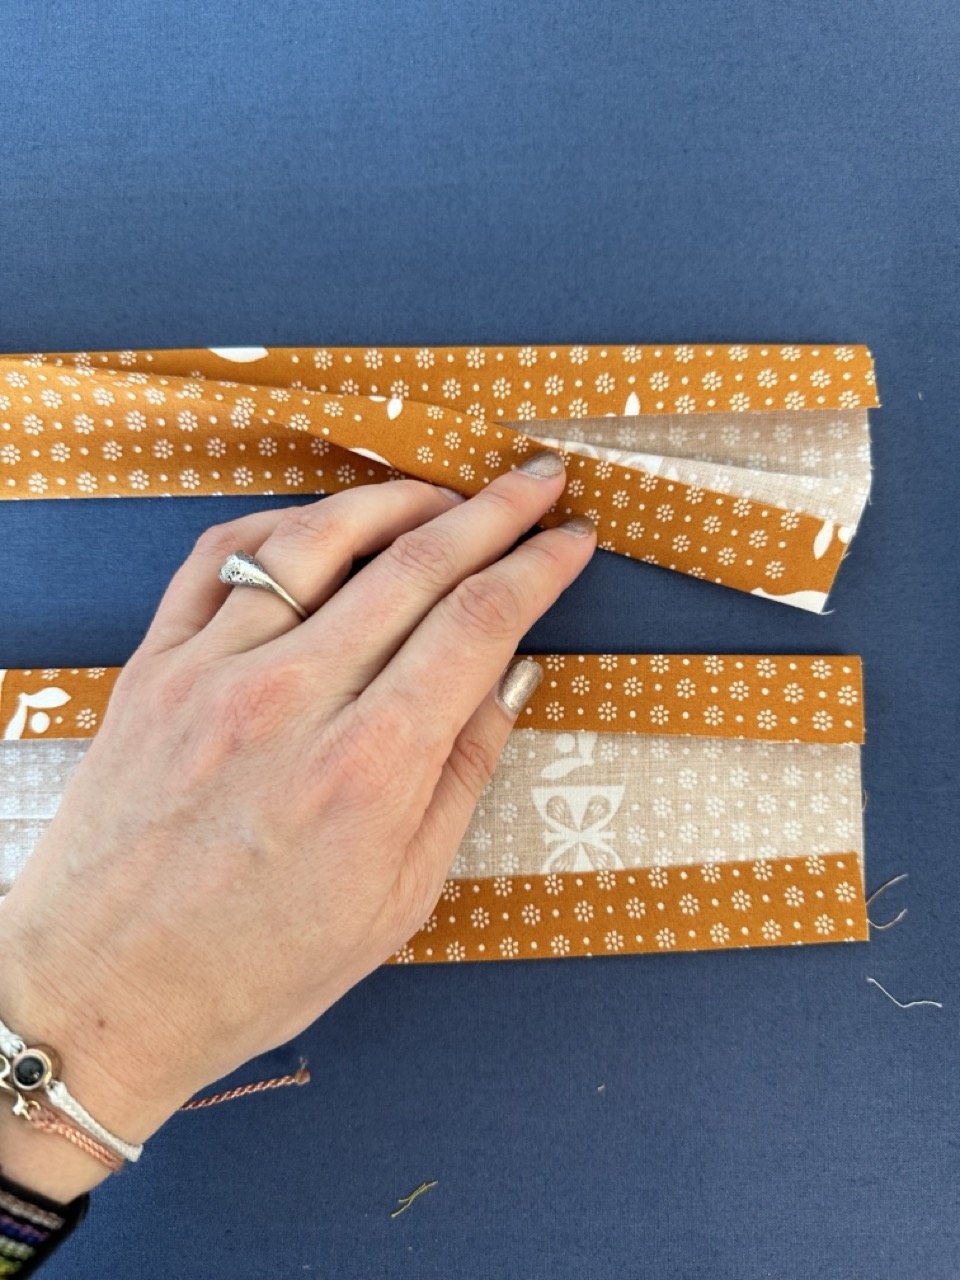
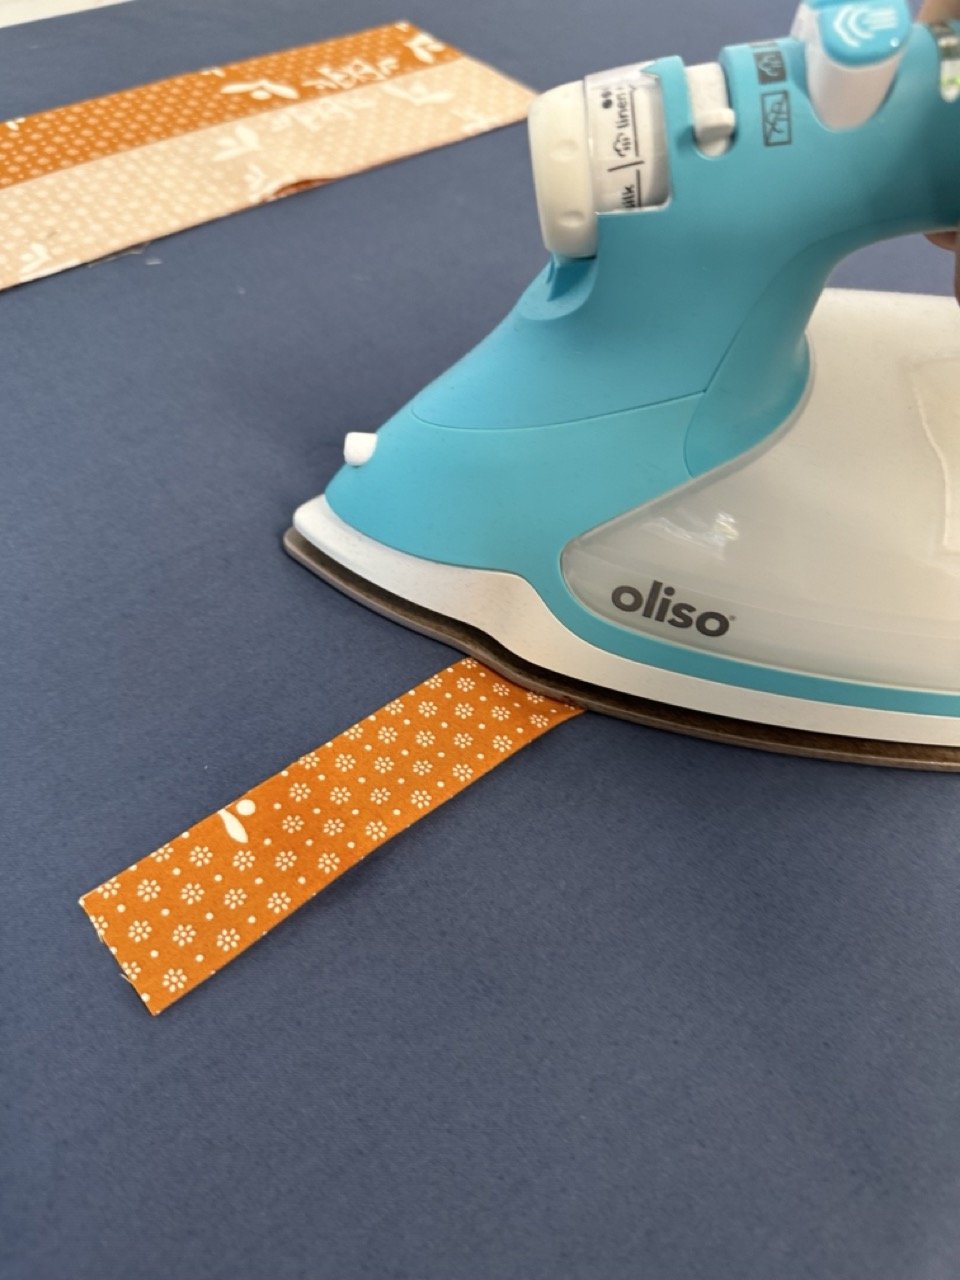
Press the strap pieces in half lengthwise. Then open and press raw edges halfway into the center fold length wise. Fold along the original crease so all raw edges are contained, then top stitch down both lengthwise edges.
Press the binding strips in half lengthwise
Assemble the carrier
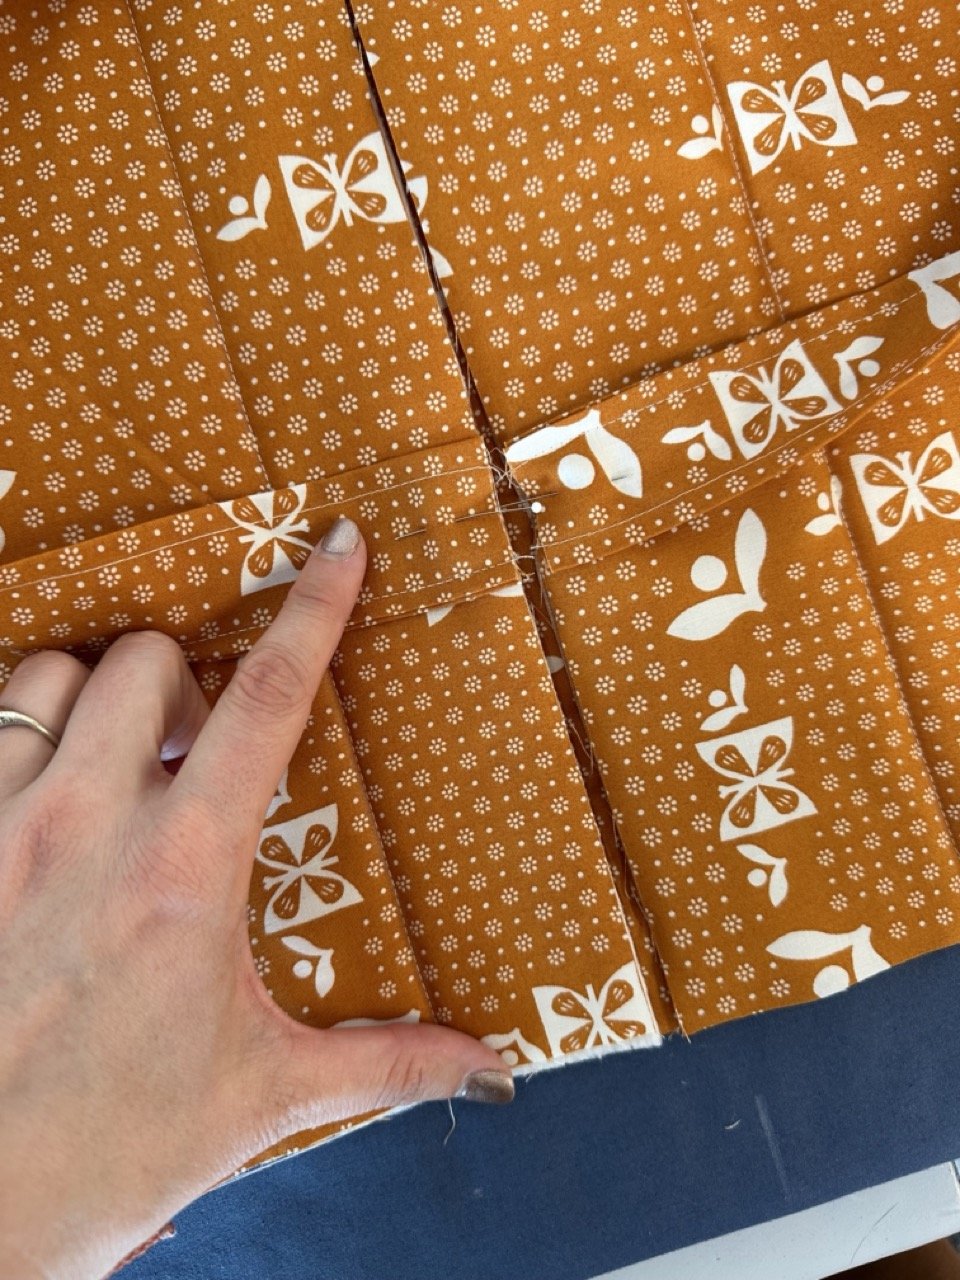
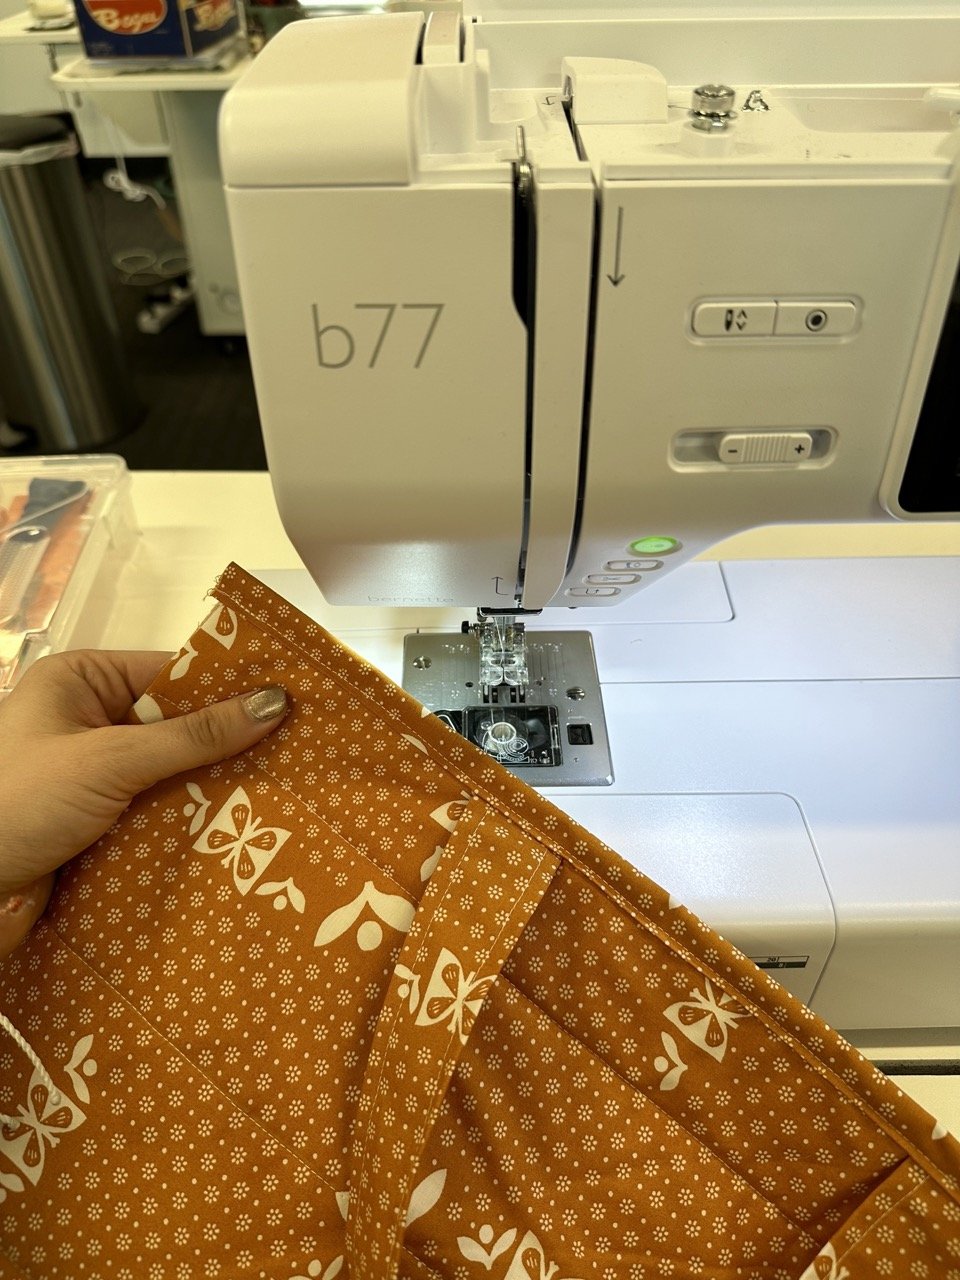
Baste straps in place along short edges of carrier body. Measure 4 1/2” from outside edges to place and baste to RIGHT SIDE of carrier with the straps looped toward the center
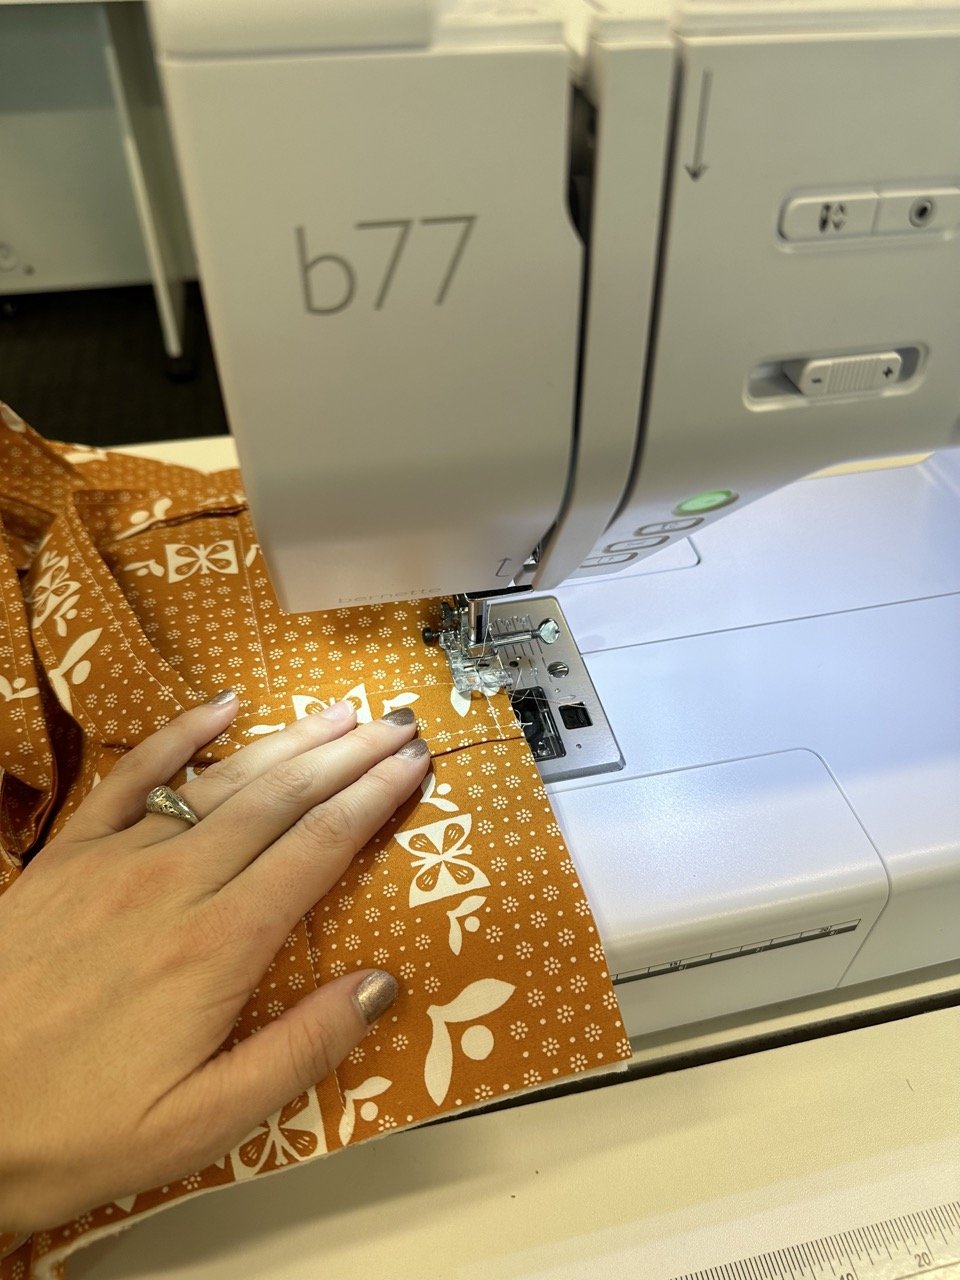
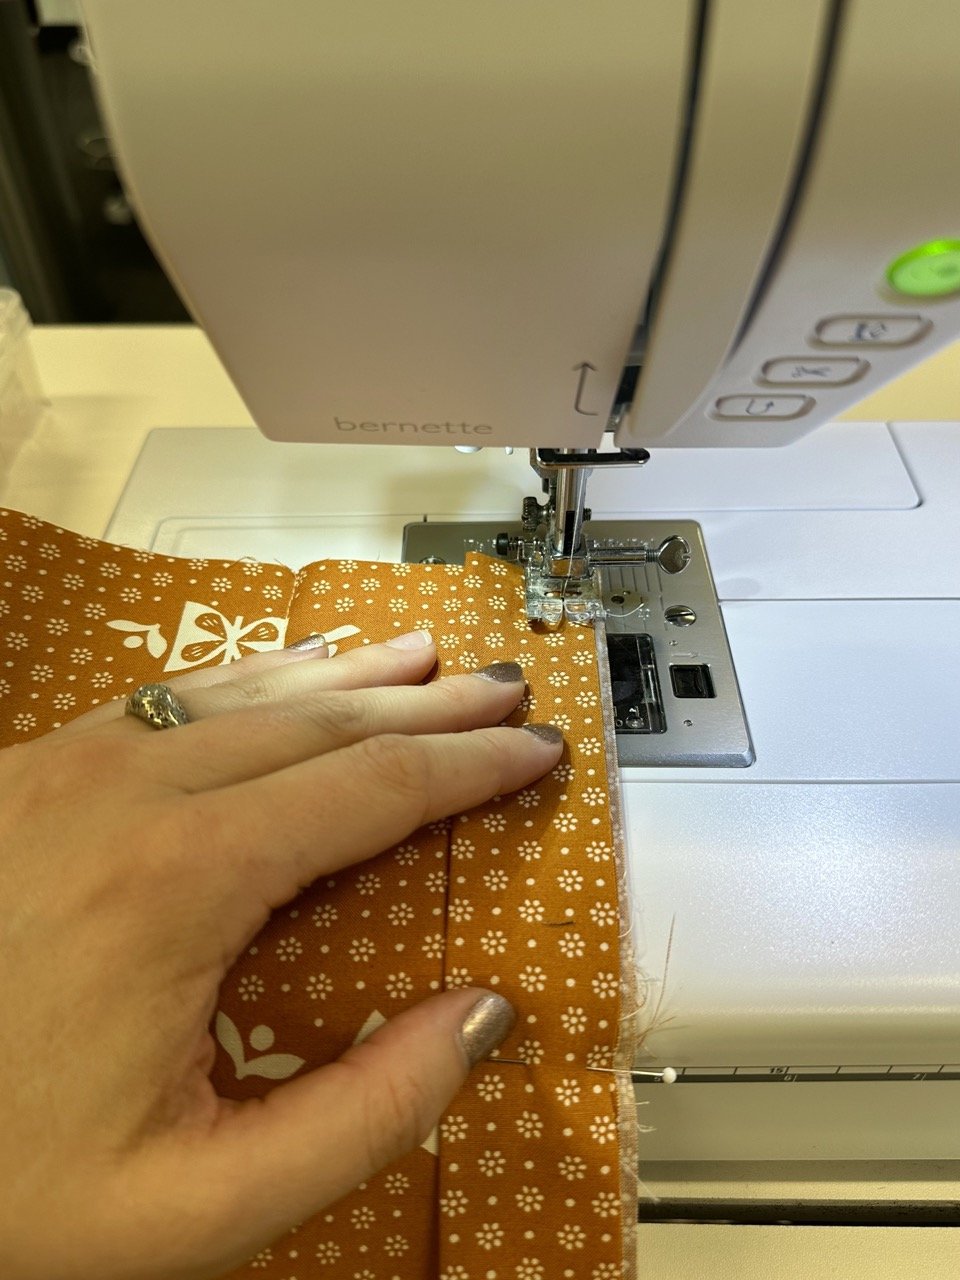
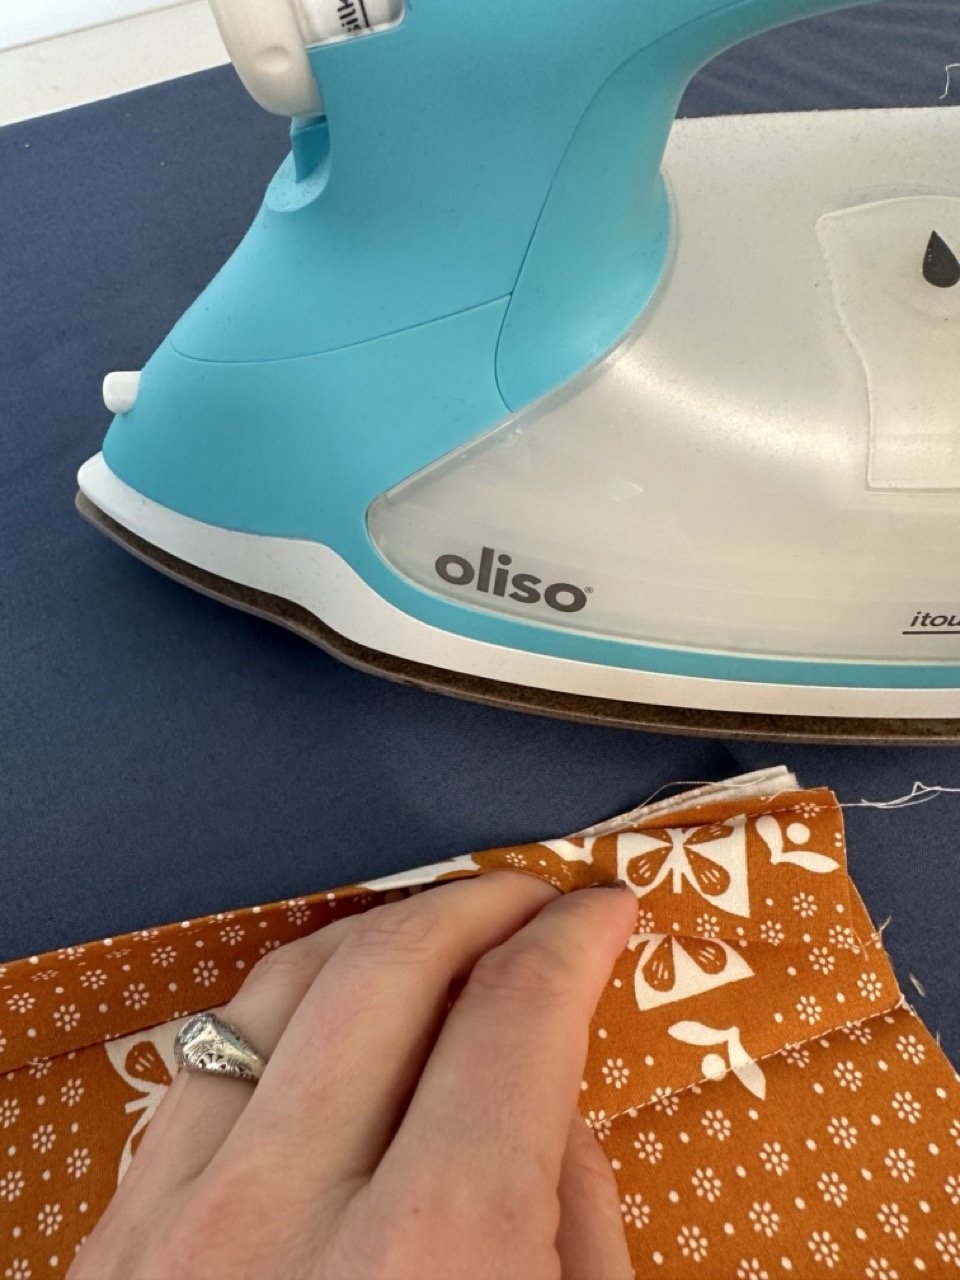
Sew binding to the WRONG SIDE of the short carrier edges, press away from the carrier, then fold to right side and top stitch
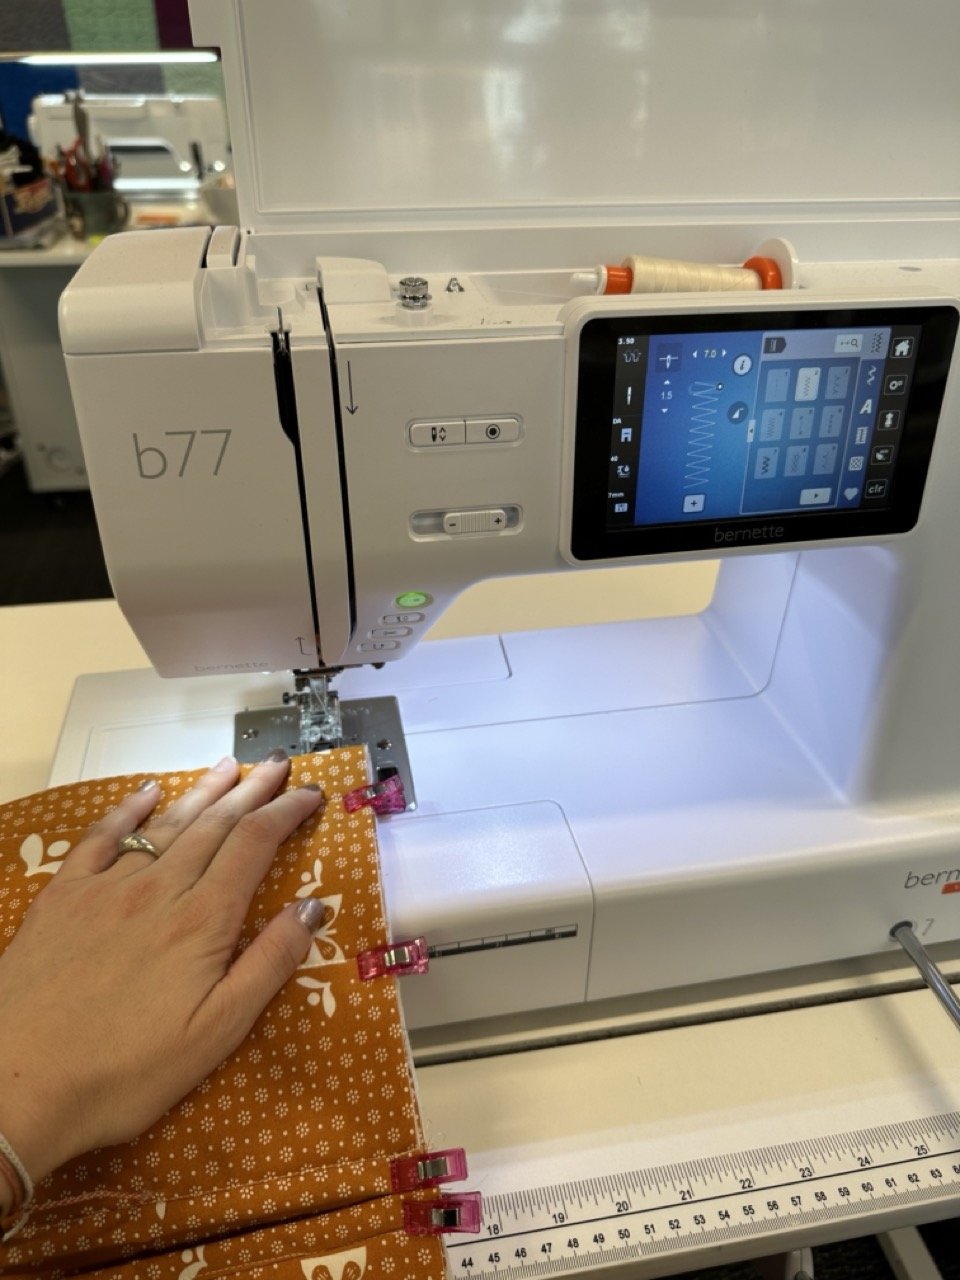
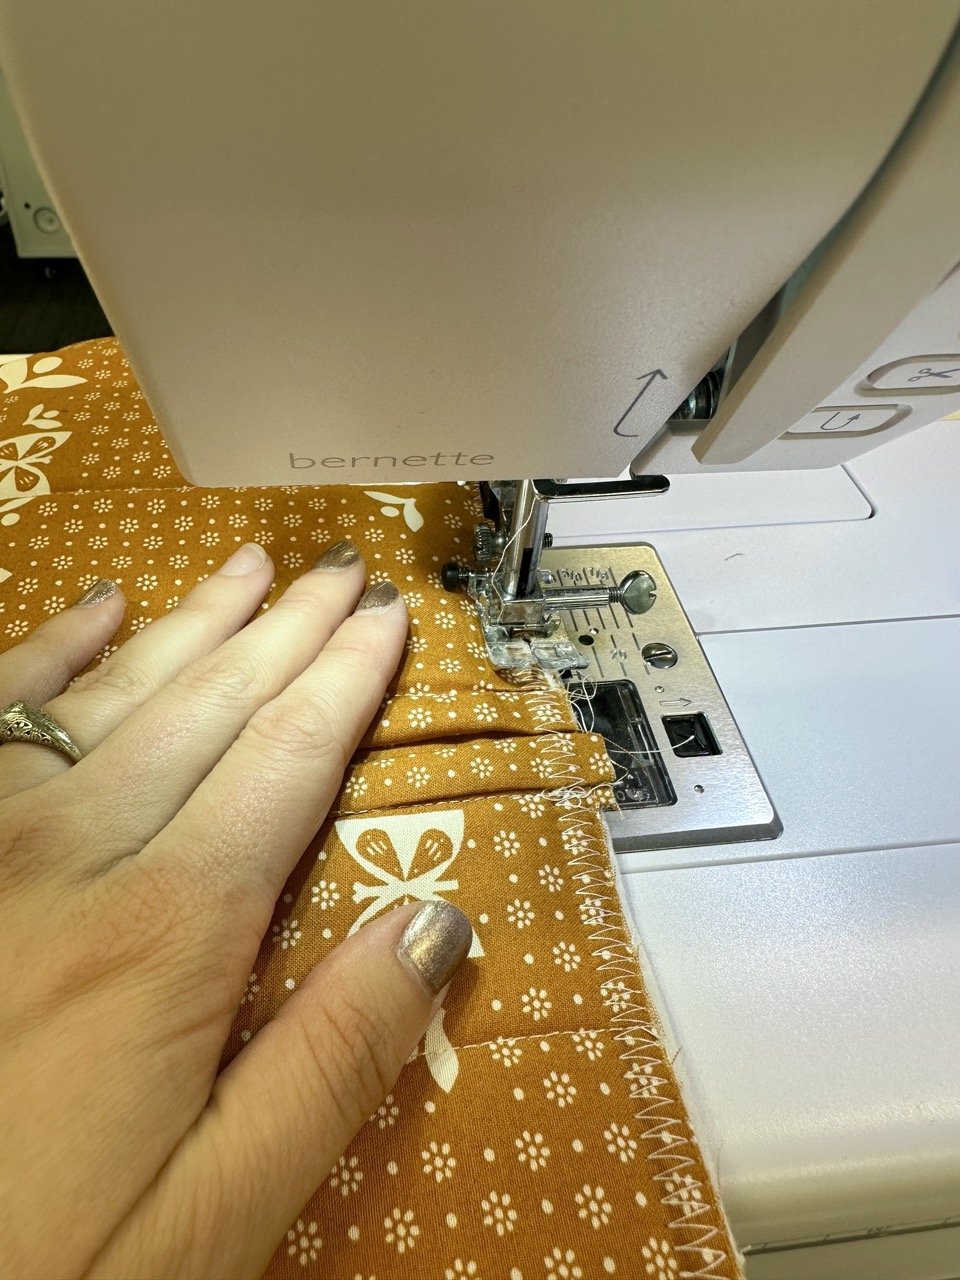
Fold carrier body toward the center RIGHT SIDES TOGETHER so that short ends “kiss.” Zig zag or serge the sides to close carrier. Turn right side out— Voila!
Resources
BLOG: How to Sew a Tote Bag
SHOP: These pie carriers were made using Sugar Maple fabric by Alexia Abegg for Ruby Star Society and sewn on a bernette b77. You can visit our online shop here


