
How to Make Four at a Time Flying Geese (No-Waste Flying Geese)
Flying geese are a classic quilting unit that allow you to add star points and other shapes to your quilt with fewer seams than using half square triangles. While many of us learn how to make flying geese with a stitch and flip method first, the four at a time method is faster and doesn’t waste fabric.

Flying geese are used to create movement and visual interest in a quilt design and frequently form the points of a star. Since a star has four sides, it makes sense that making your flying geese four at a time would be one of the most efficient methods to use. I’m going to walk you through step by step how to make no-waste flying geese so you feel ready to make this classic quilting unit like a pro– even if you’re a new quilter.
Video
Supplies
Two fabrics (a fat eighth or fat quarter of each will do if you’re just practicing. Otherwise, reference the fabric requirements of your quilt project)
cutting ruler and rotary cutter (you may want a longer ruler for cutting and marking lines and a square ruler for trimming the geese)
pencil
pins
sewing machine in good working order


Directions
For each set of four flying geese you’ll need 1 large square and four small squares. Flying geese units are twice as wide as they are tall. Two common sizes of flying geese (finished) are 2 x 4 inches (one 5 1/2 inch square of your background fabric and four 3 1/8 inch squares of your star/ foreground fabric) and 3 x 6 inches (you’ll need one 7 1/4 inch square and four 4 inch squares).
Place the large square right side up on your table. Position two squares on the diagonal as shown and pin in place. Mark corner to corner with the pencil.
Sew 1/4” on either side of the drawn line, then cut on the line.
Press small triangles away from the larger triangle (this step looks like a lil’ fox).
Position one more small square in between the “ears” of the fox on each unit and pin. Mark corner to corner as shown, and sew 1/4” on each side of the line.
Cut on the line, and press the second side of each flying geese unit away from the center, larger triangle.
Trim to desired unfinished size (e.g. 2 1/2 x 4 1/2 inches, 3 1/2 x 6 1/2 inches, etc), being mindful to leave 1/4” between the point of the center triangle and the edge of the fabric as shown. Use the 45-degree line on your ruler to make sure that you’re trimming square by lining this line up with the angle of the side triangles.
Huzzah! You’re ready to use your gorgeous geese in a quilt!

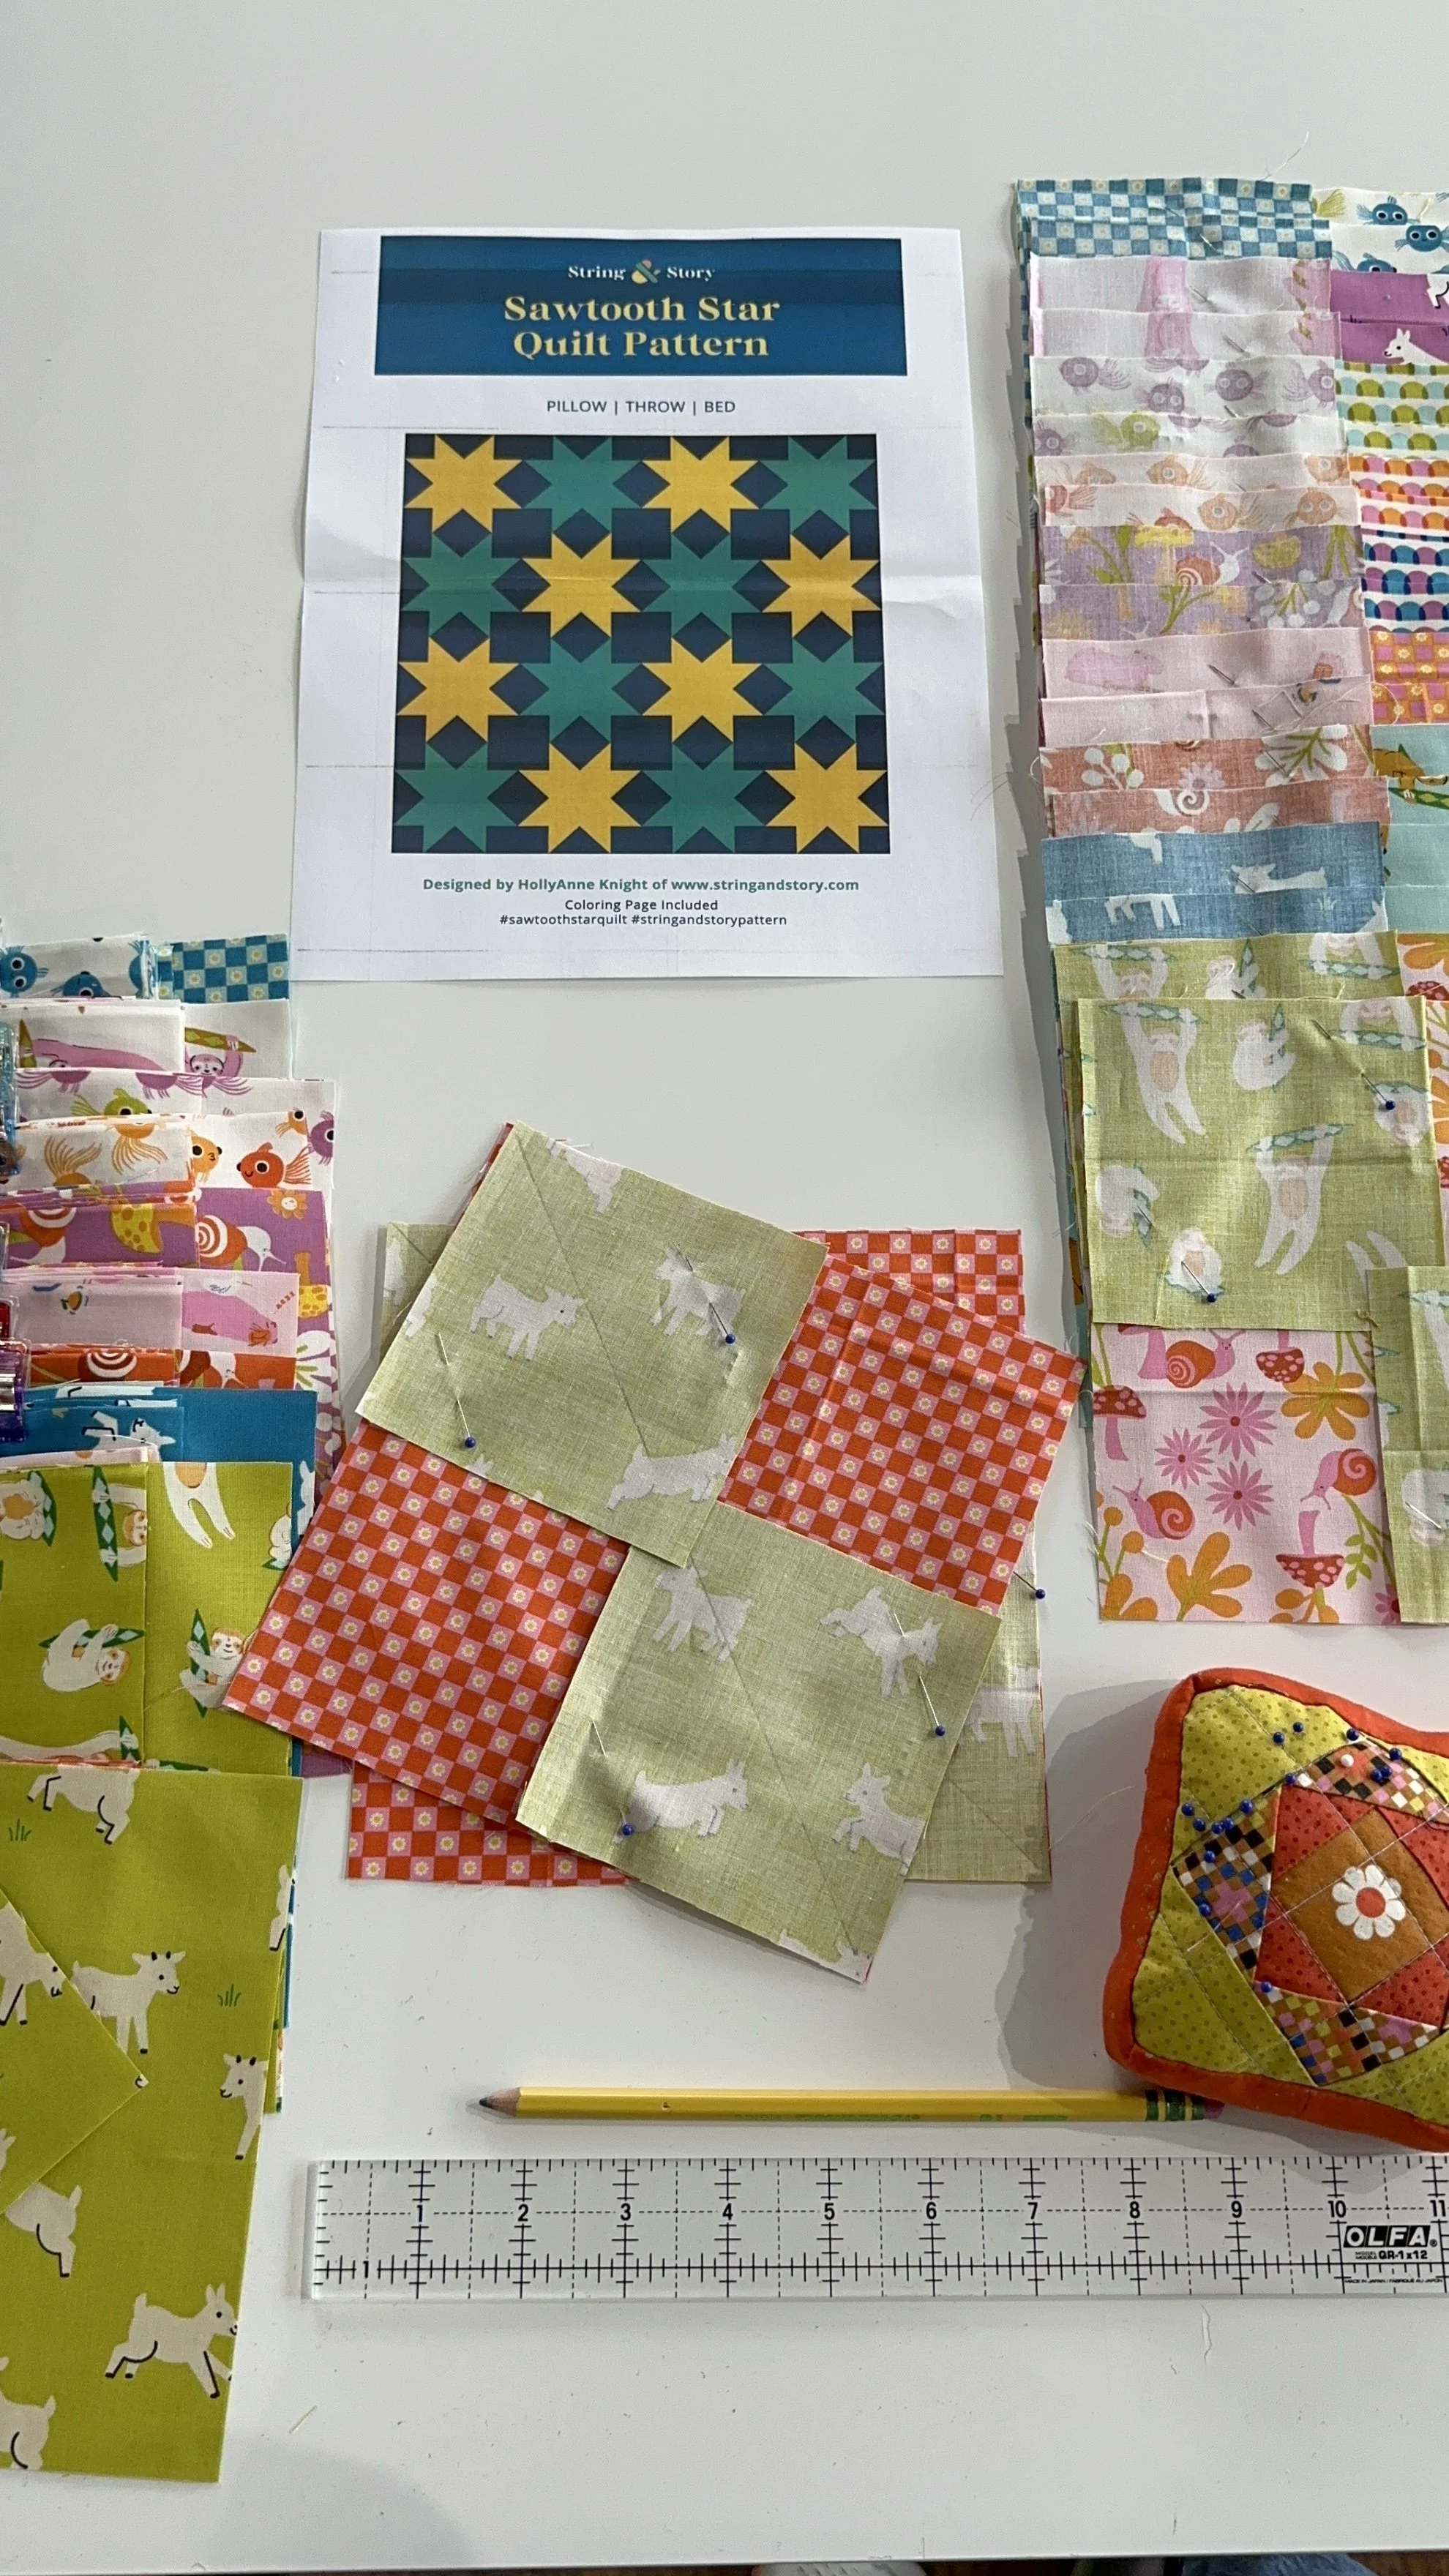
Looking for a fun way to practice and show off some fabrics? Download our FREE Sawtooth Star Quilt Pattern!

Resources
FREE PATTERN: Sawtooth Star Quilt Pattern
BLOG: How to Quilt Sawtooth Stars & Other Classic Units
BLOG: How to Make Flying Geese
PATTERN: Polaris Quilt Pattern